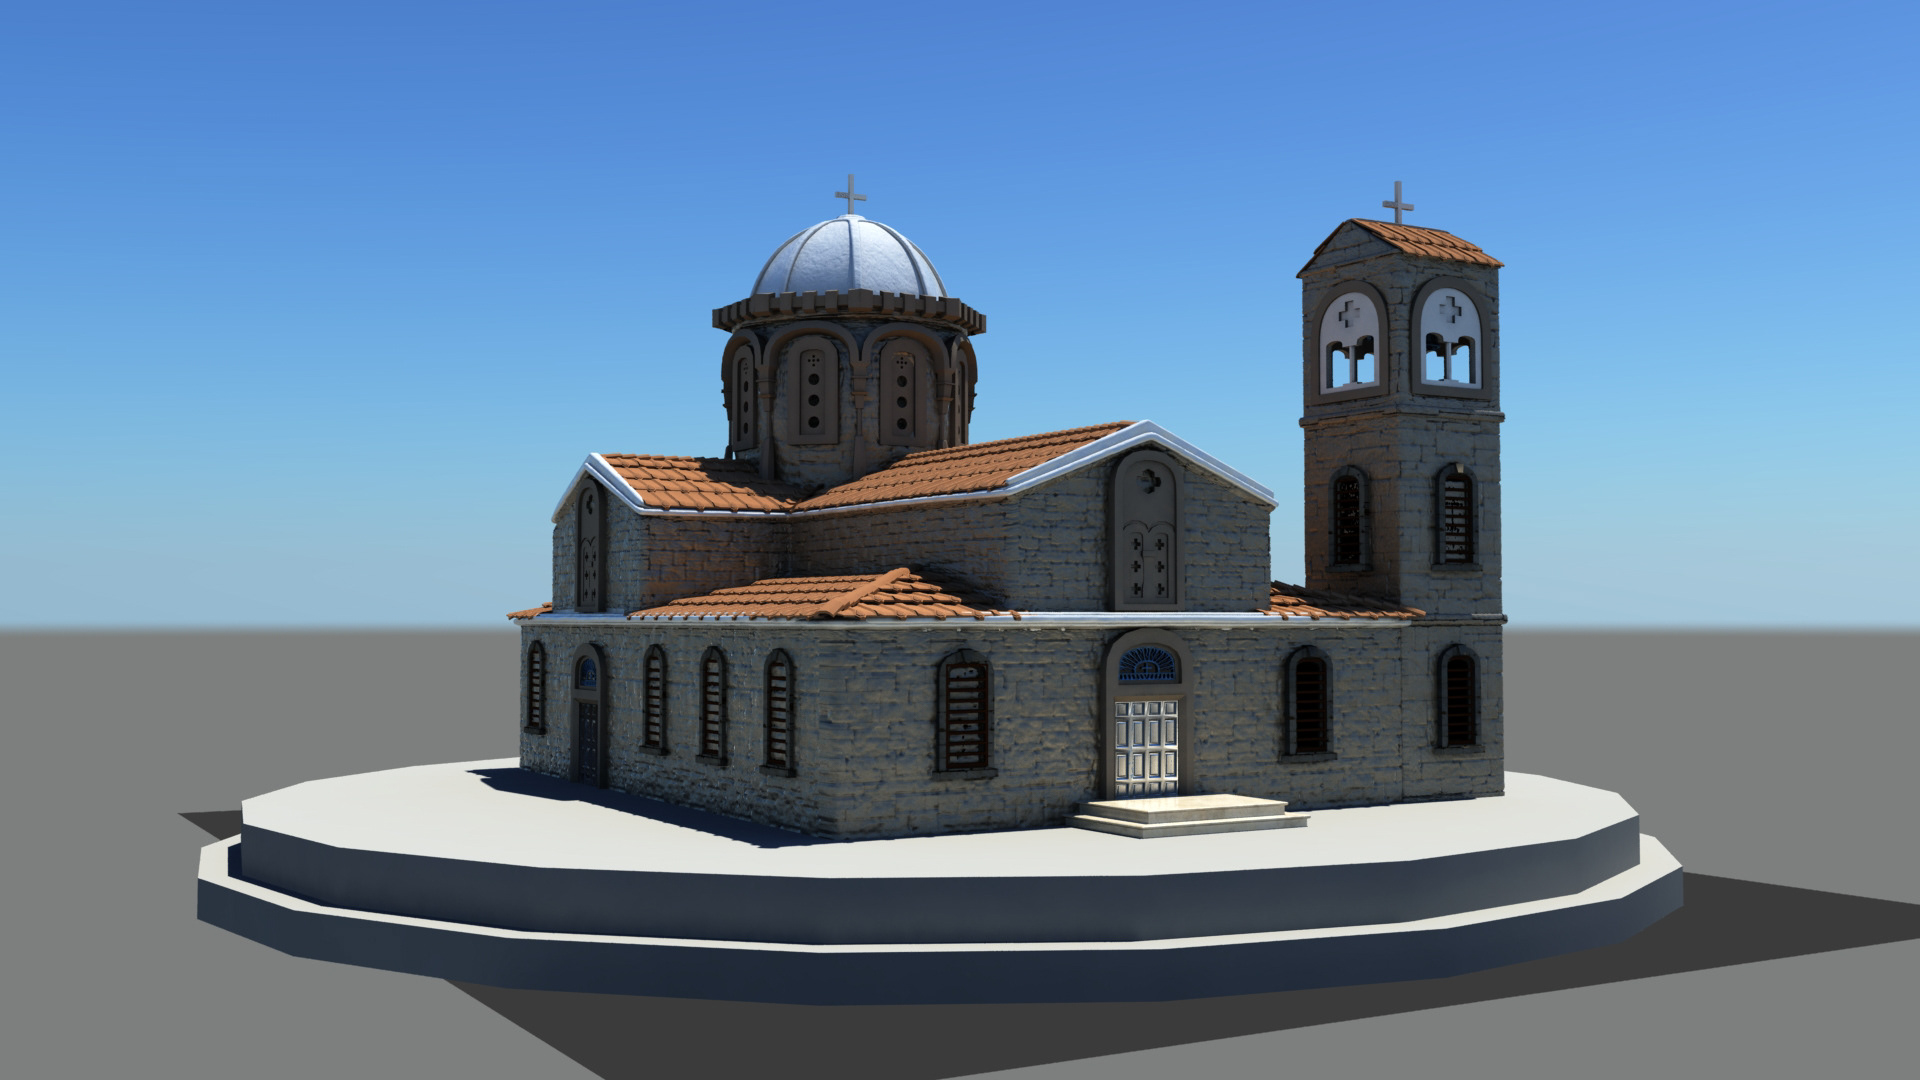
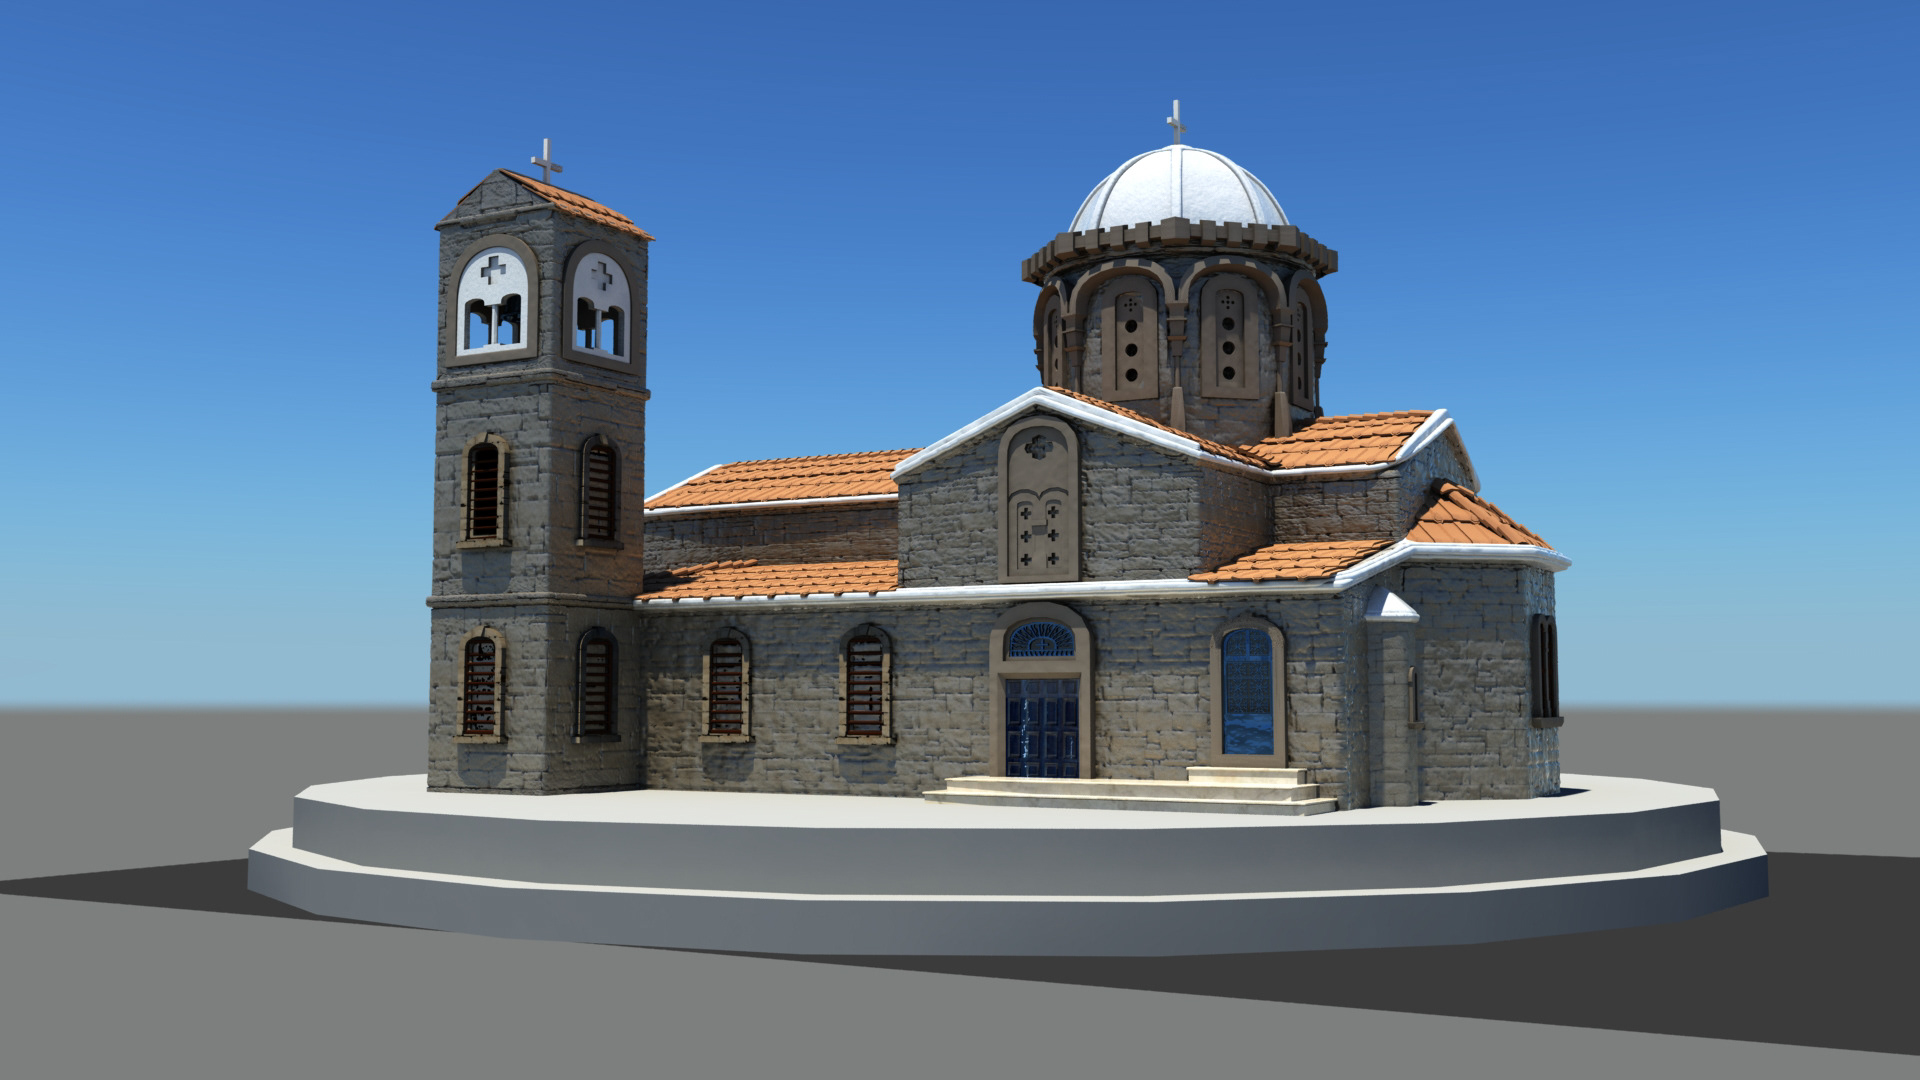
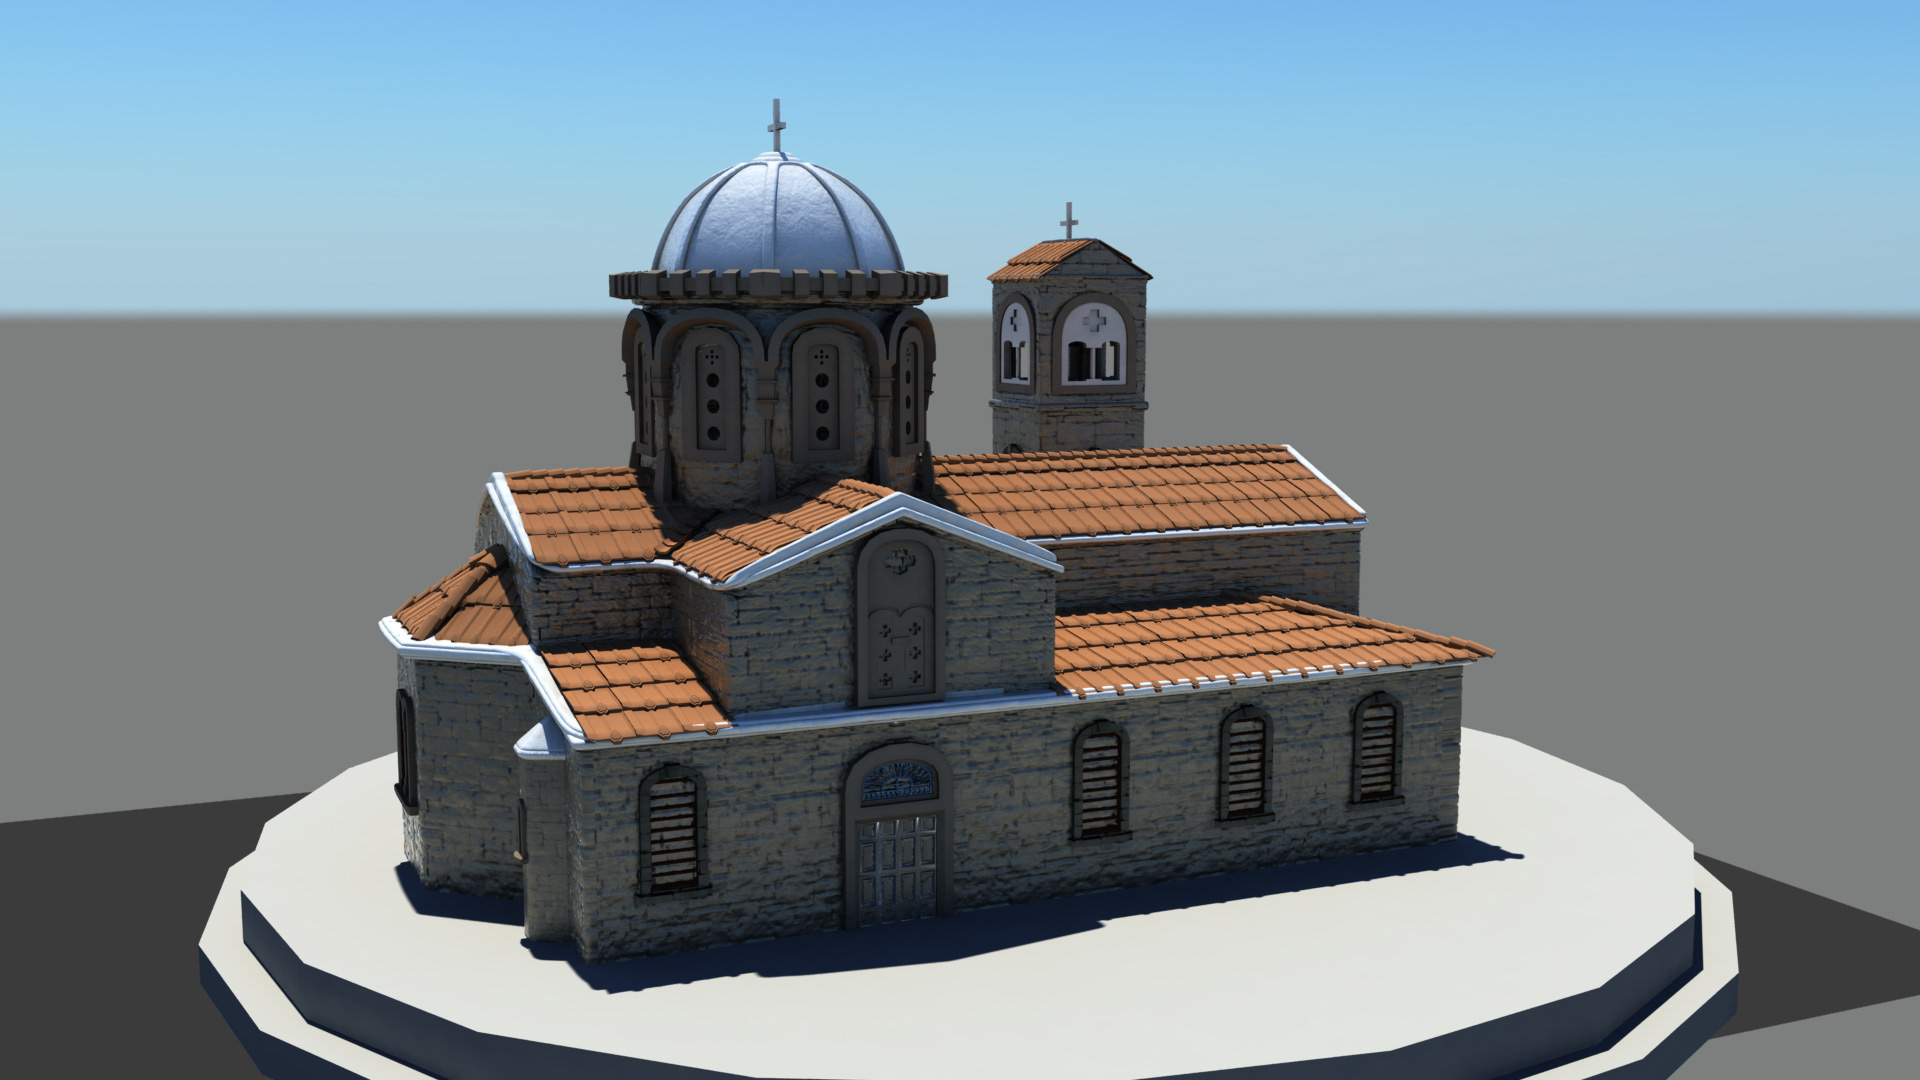
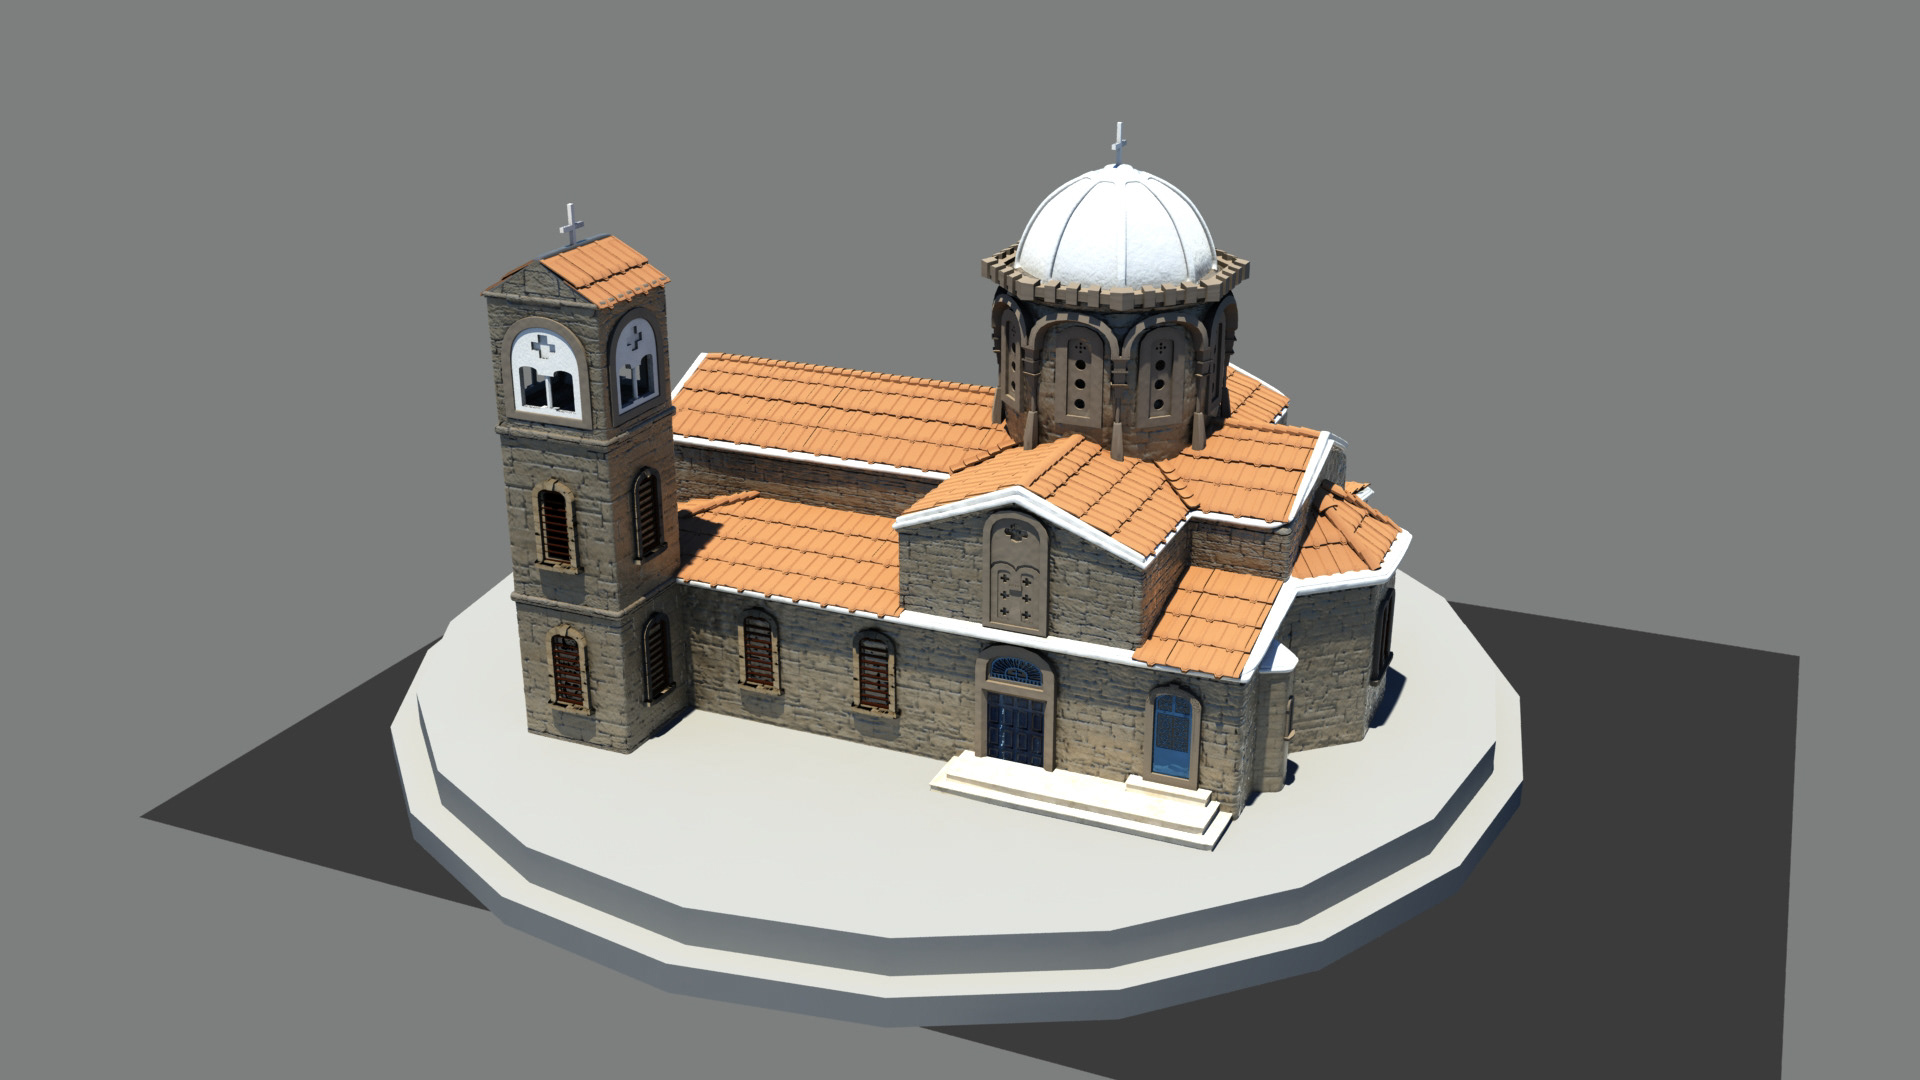
Objective: I really wanted to create a nice exterior model. Aside from massive exterior sets I created in college, I have not produced many high-quality exterior models. Nearly everything I create is a prop, whether it be a small object like my teapot or a vehicle. So with this project, I want to create a high-quality model of a building. Specifically, the Dhoros Church just down the road where I was staying in Cyprus.
Look Dev: The church was not small enough for me to take standard reference shots like I can with a small object. No photograph I take could really encompass the entirety of the building. So my first approach was to figure out the perimeter. My foot is almost exactly one foot in length, which makes for a nice measurement tool. I walked the perimeter and counted my steps, which I then recorded onto a piece of paper and drew a rough outline. It's not perfect, but it will allow me a good enough approximation. I tried to use google maps, but the resolution was too bad, so I had to resort to this.
After getting my perimeter scoped out, I then took as many pictures as I could to document the many sides, and angles. So with all these photos, I would be able to reproduce the church. For the tile roof, every home around Dhoros has the same, so I was able to pick one up in the yard and use it as my reference.
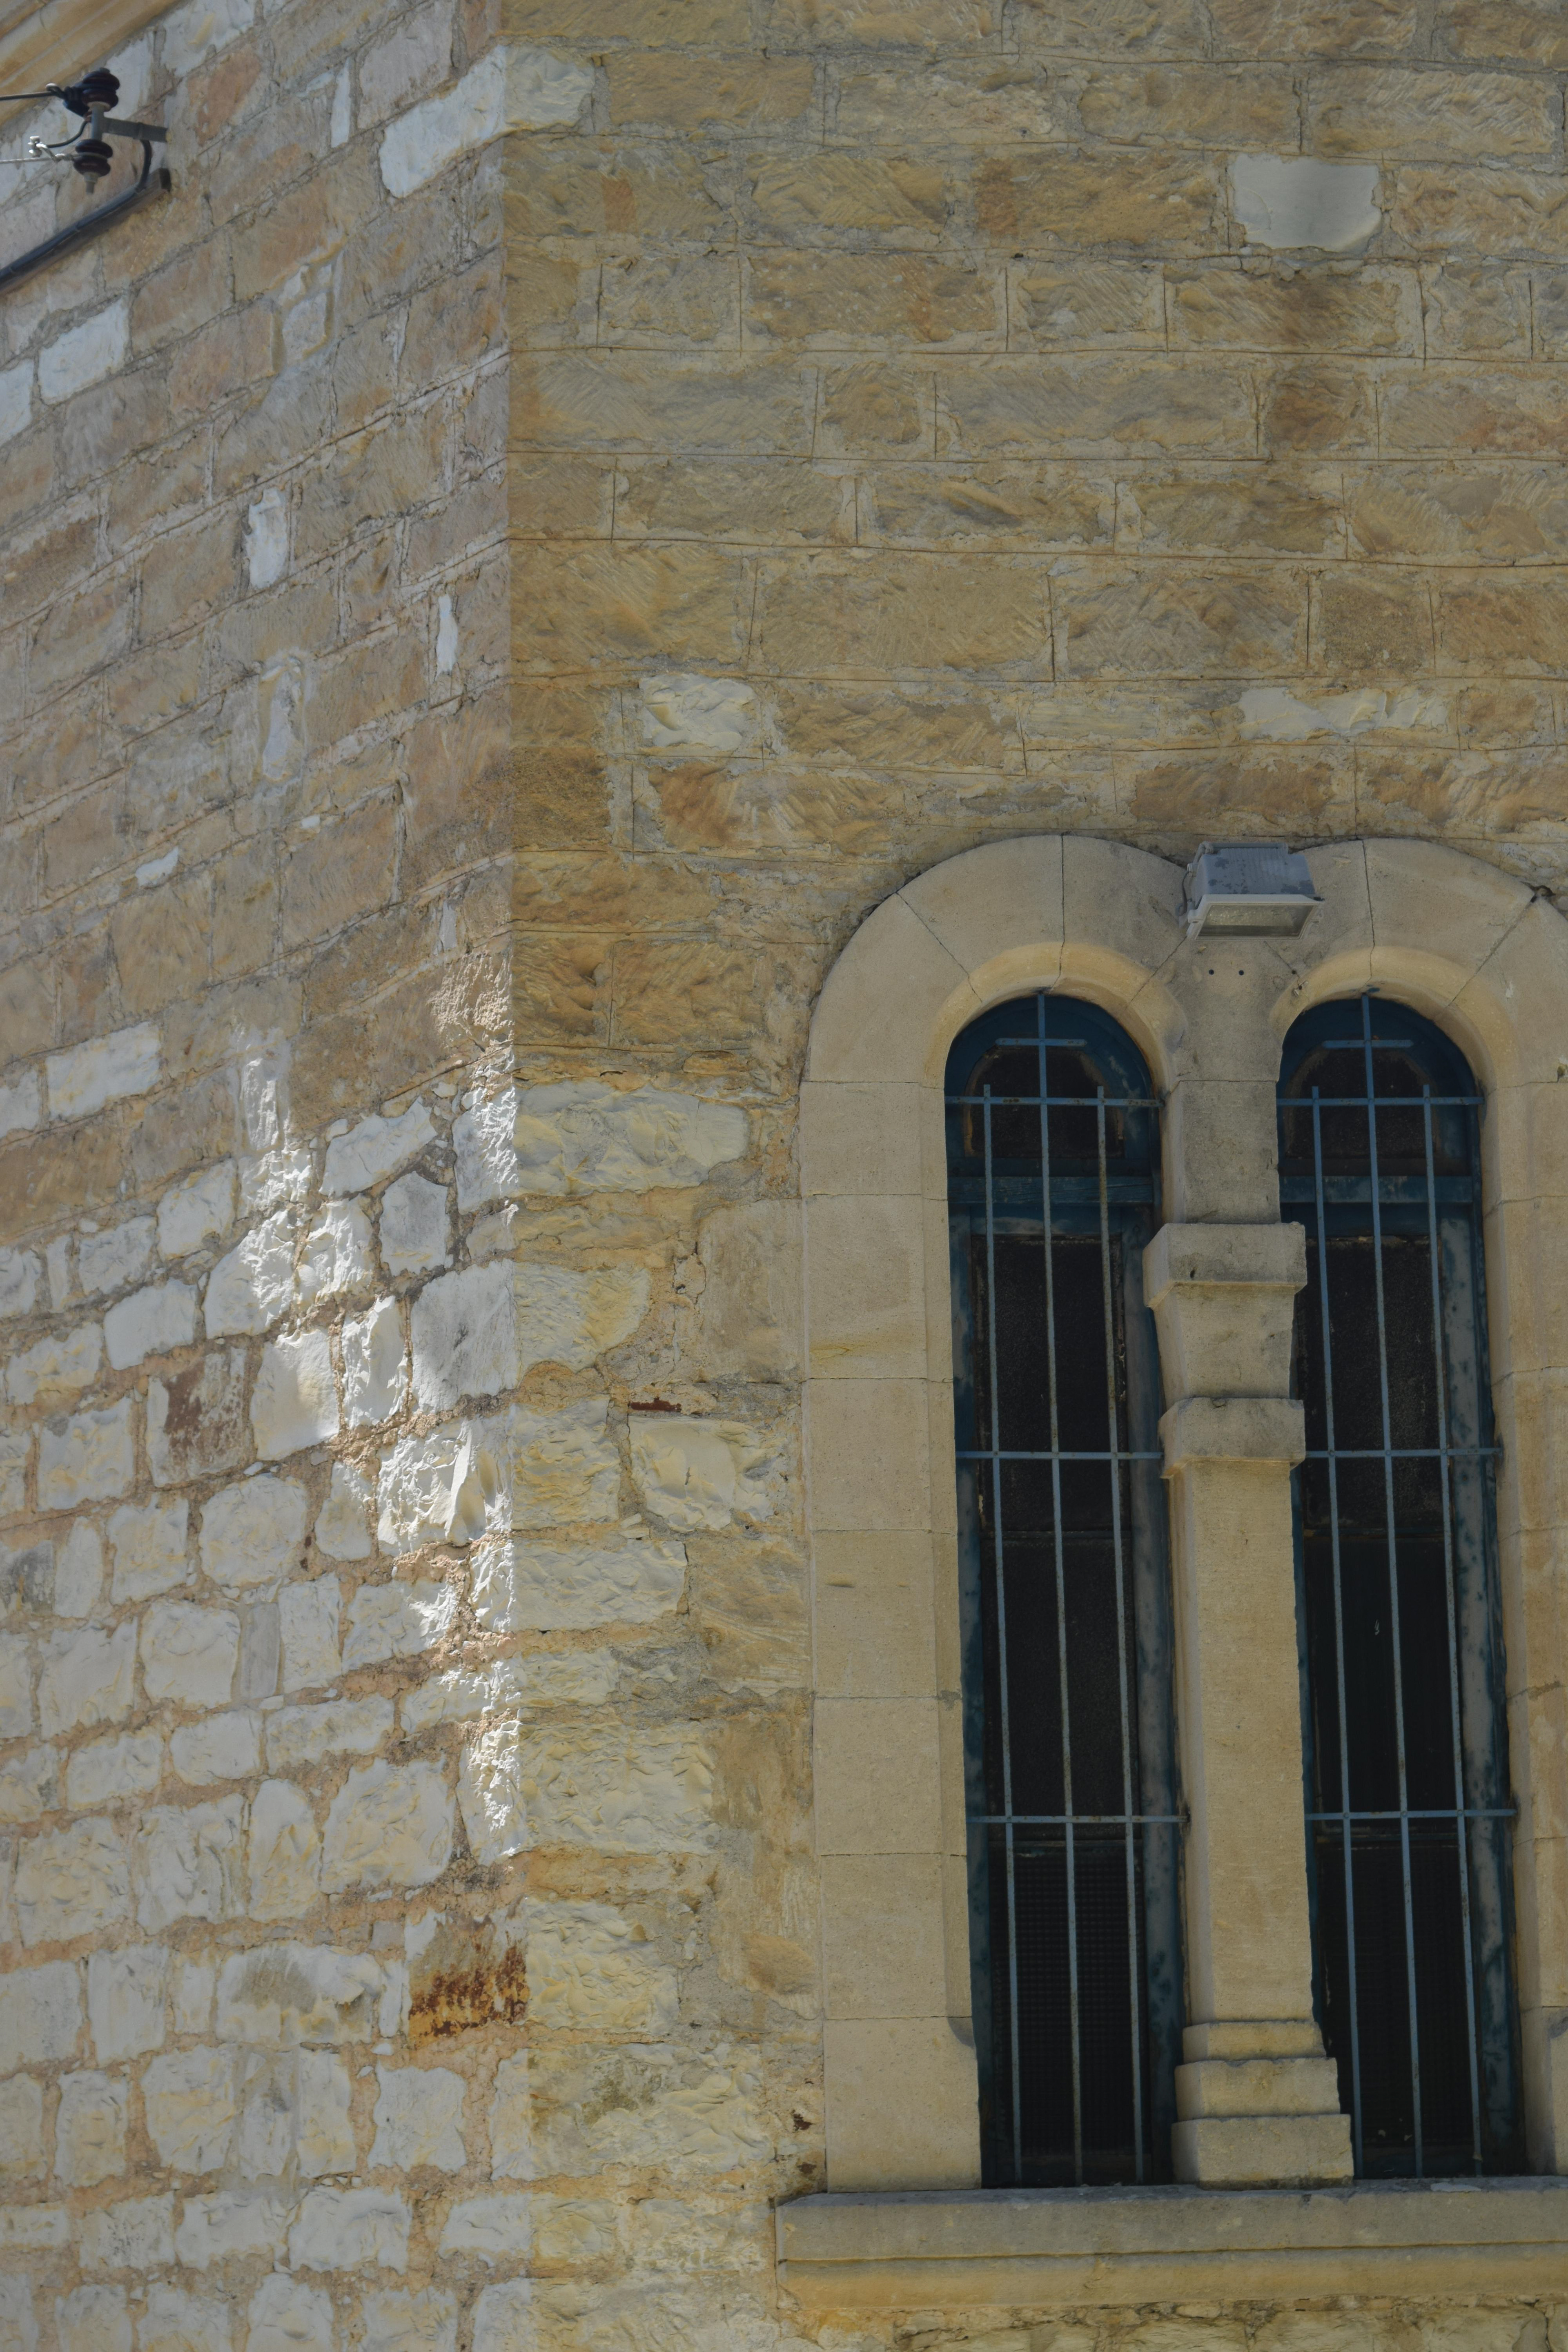
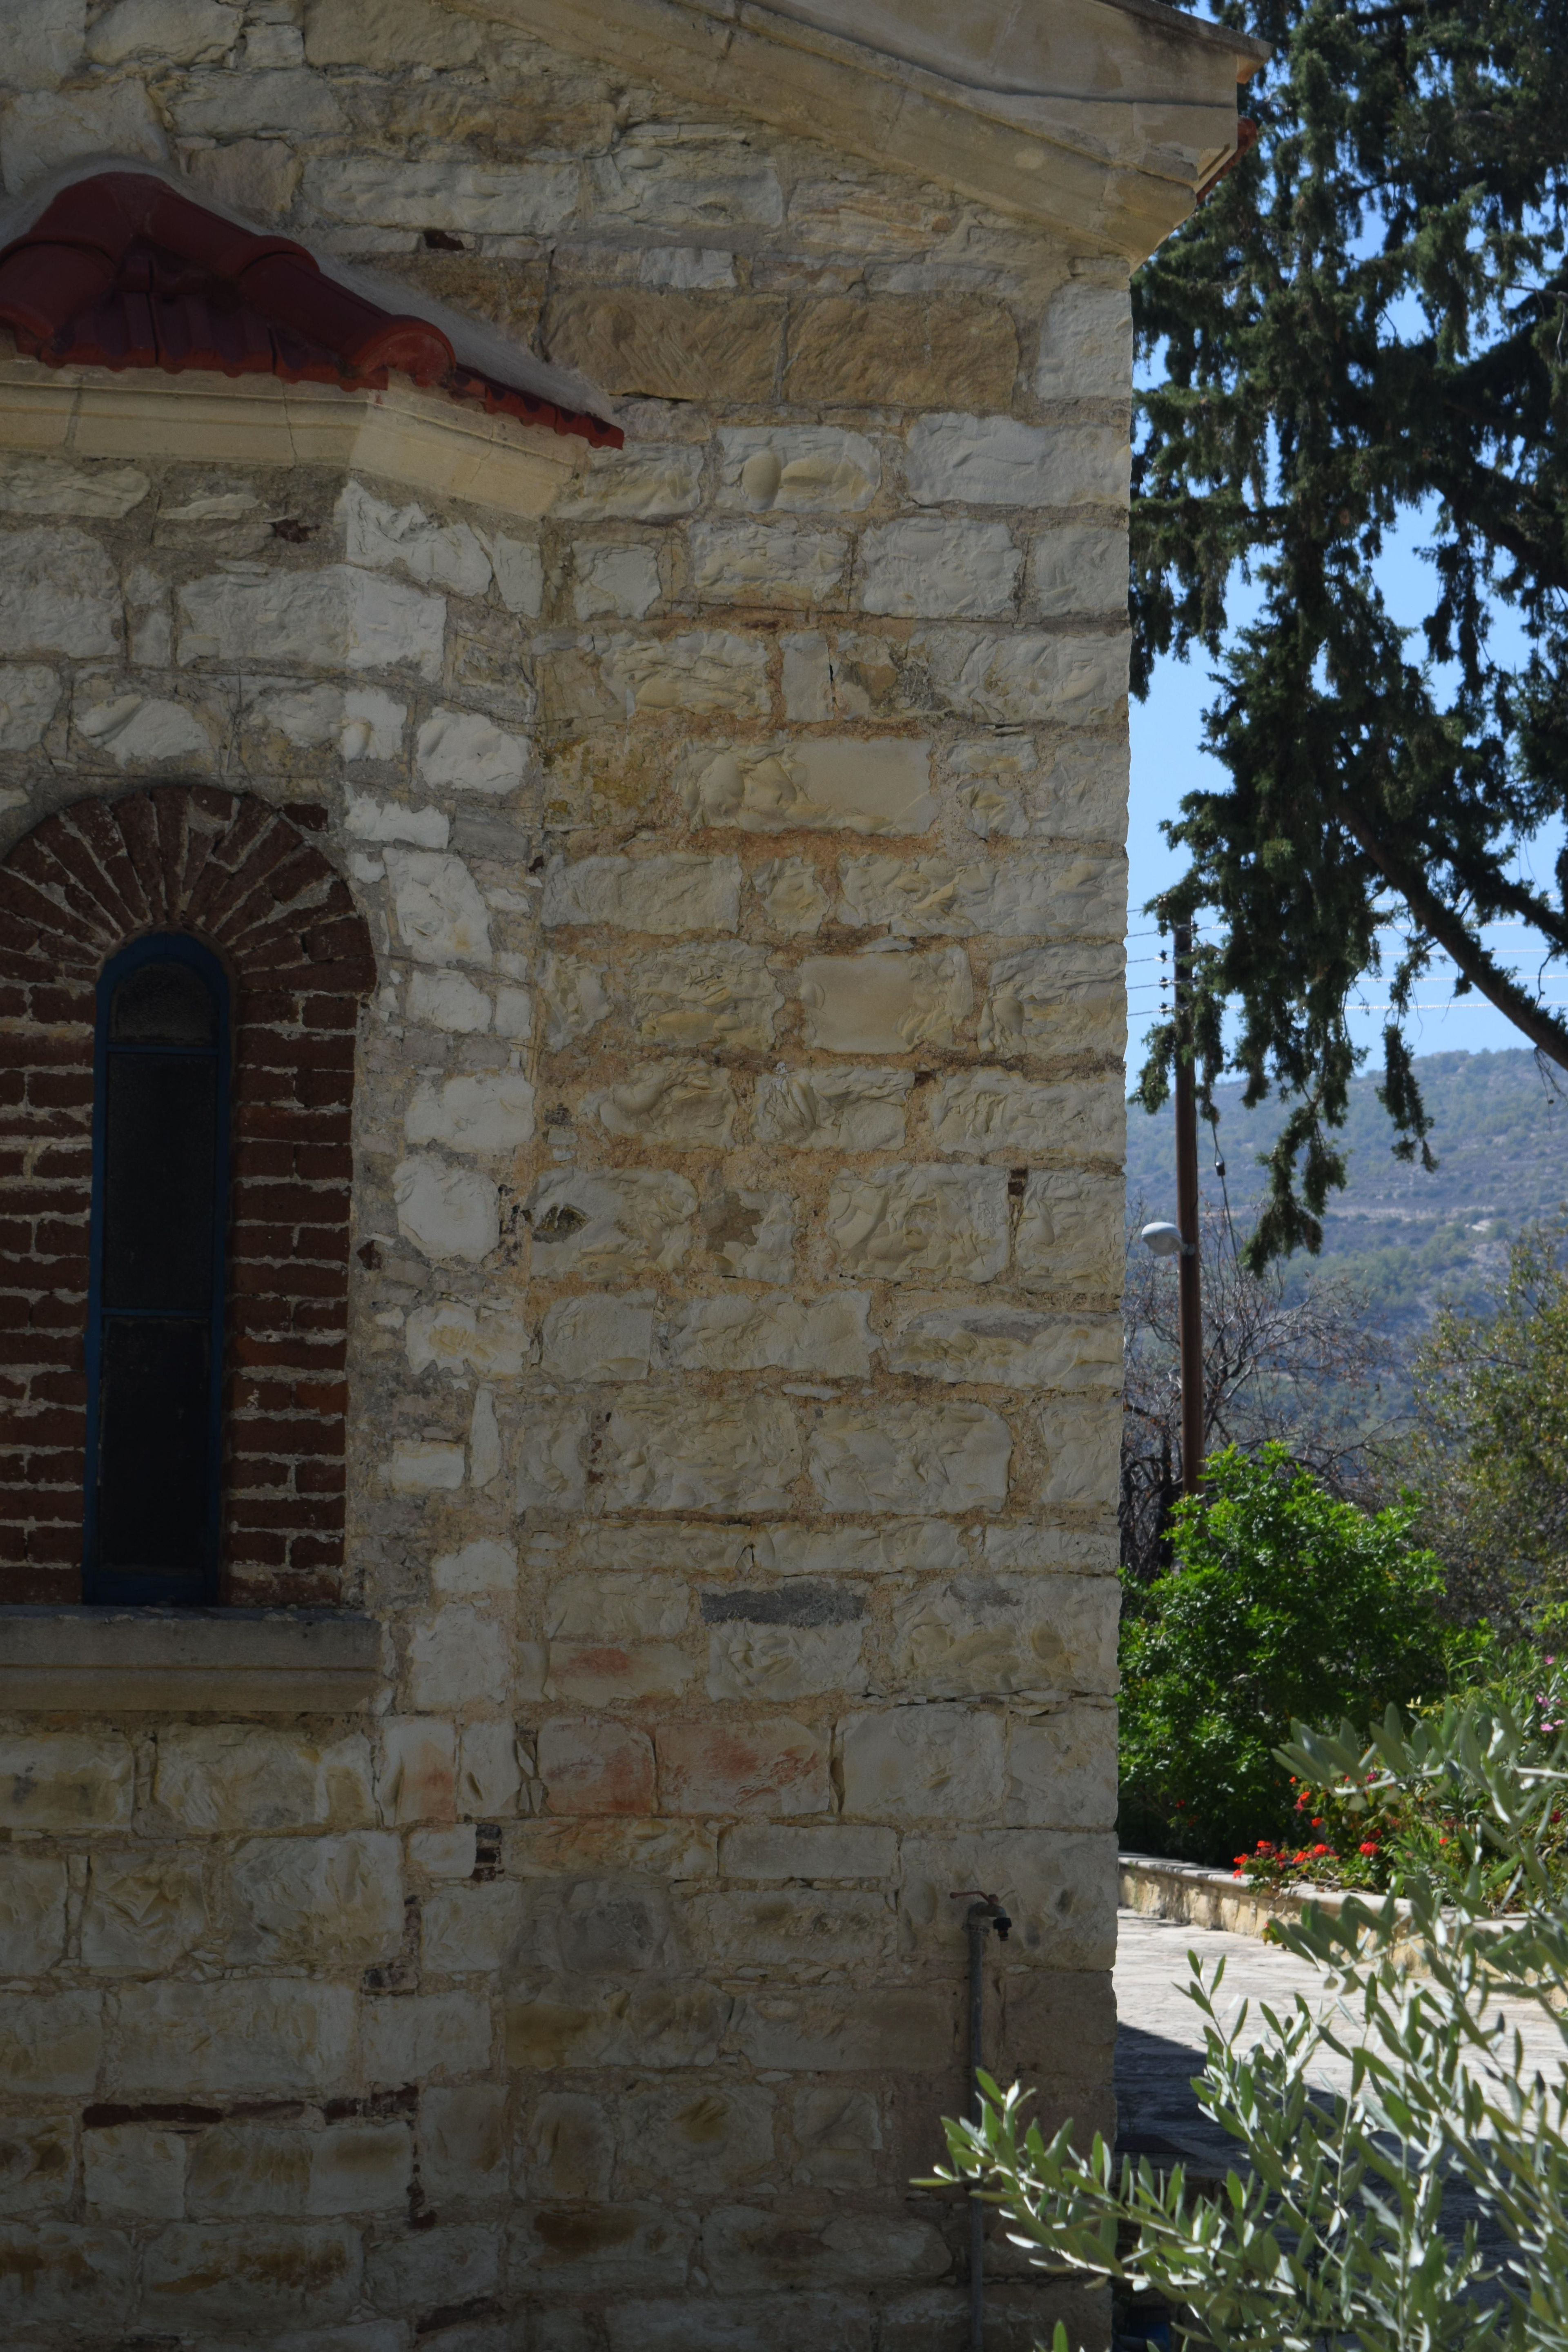
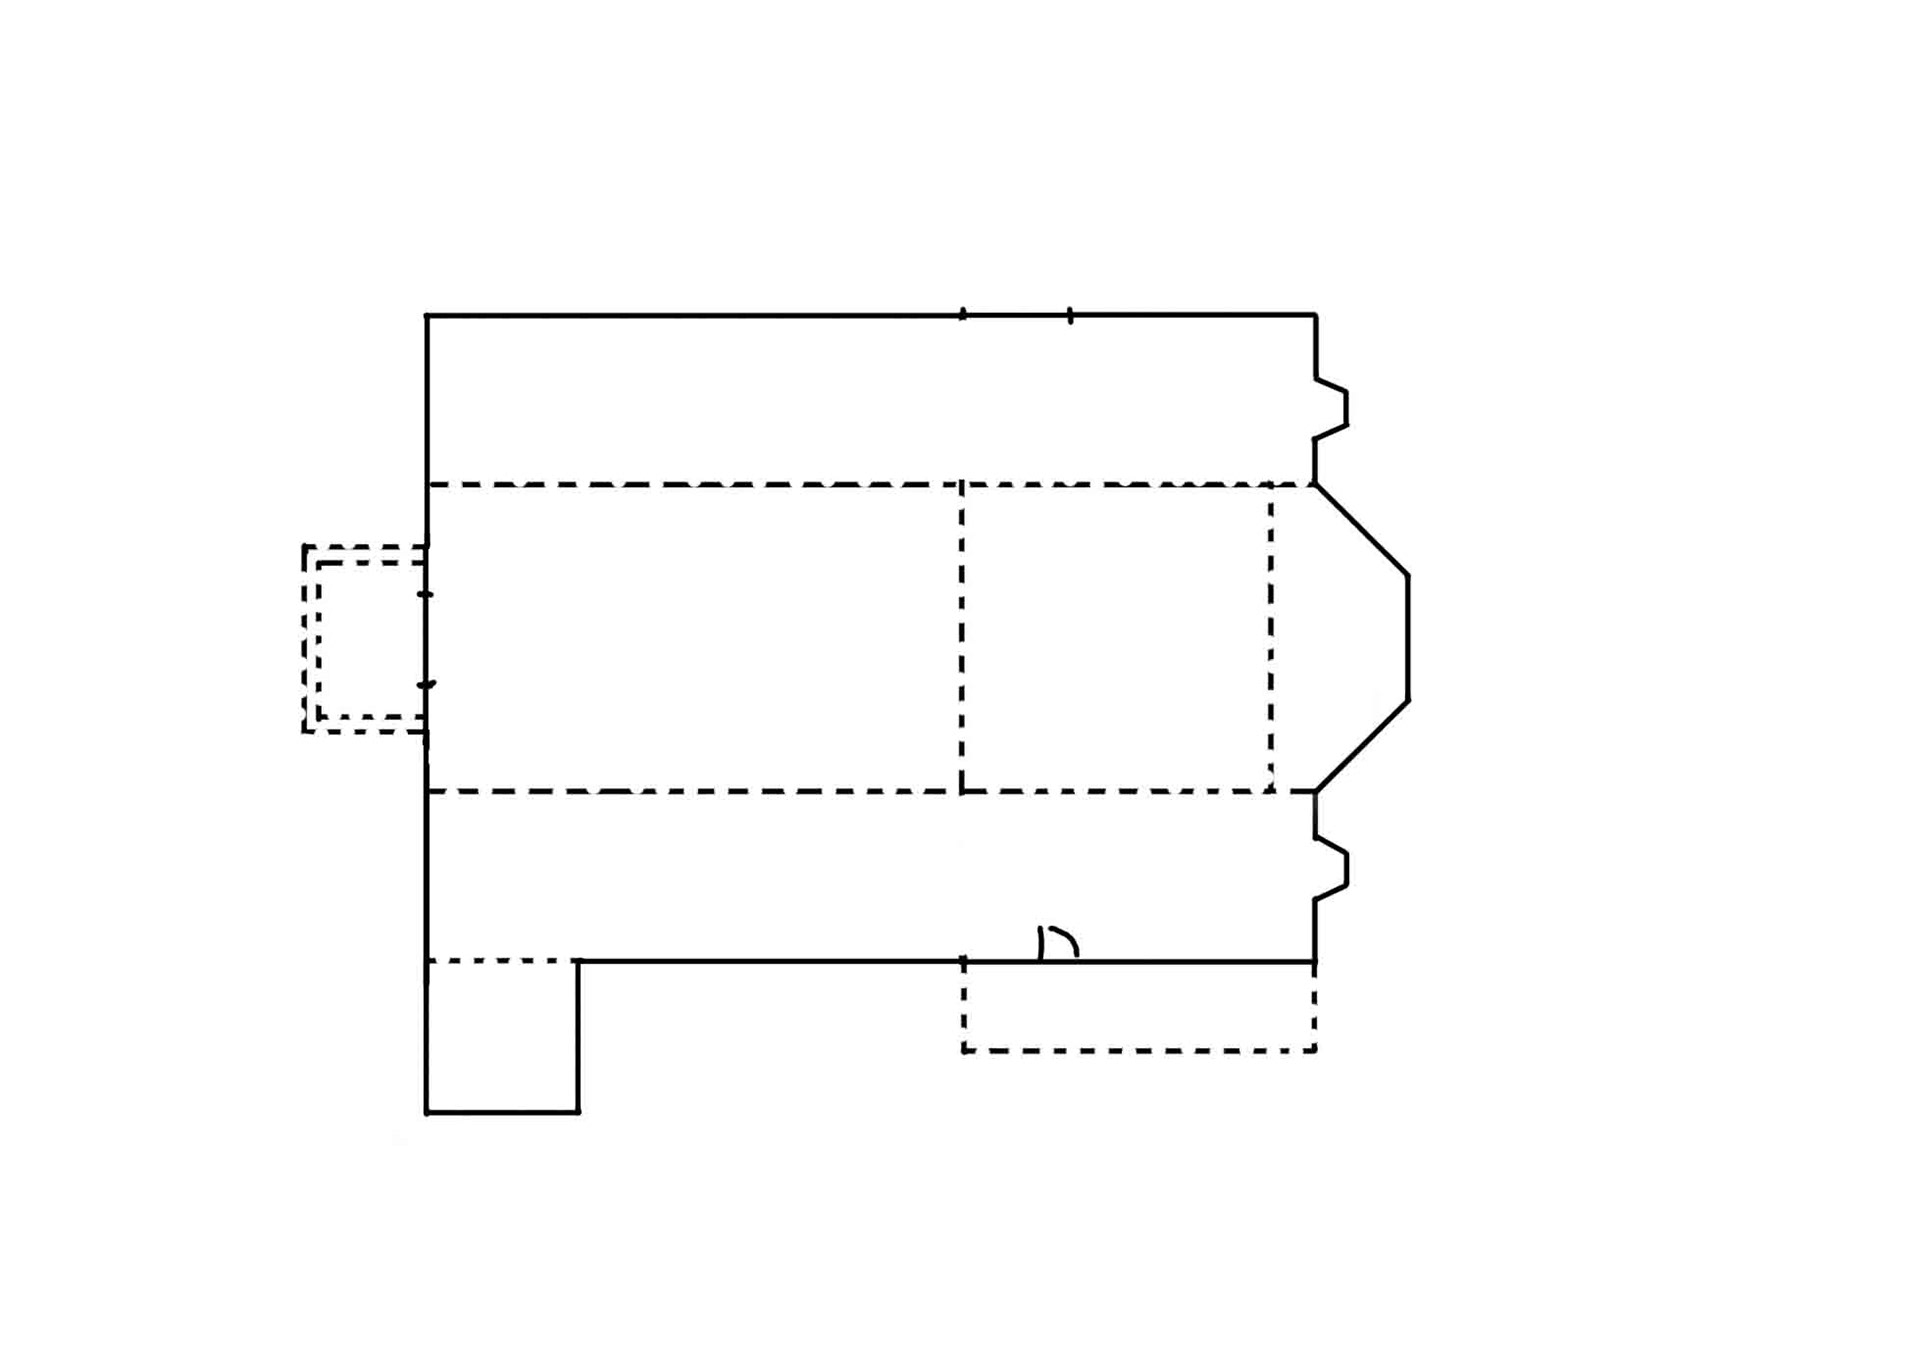
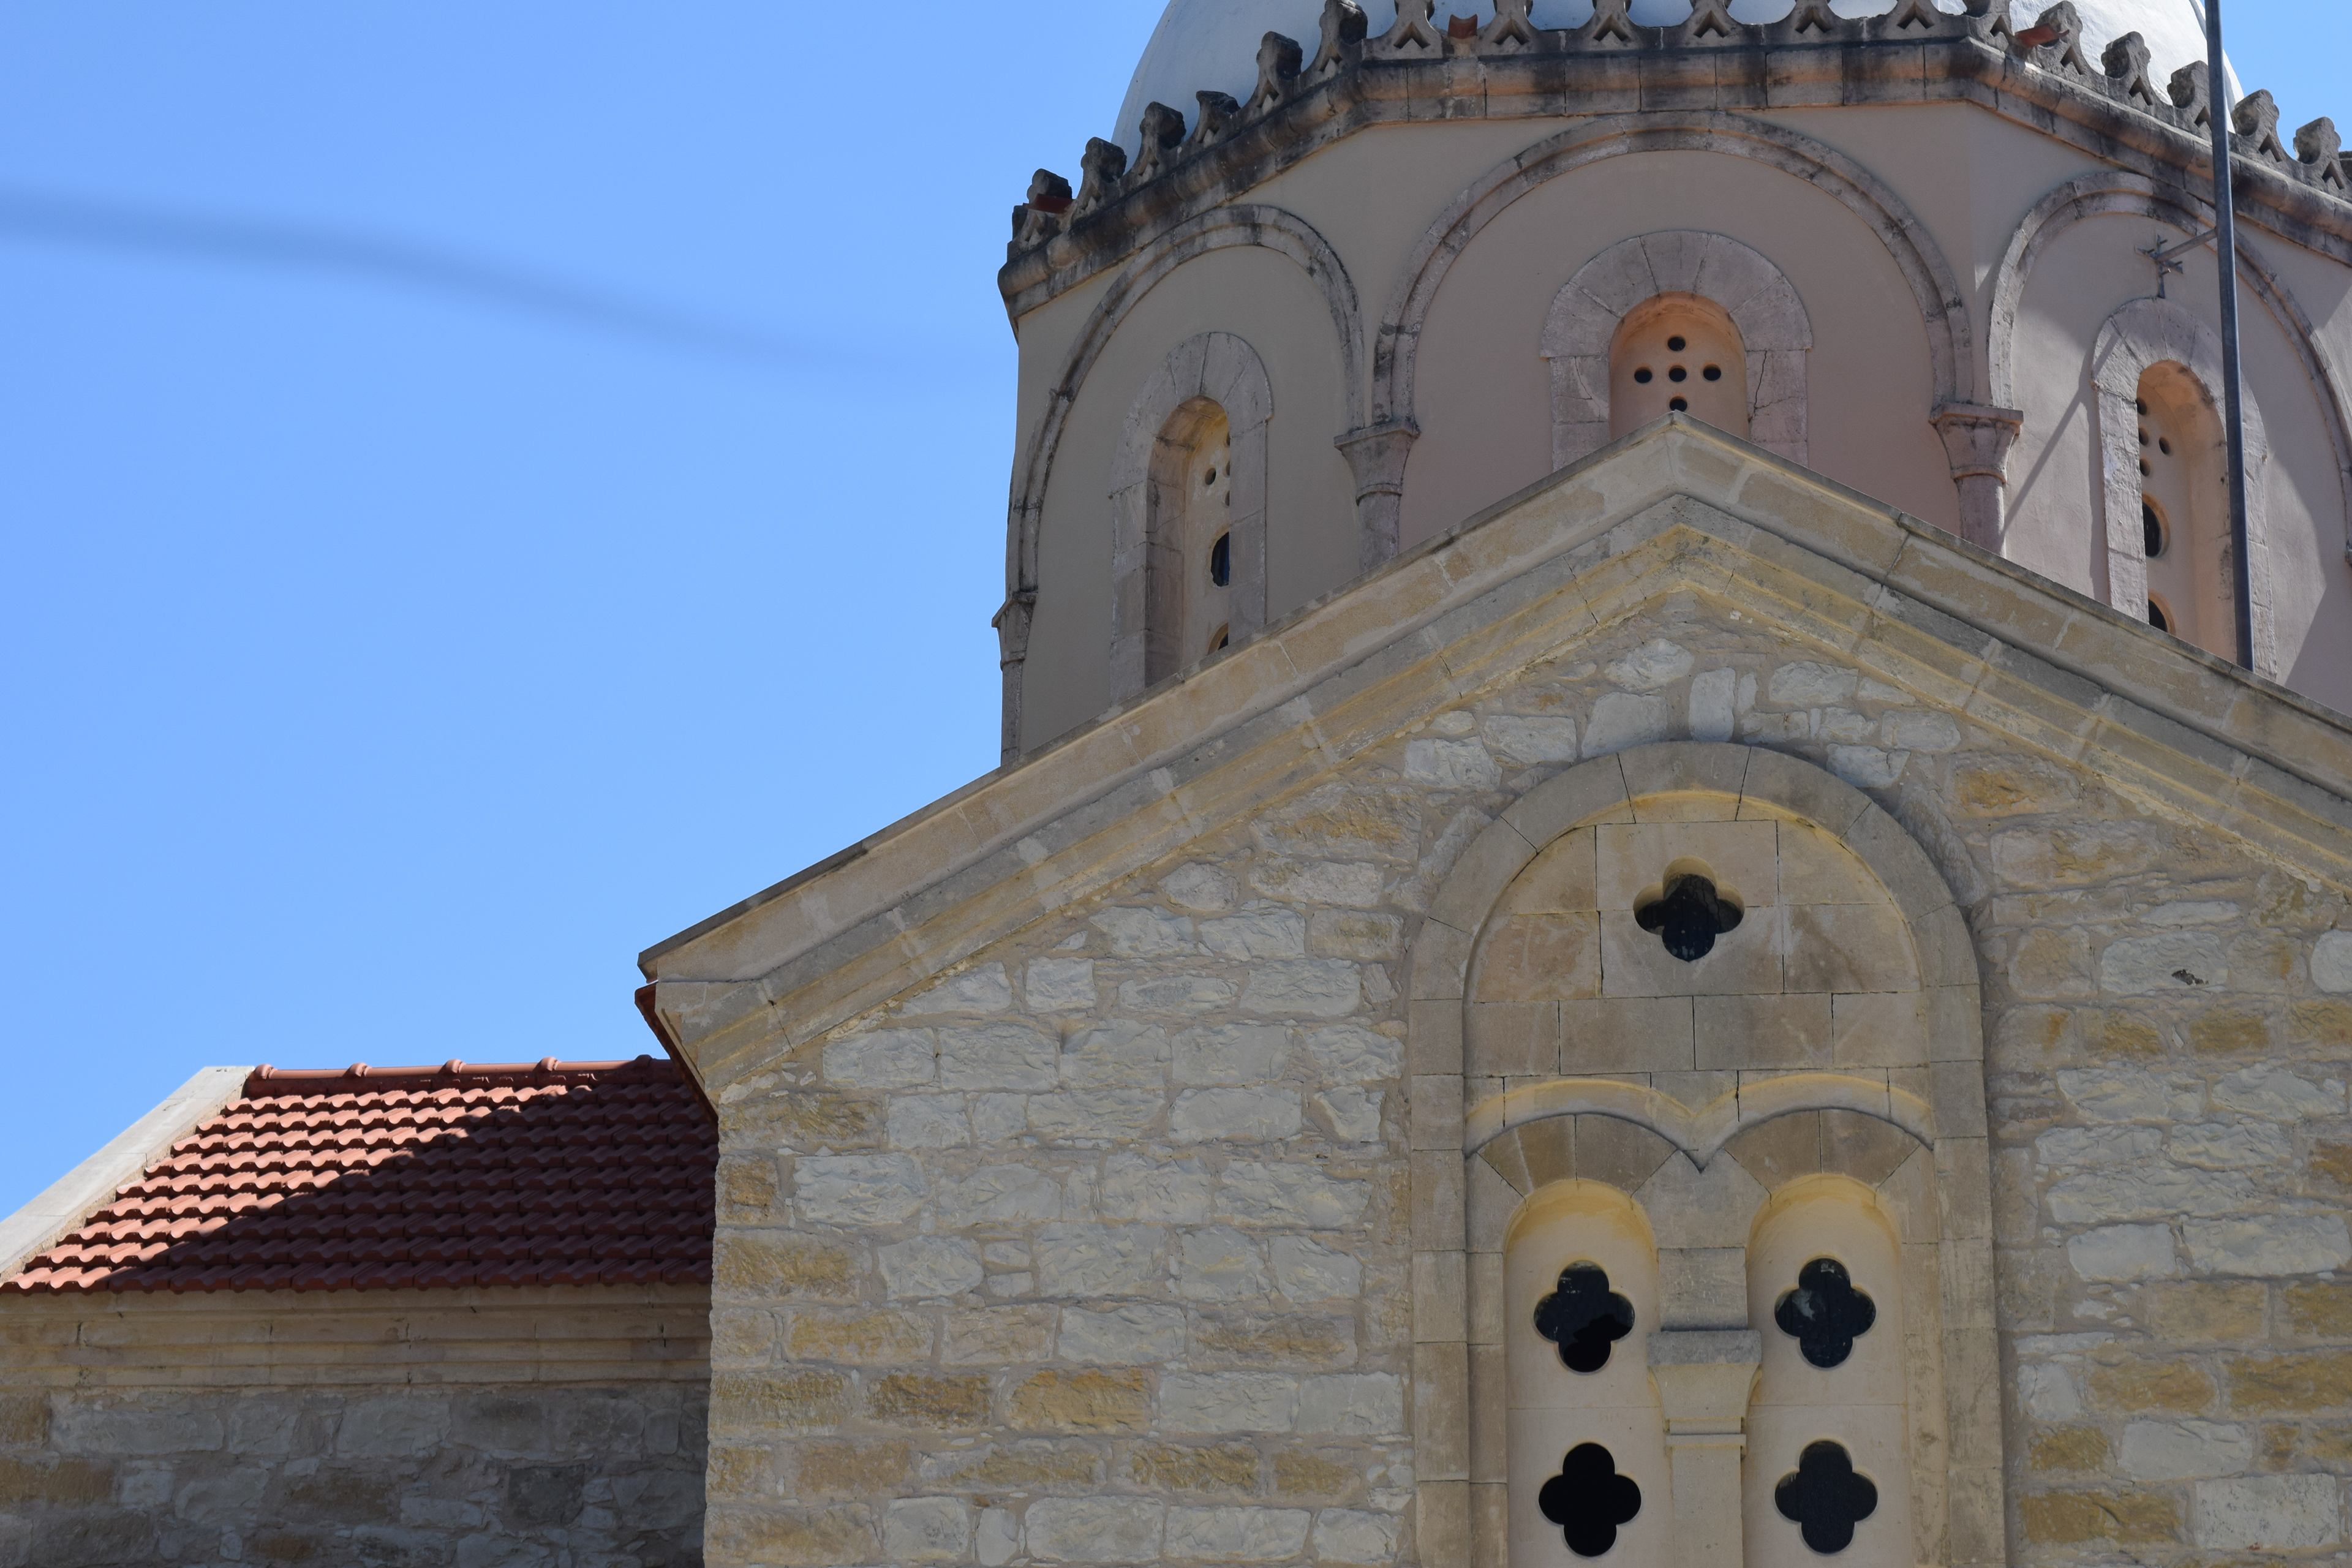
Modeling: I began the first model by creating a rough and basic shape. I was not going for real accuracy with this, but rather was trying to get the form and key shapes and blocked. Because I did not have the greatest reference photos nor an accurate measurement perimeter, I knew there was going to be some tweaking that would need to be done. As well, this allowed me to better plan for the objects I would be modeling later.
With my reference model created, I set the transparency to about 30% and then began my modeling shapes on top of the reference. I decided to opt for multiple objects, as opposed to one single mesh. I chose this to simplify the geometry as well as to give me more control in my UV and texture process later on.
I had three key objects: the main body of the church, the bell tower, and the central dome. After these three key pieces, then I modeled pieces that were duplicated throughout such as window frames, window inserts, door frames, doors, and various other decorative pieces.
Because the church is Greek Orthodox, there were two distinct features present across the whole model. The first is that of hard edges and octagonal geometry. This is most notable in the central dome, which is an octagon. The second is the heavy use of arches. There are both decorative and supporting arches across the entire structure.
For the arches to get the look right, I used the bridge tool, setting the angle of the curve to either 15 degrees or 30 degrees depending upon the specific spot. I found that these settings provided a nice arch when I added in subdivisions and was quite easy to work with. When needing to make a keystone at the top, as some required, I simply extruded the top face and then scaled up the specific spot.
The most complex geometry created was the decorative ironwork above the doors and the single side door. In both cases, I utilized the bridge tool extensively to get arches and curves. I also meticulously extruded and individually modeled each sunray.
The tiled roofs were pretty simple to create, I utilized the box model method that I've been using mostly throughout and ensured that the pieces would fit and overlap each other nicely. Here I broke from reference a little, because I did not want to create a crazy amount of geometry. I enlarged the tiles so that I could keep it down to around 800 tiles total. If I had gone by their actual size, I would have been far closer to 20,000 tiles. While it would have been more accurate, I do not think that my change detracts from the look, and is worth saving time for rendering and computation.
Overall, I was able to keep the geometry rather low and only added additional geometry sparingly. I instead utilized the Mental Ray Subdiv approximation throughout at a level of 4-N and also softened Normals. However, in order to get the Subdiv to work properly, I still did have to go in and add a little more geometry. Most notably, I added small bevels at all sharp corners.
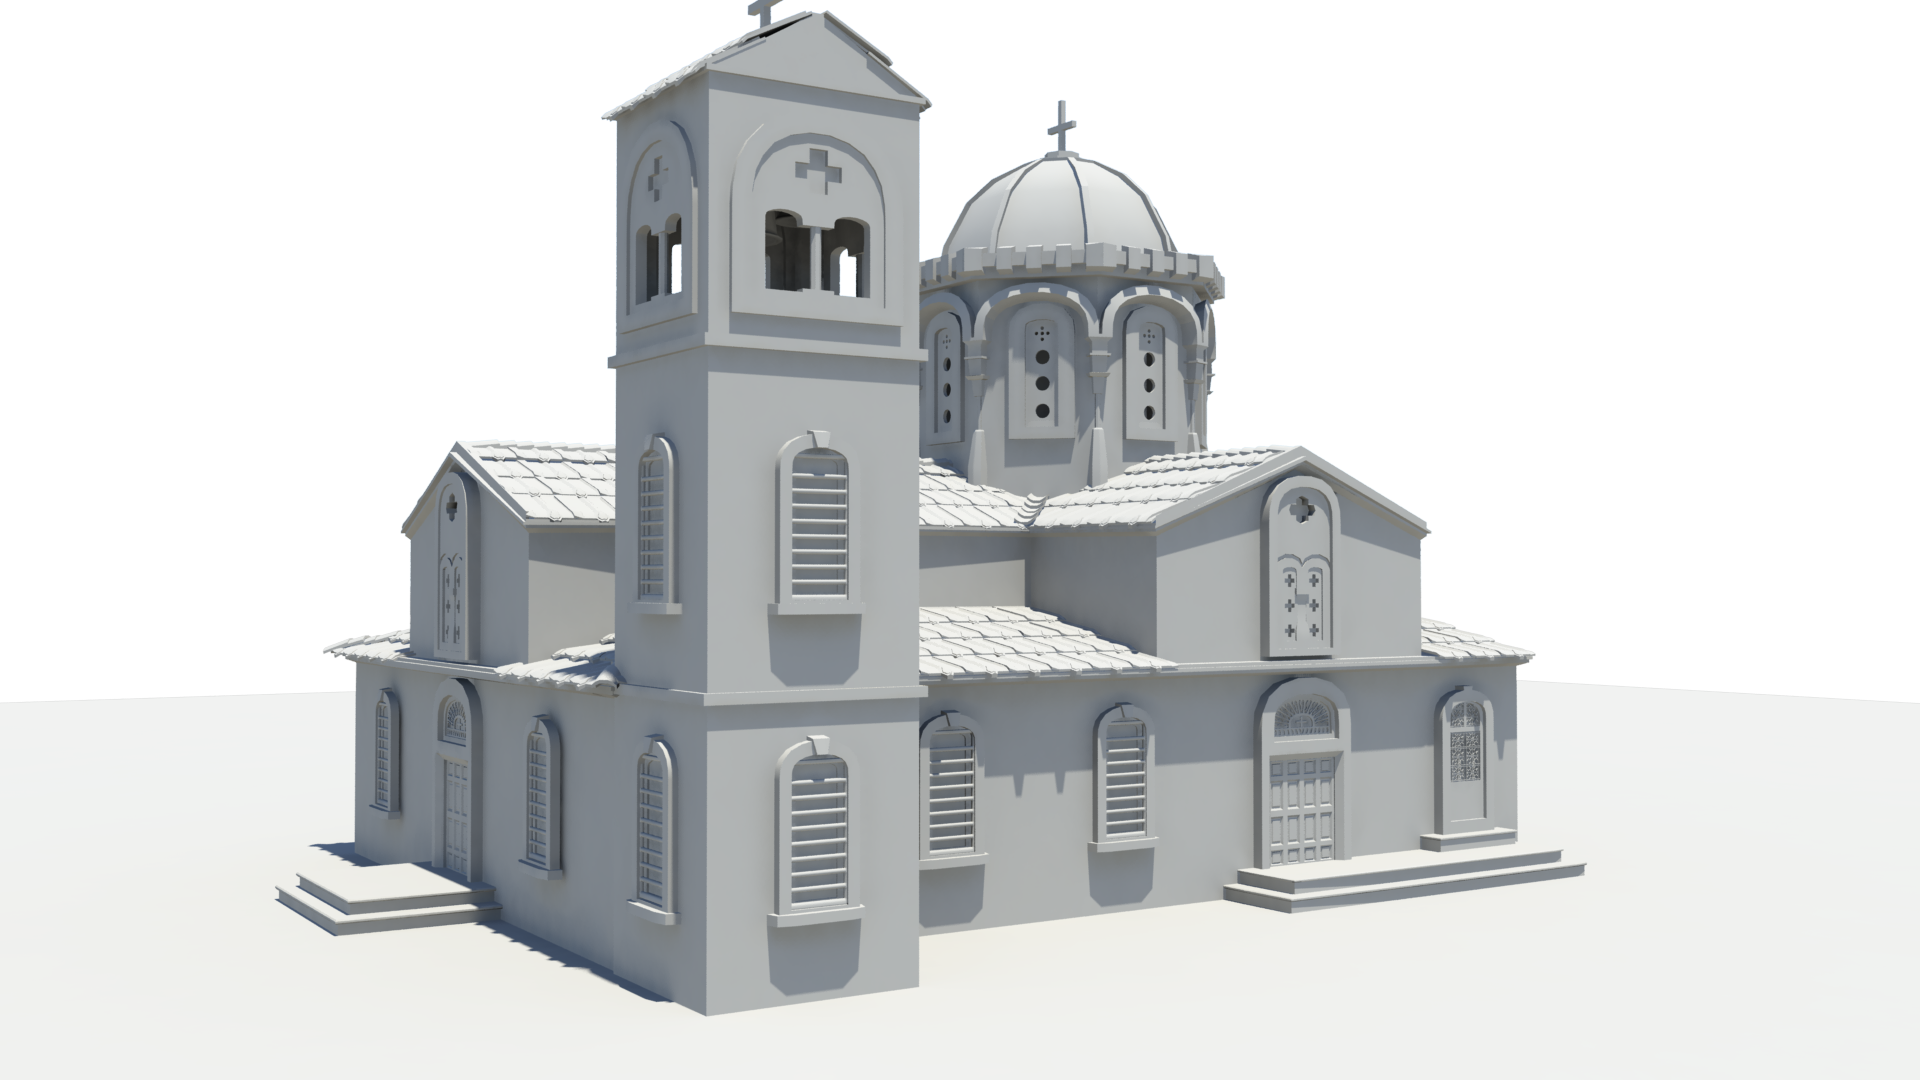
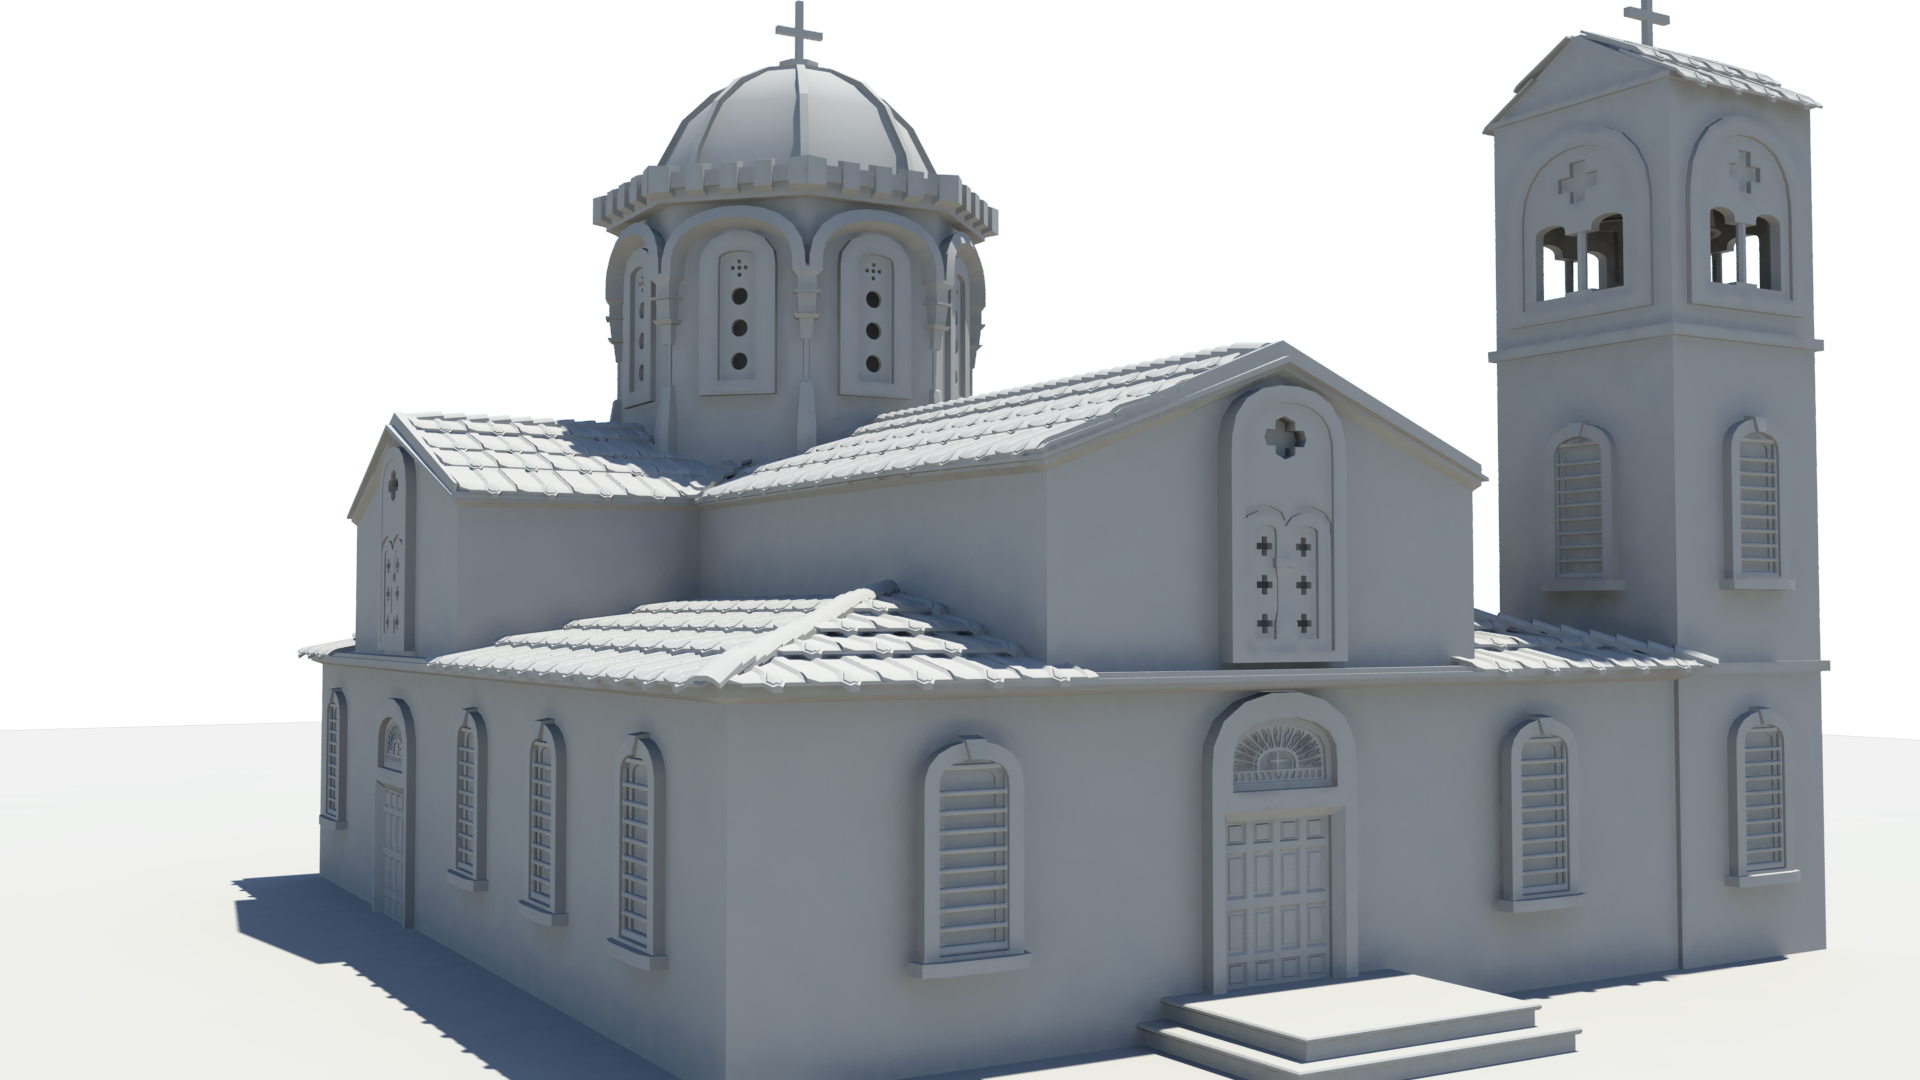
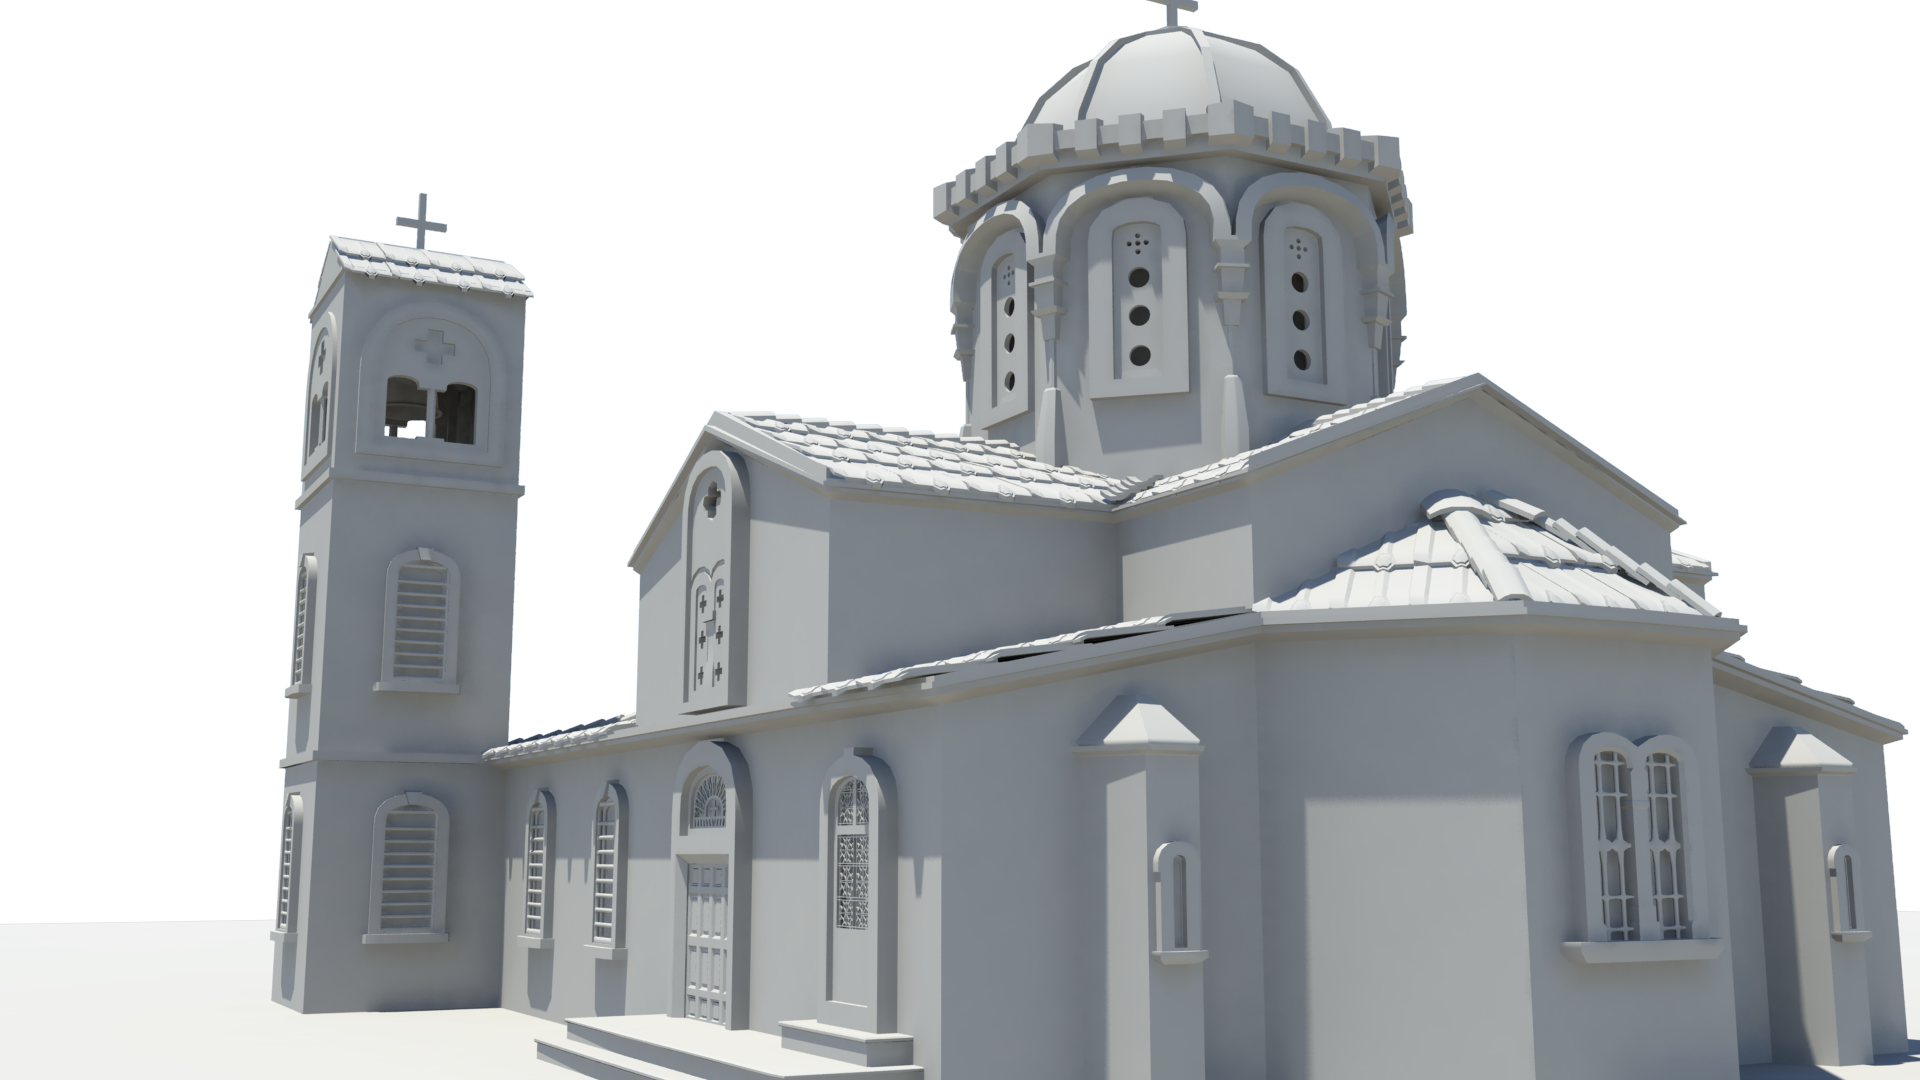
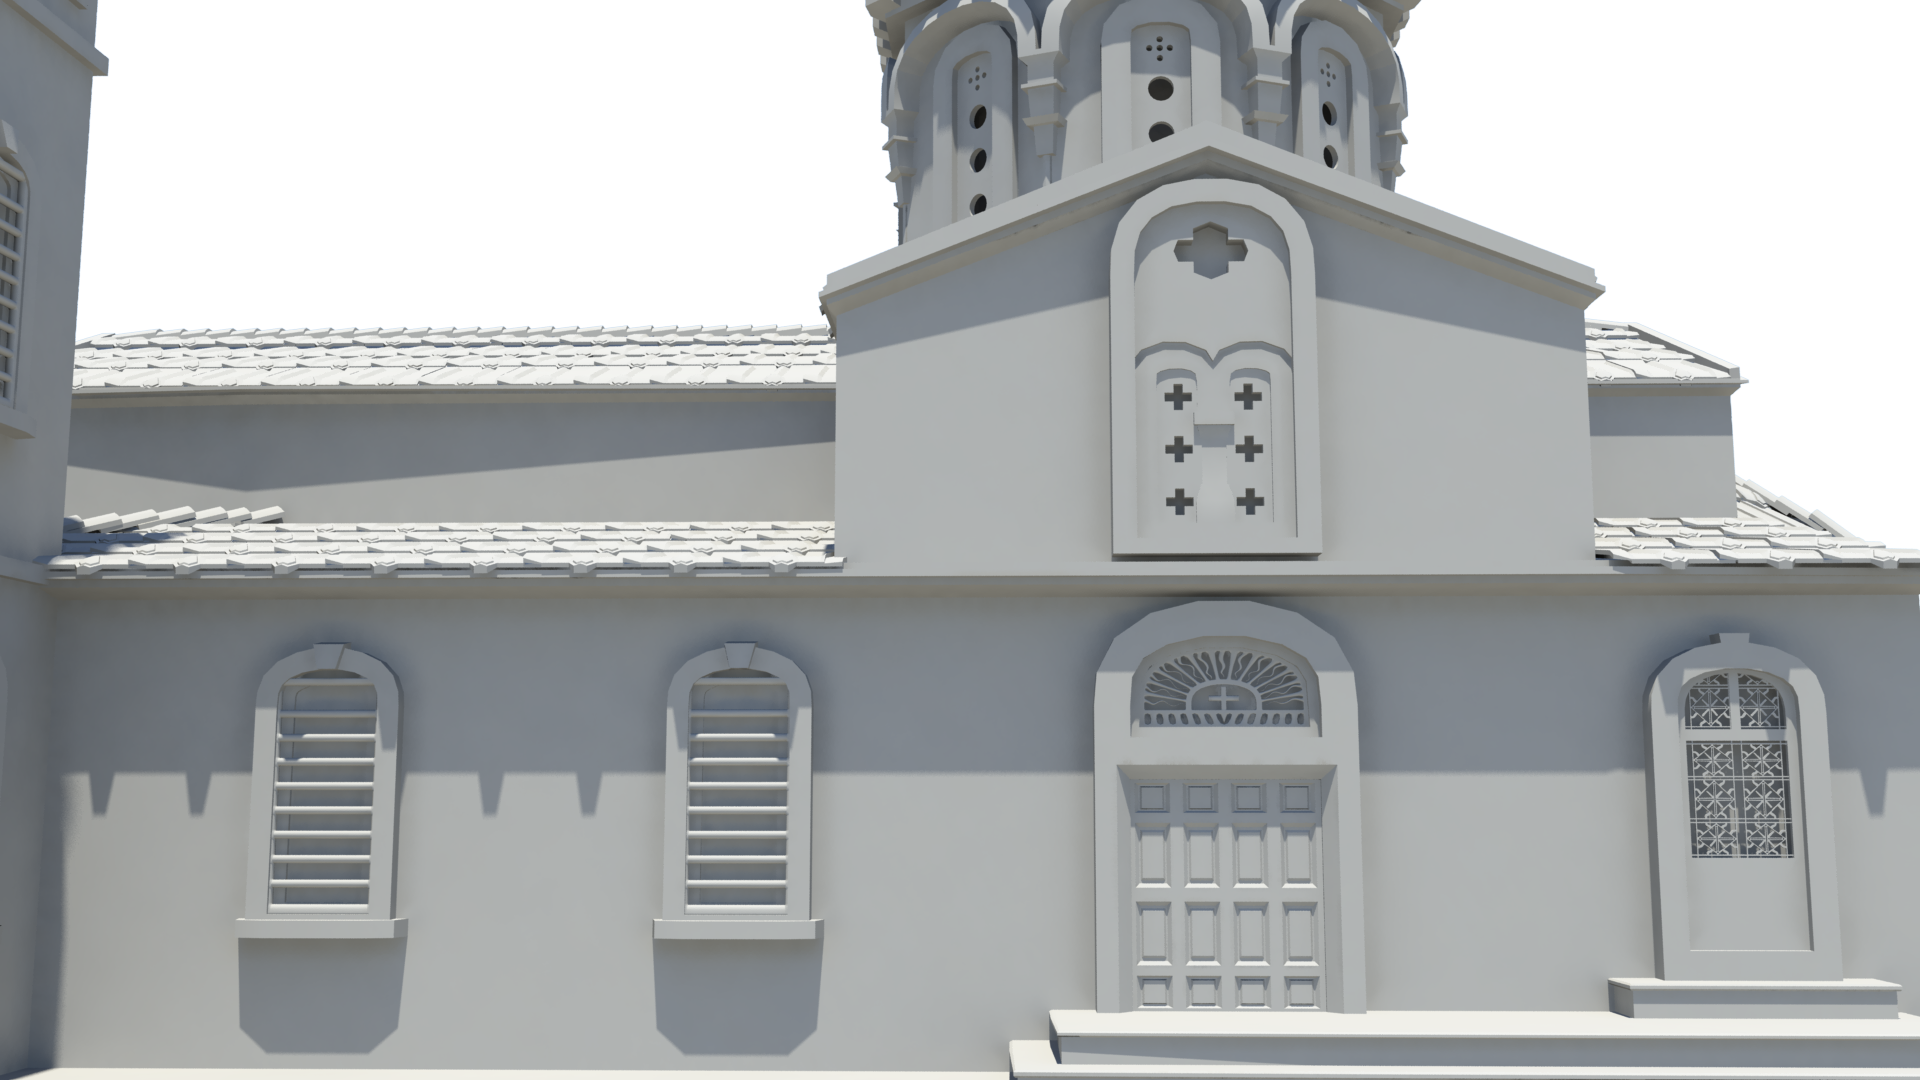
Texturing: UVing the objects was pretty straightforward. The approach I used for the main building and bell tower was to start with an automatic mapping. With the Automap created, I then sewed the pieces together to get the UV sets. Because the models were pretty square, this worked out quite well, and I had a minimal amount of smoothing and unfolding to do.
The central dome required a cylindrical projection, combined with a y-axis planar projection, but again, the object remained a rather simple one to map.
I did run into one issue however with a few of my window fillers. The problem is that I used booleans to cut circles and clean the mesh. What I did not realize until now, was that doing this prevents manipulation of the FOA. While it can still have a projection, I could not move the handles inside the UV editor. Luckily I remembered a tutorial I watched years ago, that went over the UV process before all these tools became available. I keyed the vertices of my object on 1 frame and then scrubbed the timeline a bit and manipulated them to flatten the vertices and scale them how I would want them to appear as FOA. With this flattened version, I then projected a planar map. From there, I then scrubbed back to the original geometry shape, but with the new UV projection applied and then deleted the animation. While not a perfect project by any means, it was by far better than not having any projection at all.
With the FOA created, I then went into photoshop and created my texture maps. I wanted to keep them simple, but I really wanted to capture the appearance of sandstone that really was characteristic of the church as well. I opted to create three maps: diffuse, specular, and displacement. I added a Normal map as well, which I used Perlin noise to give a random bumpy feel to the rock.
All of the materials were mia_material_x materials, to which I gave a roughness value of 1.0, and glossiness of 00:15. This gave the materials a sandy stone look, which was exactly what I was looking for.
For the objects I did not UV, I instead created shaders such as for the tiled roof. These were simple, but aside from having applied maps, still followed the same principle as the textures.
Applying displacement maps was an interesting, yet successful endeavor overall. Initially, I ran into the issue of having all of my hard edges and seams split open and leave ugly gaps throughout. I was able to fix this problem by using Subdiv approximation and Mental Ray. This resulted in fixed seams but also resulted in rounding out of awkward geometry. Because of this, I was required to add more geometry, but I still managed to keep the poly count down.
Rendering / Lighting: Cyprus is a pretty sunny country. Everything is under intense sun almost year-round, so I figured that the best way to render this out was to apply a Physical Sun and Sky. I tweaked the Gamma filter to 1.1 and did a few of the basics such as adding ambient occlusion, bumping up the quality, and a few other such items.
I was really surprised that the final renders were so quick. Considering that most objects had a displacement map, and all had at least normal maps, I was expecting longer renders, but each image came out to around 5-minute render times.
