Project Summary
The Crafty Cask supports and furthers the craft alcohol industry. They wanted to build an online course for craft makers and distributors that would cover all the facets of the business - from branding and online marketing to driving tasting roof traffic.
The course was developed as a series of video lessons, spread across ten modules, each consisting of 3-10 videos. The videos ranged from 15-30 minutes with the occasional outlier running up to 45 minutes. As well, a series of promo videos and supporting content was developed for the course itself.
In total, there were 63 videos produced over a 7-month period.
Pre-Production
Because of the large size of the project and the need to maintain consistency, a significant amount of time was spent in pre-production. Key areas of focus were: branding, video procurement, stock imagery, and storyboarding.
The Crafty Cask already had visual branding, however, it lacked branding for a video format. I took the existing branding and created a visual style that complemented what existed.
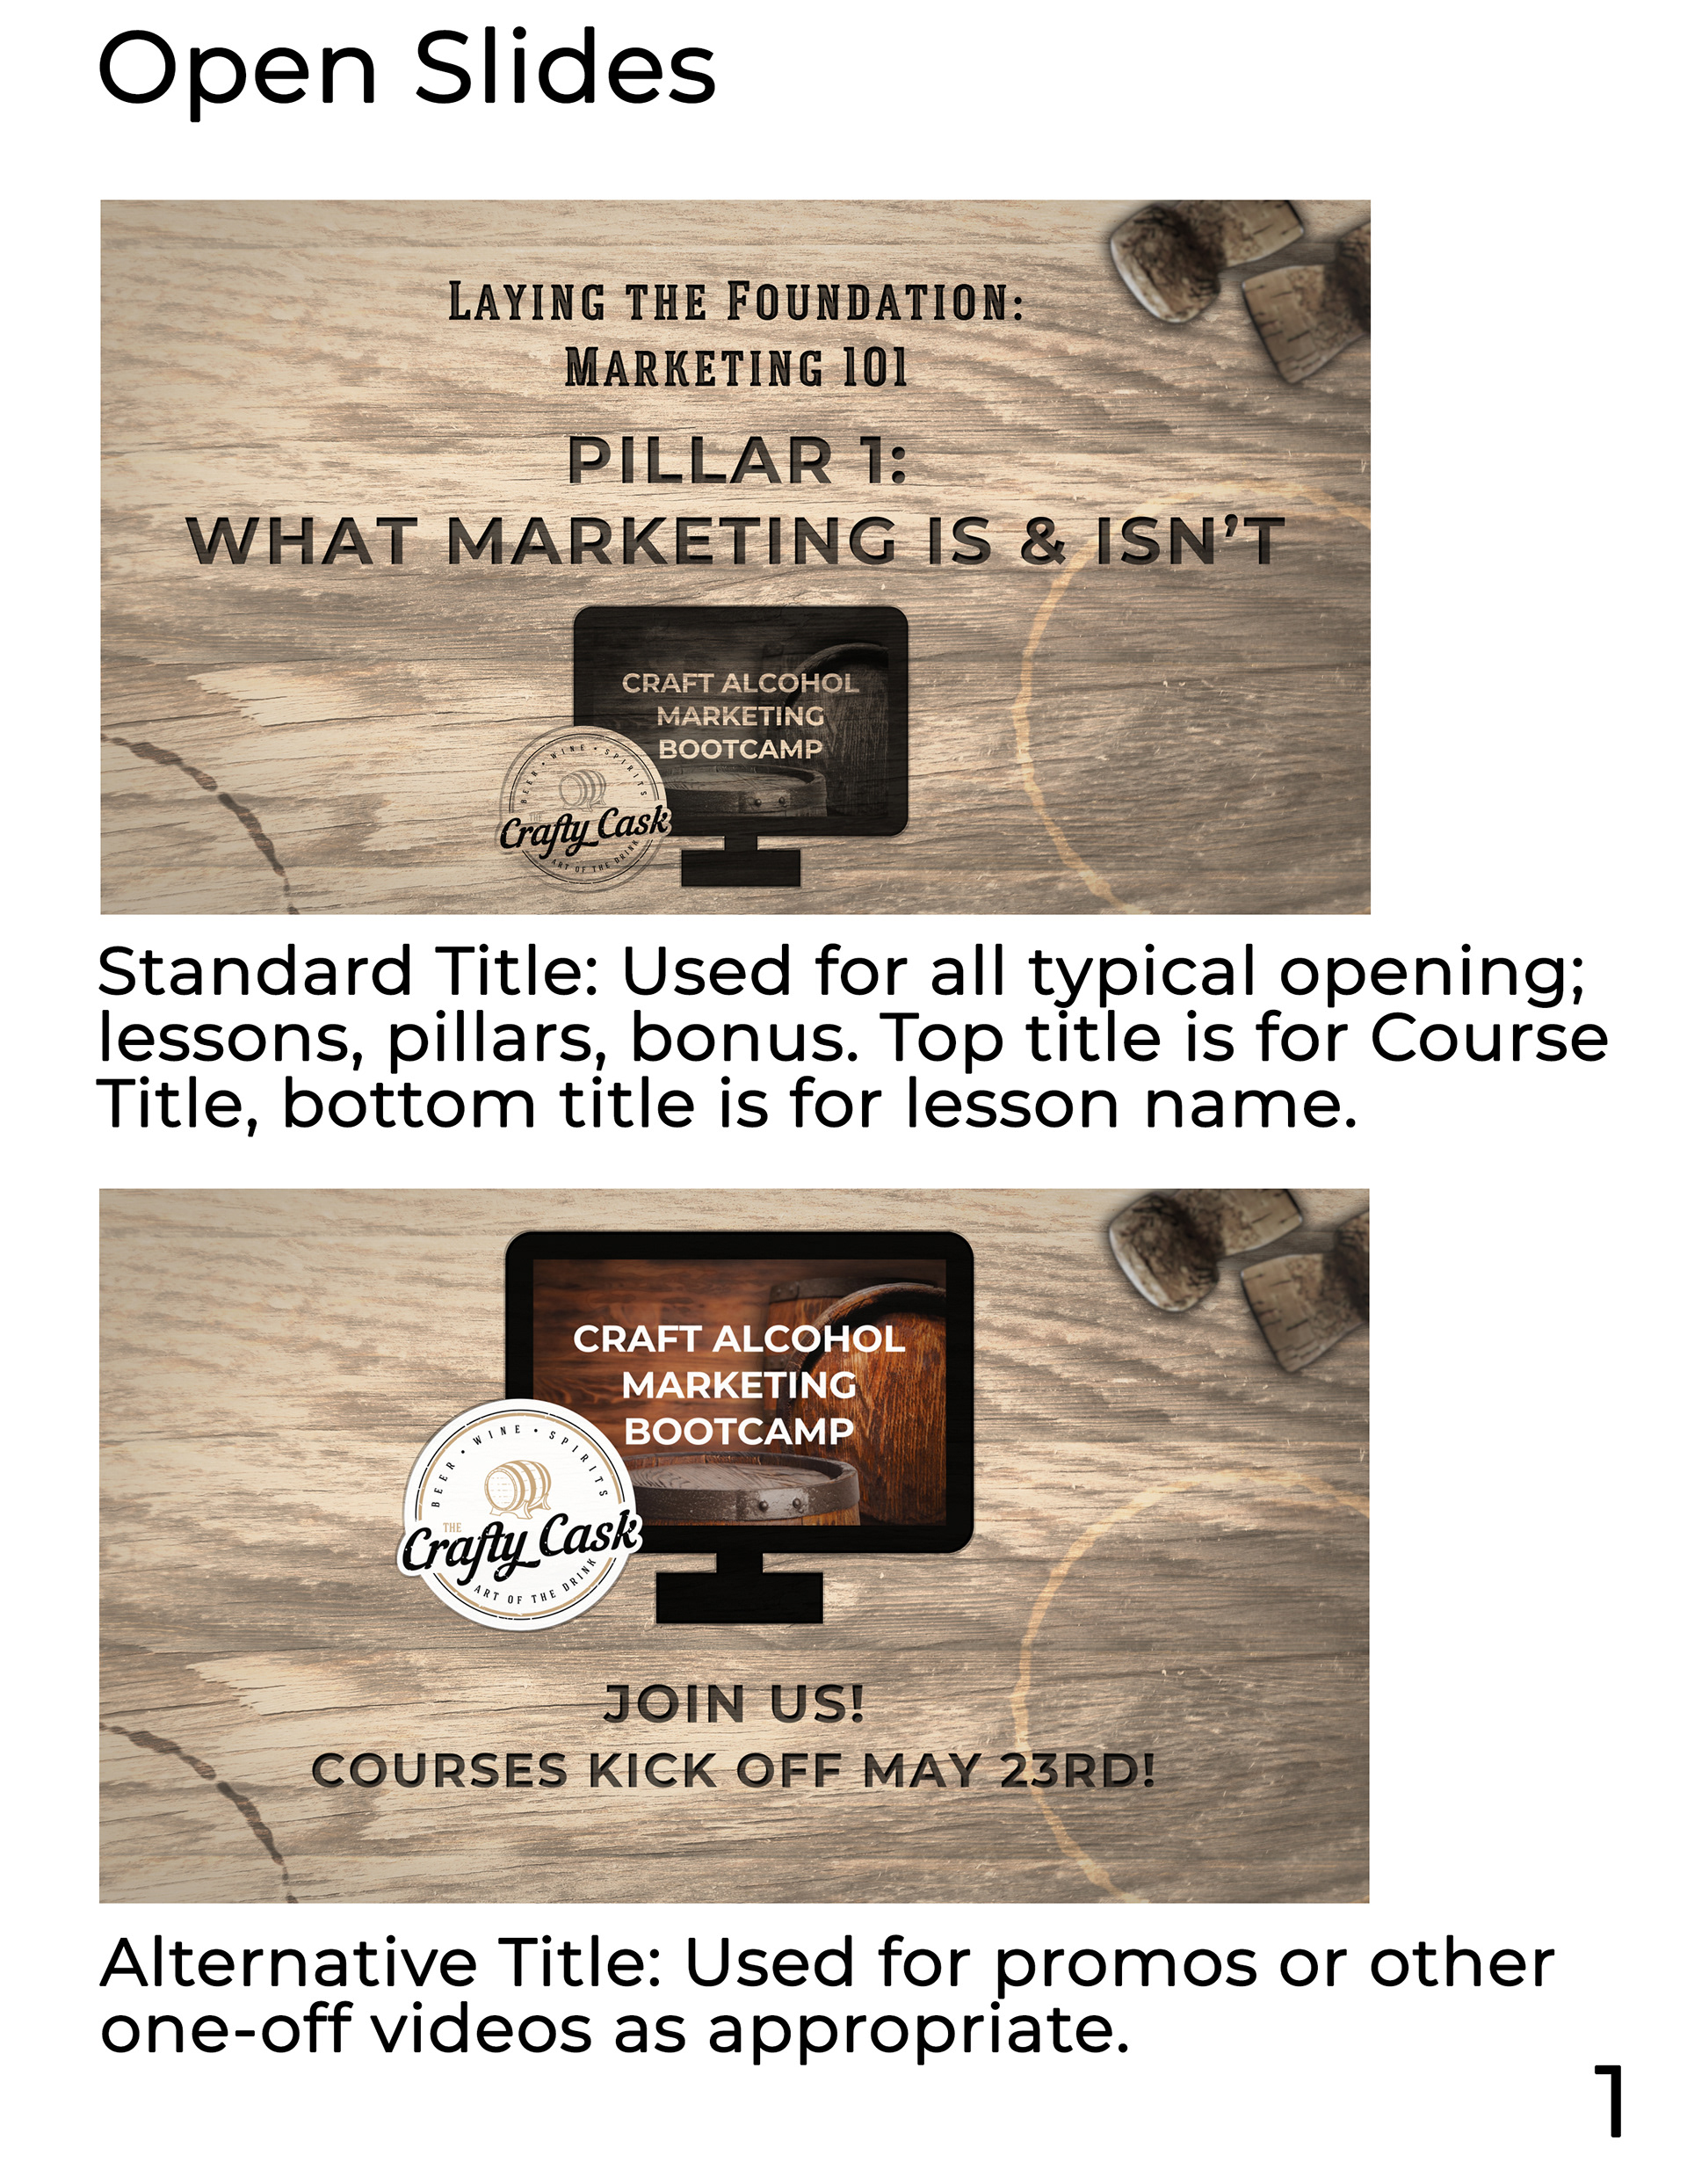
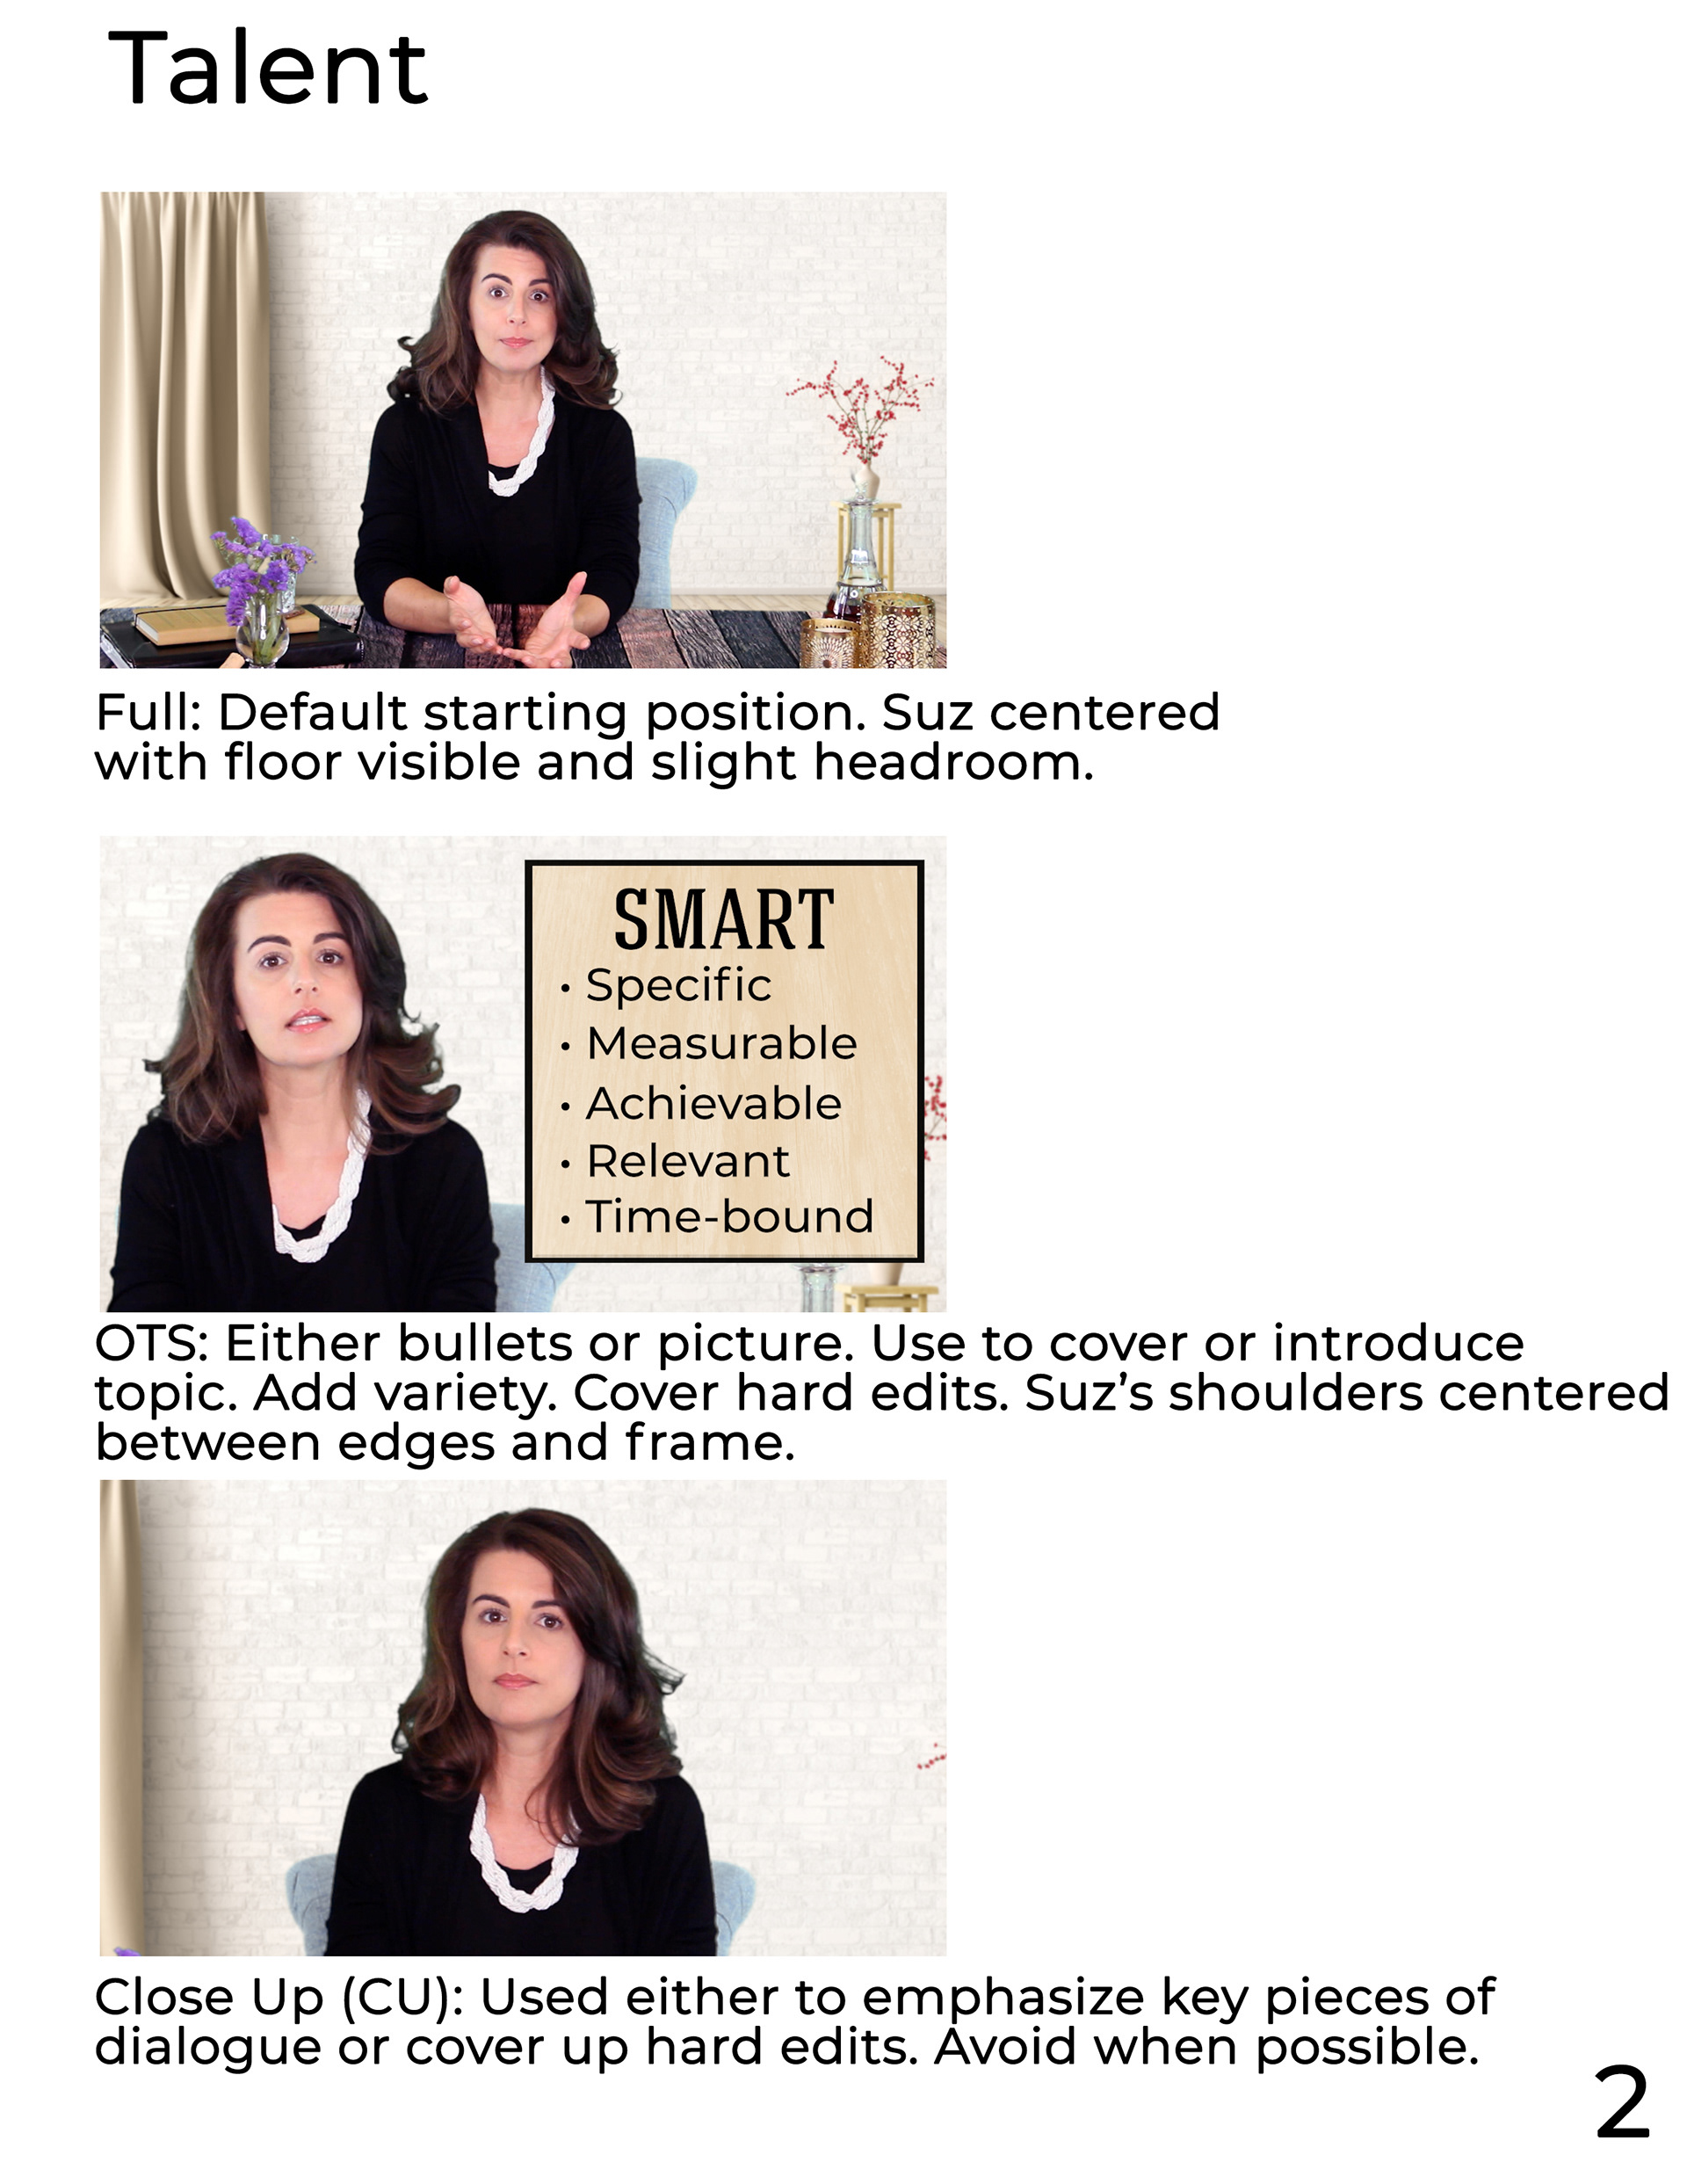

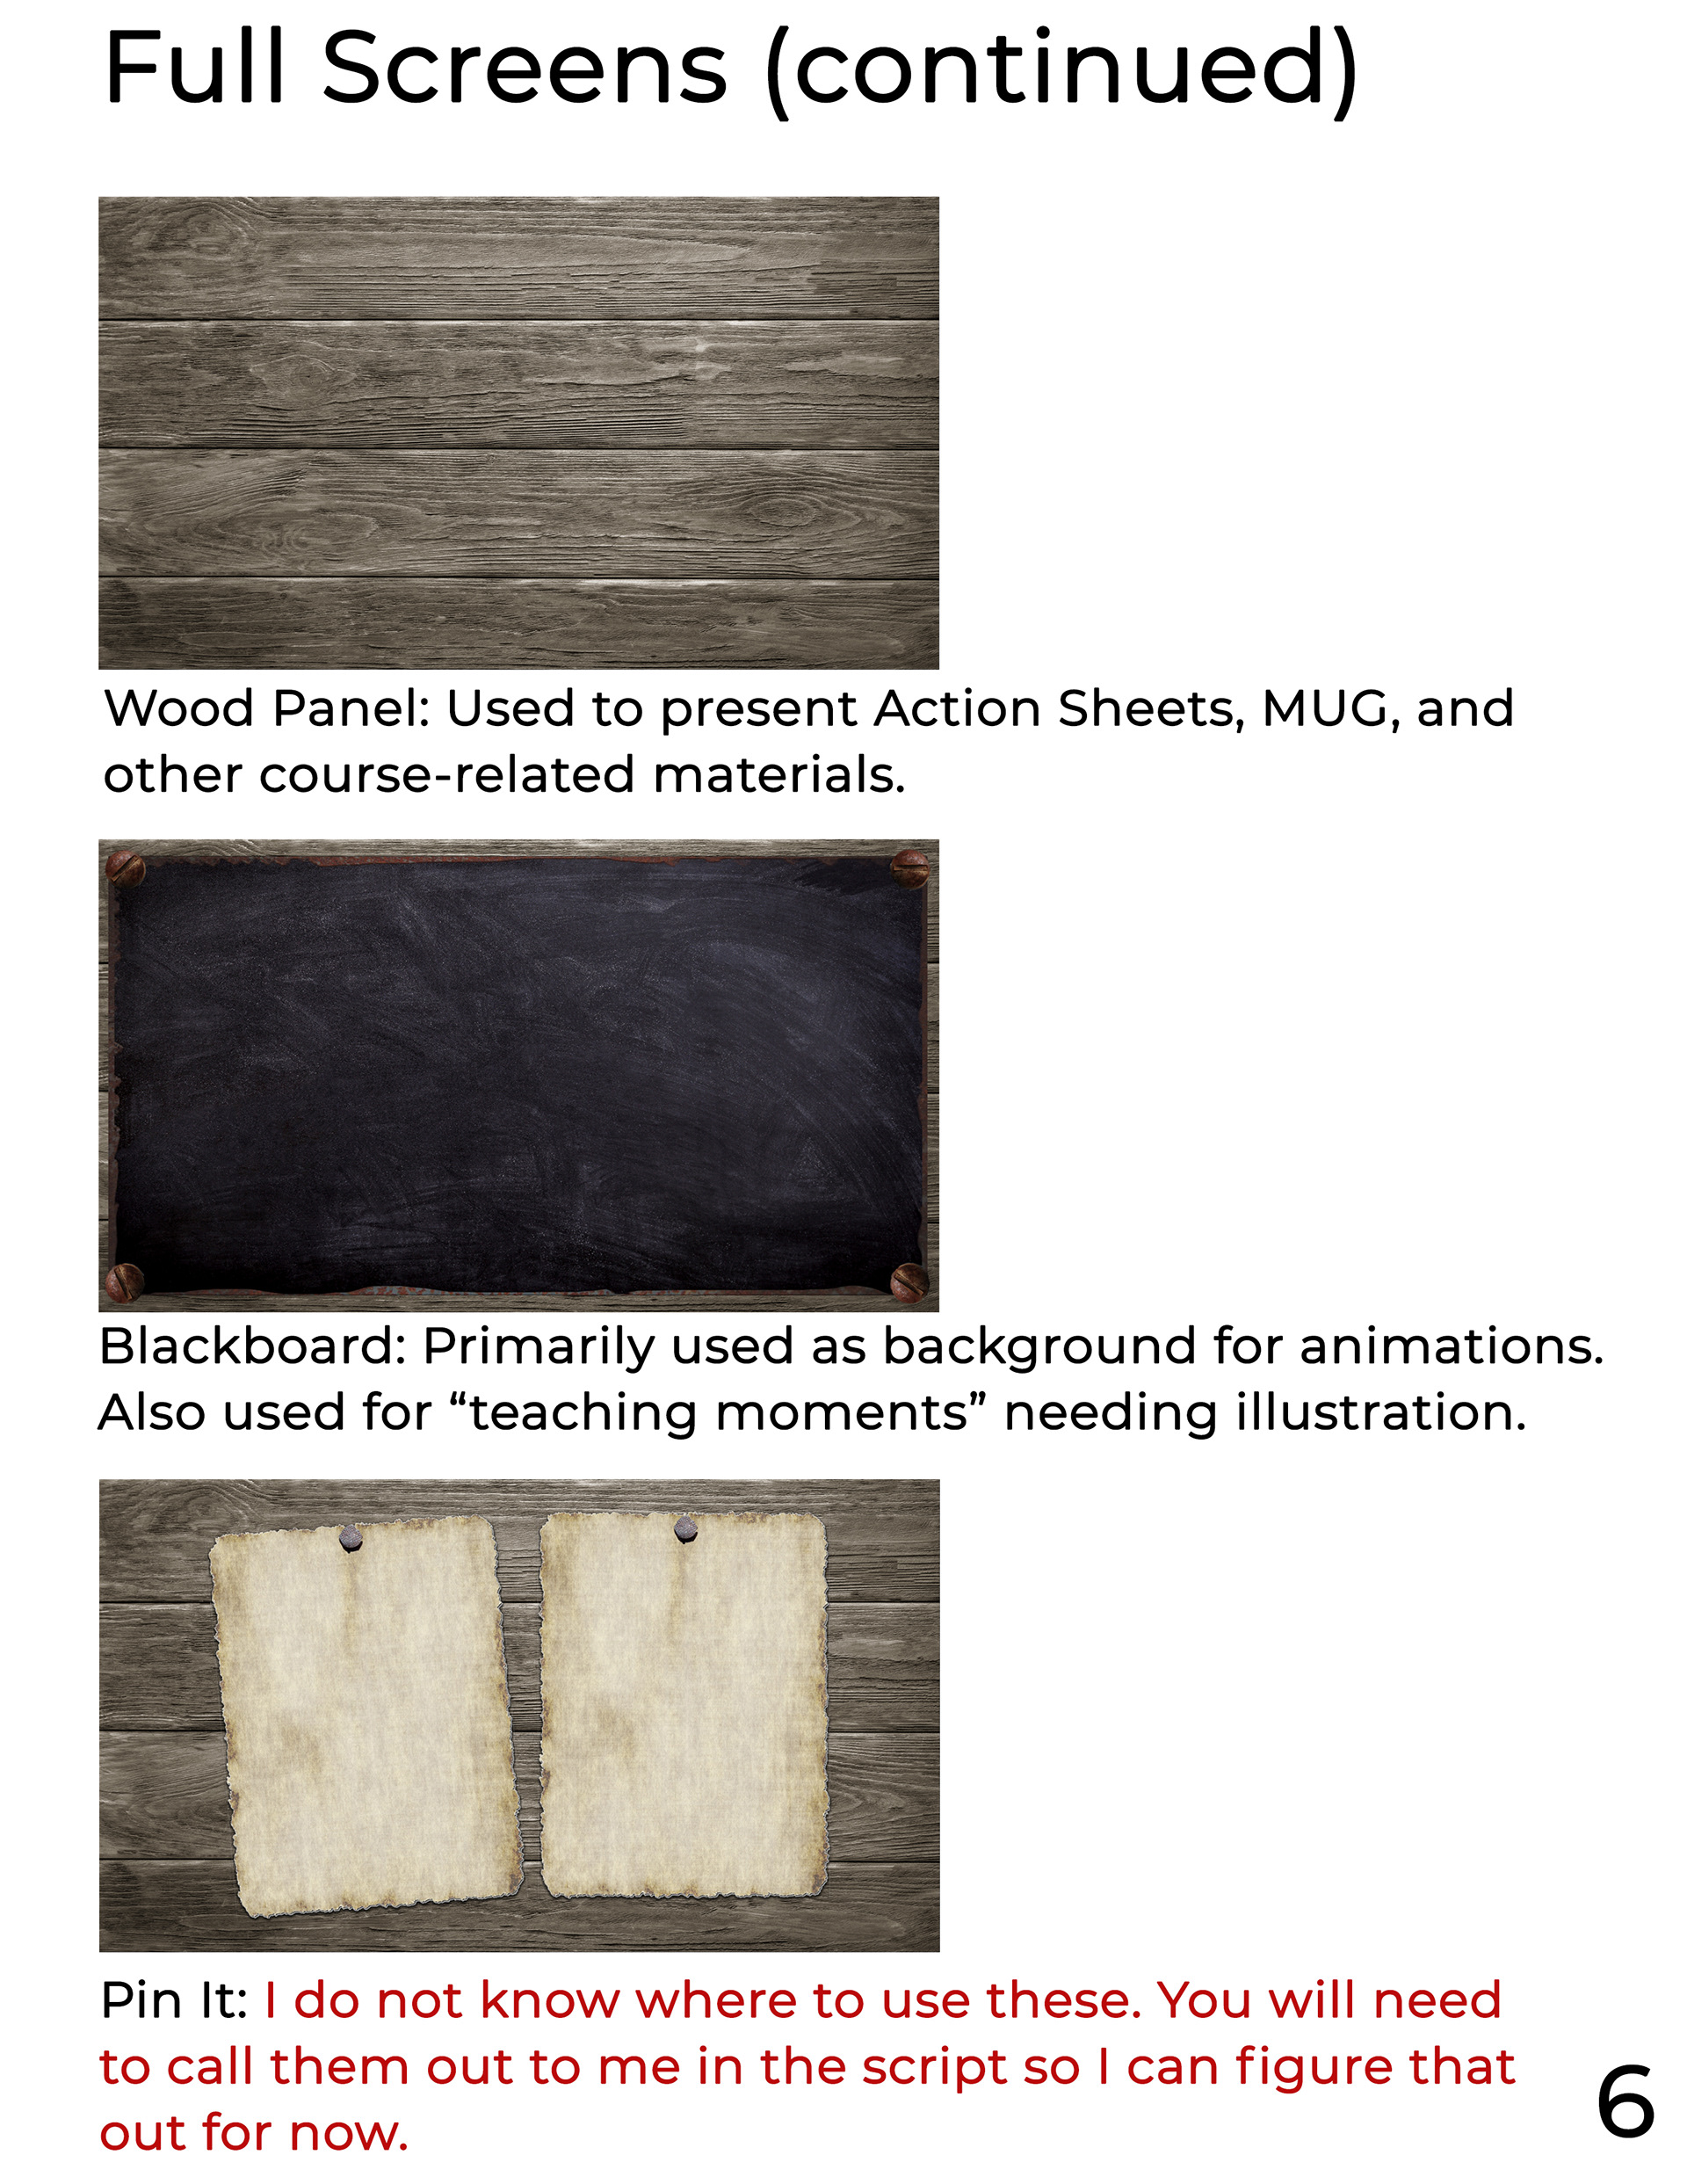

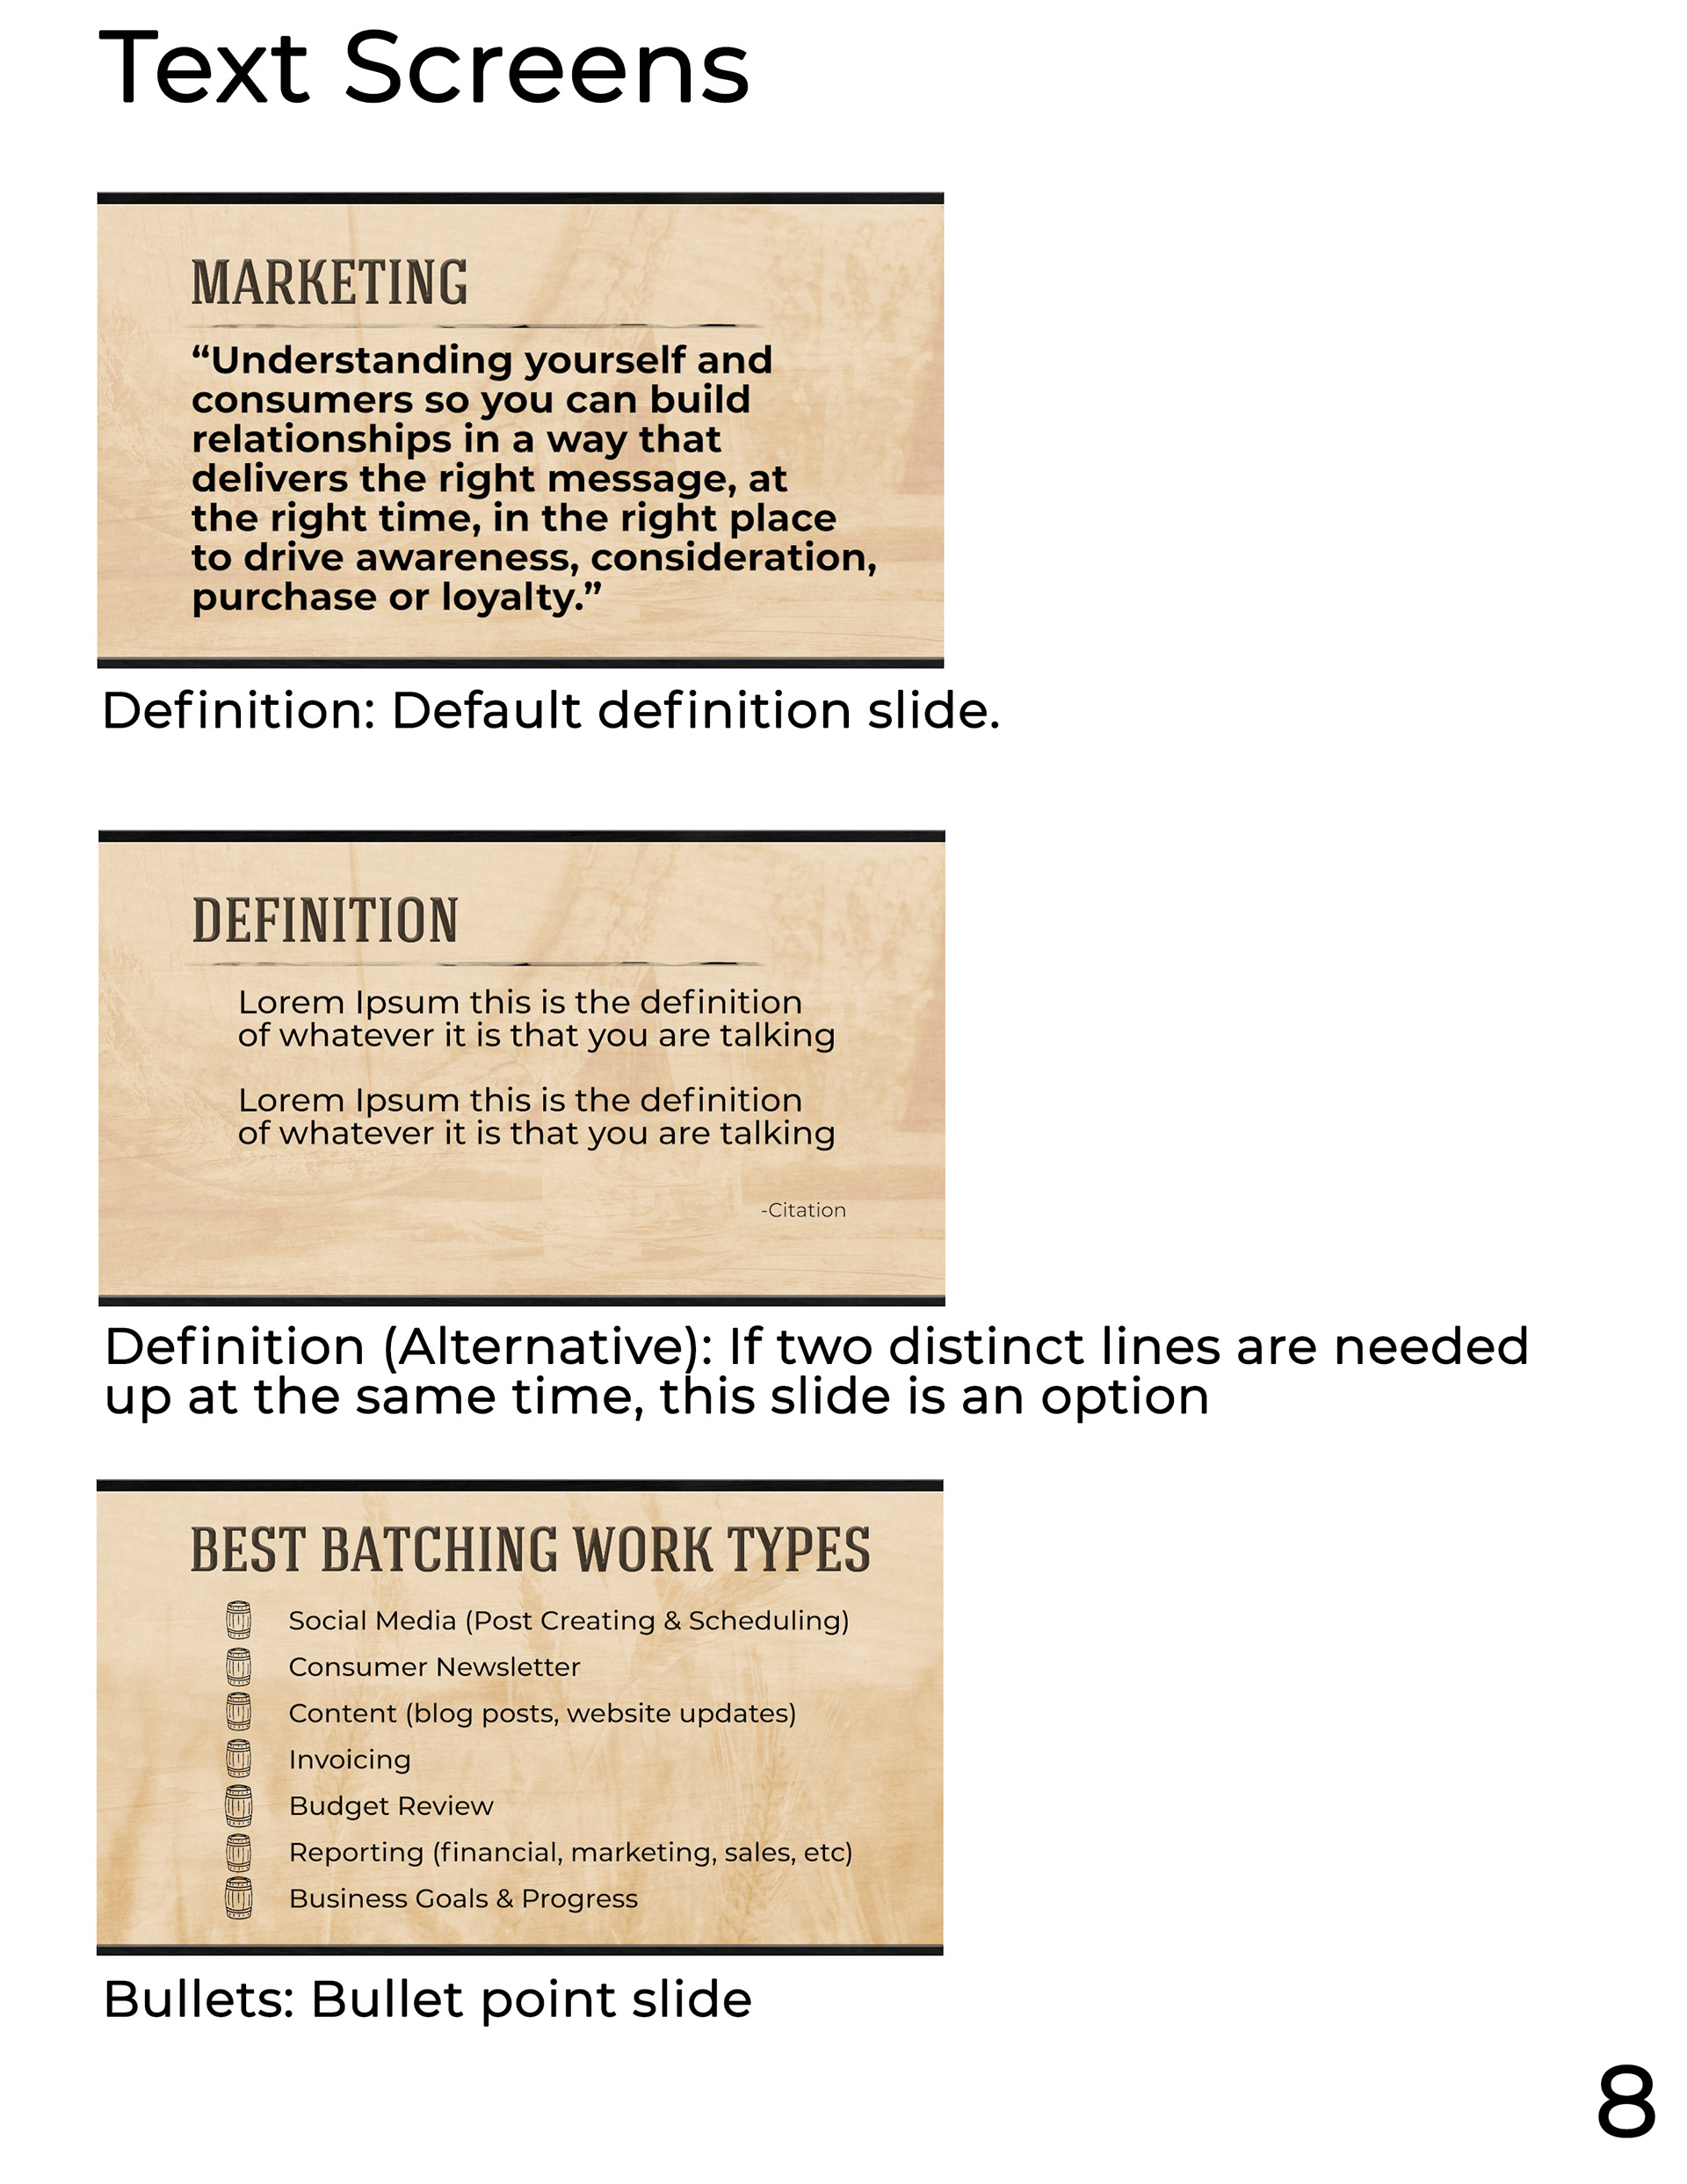
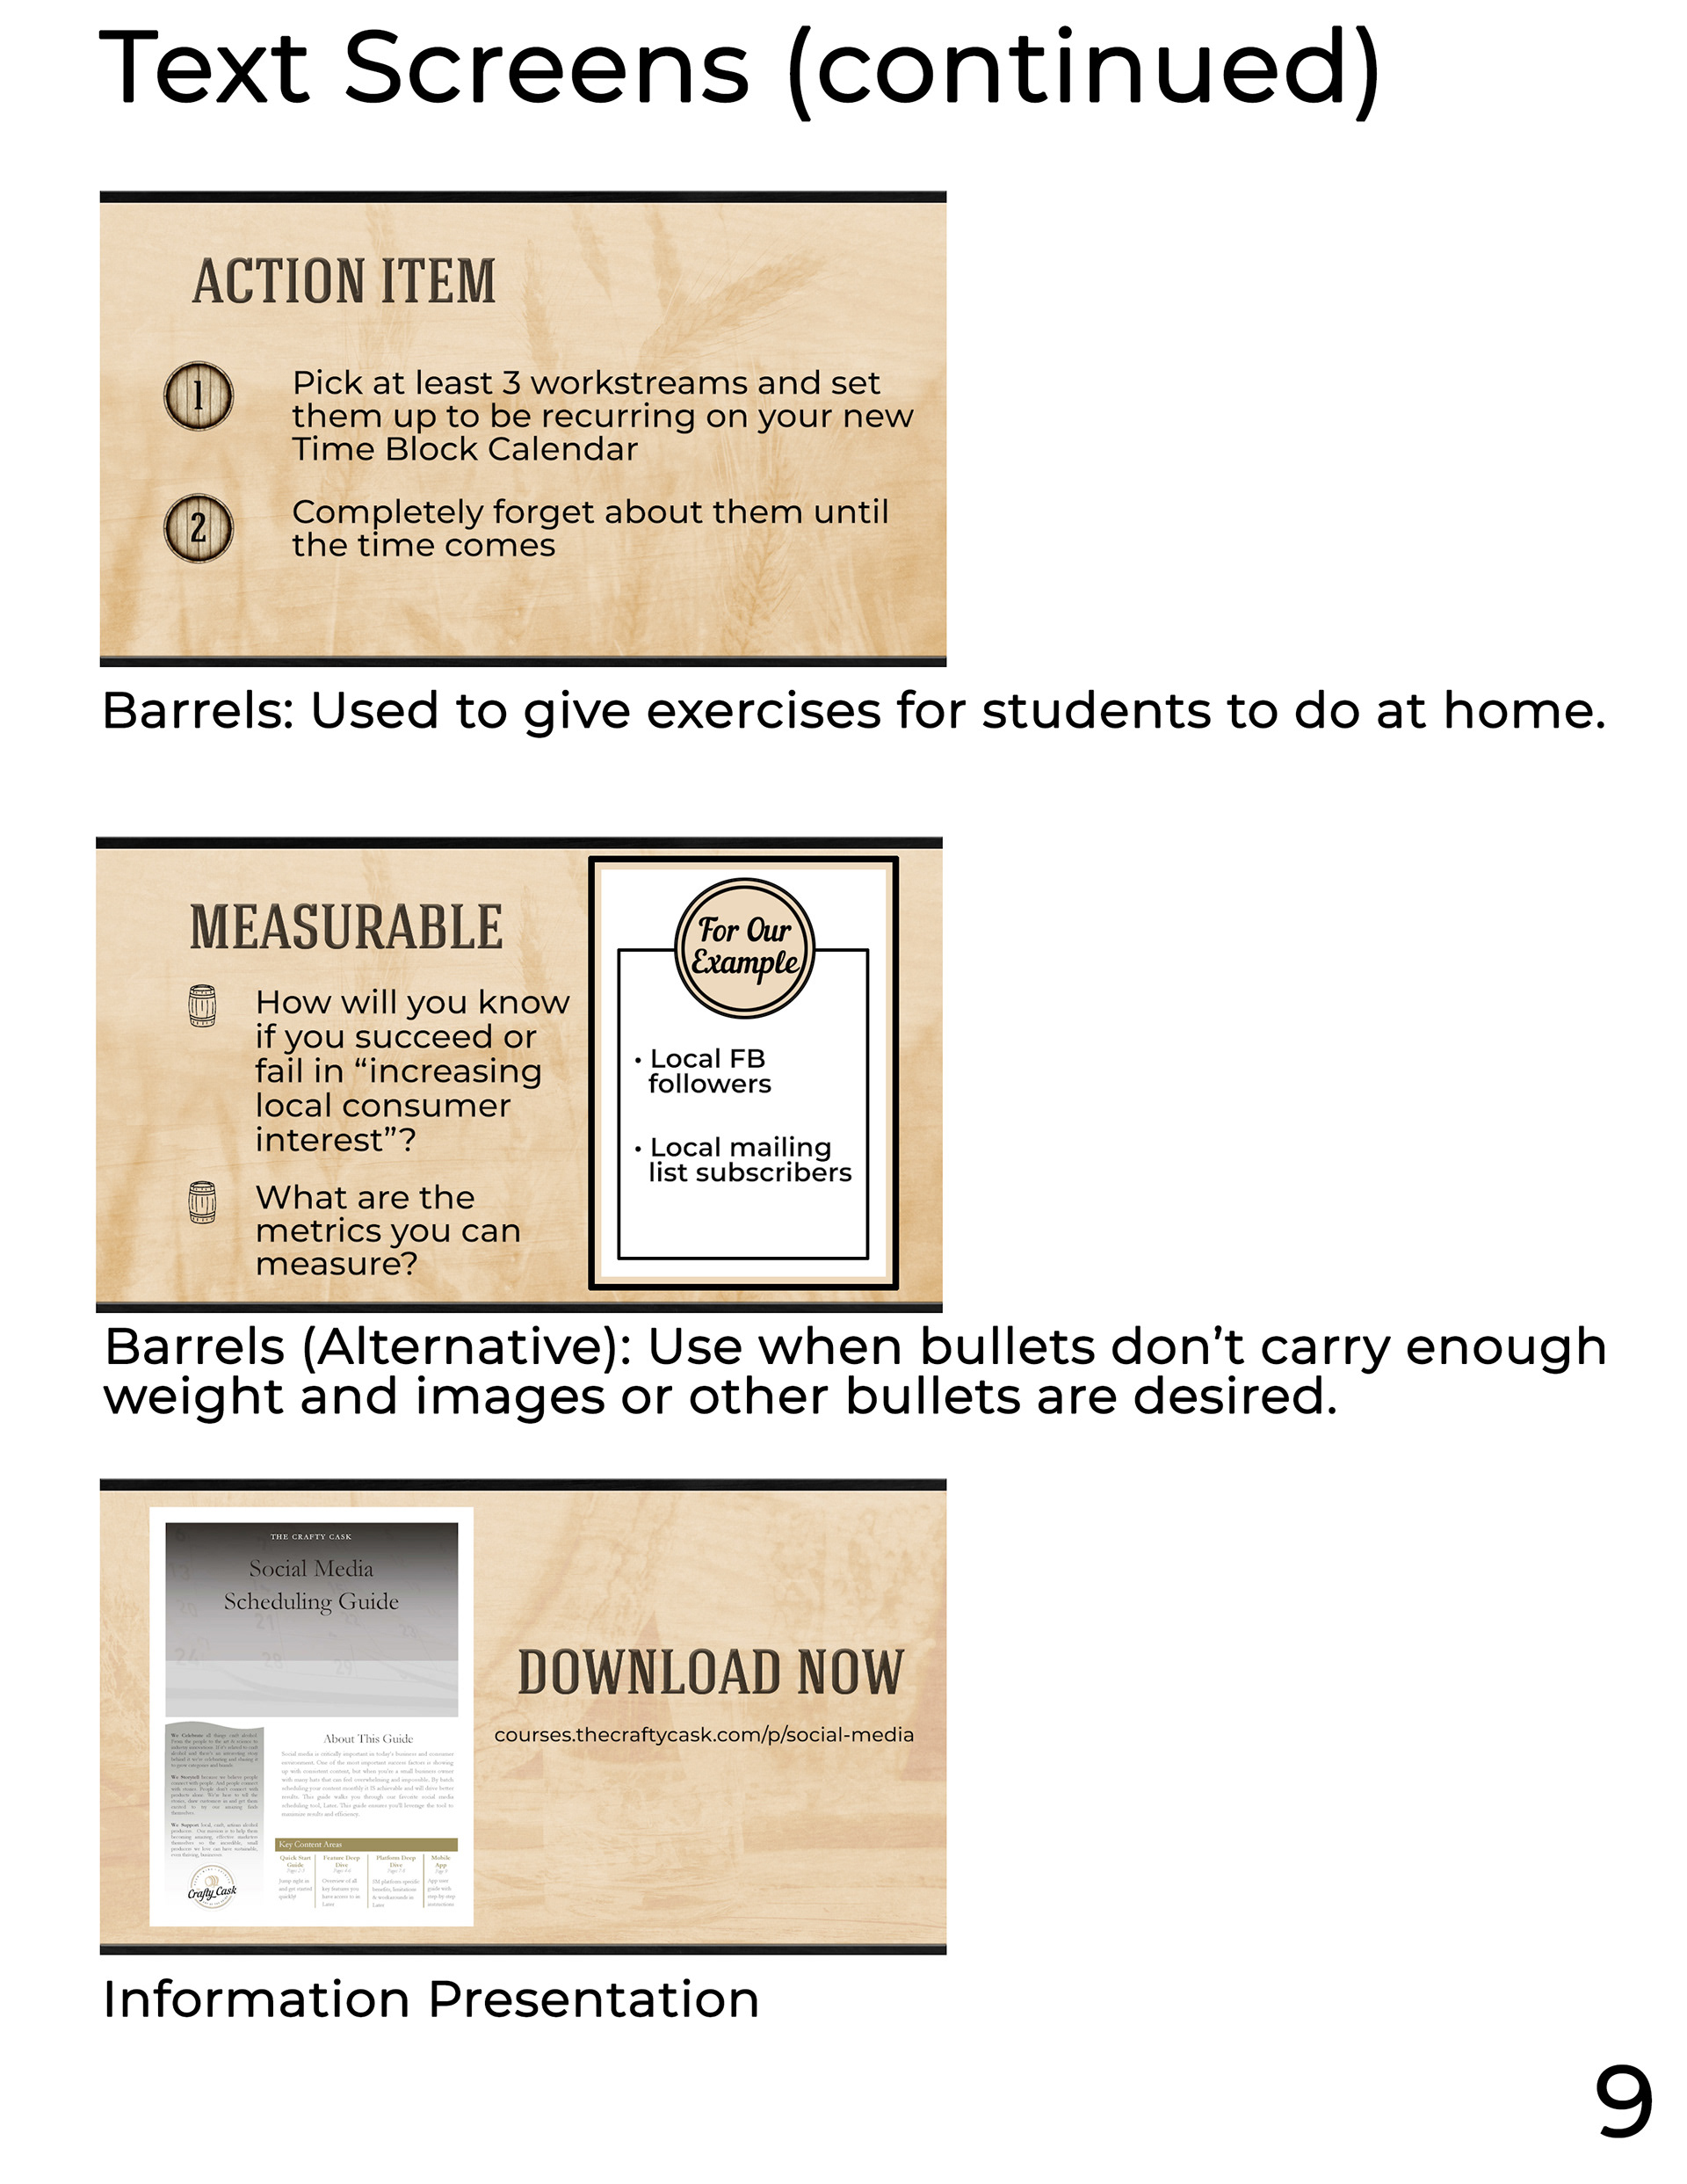
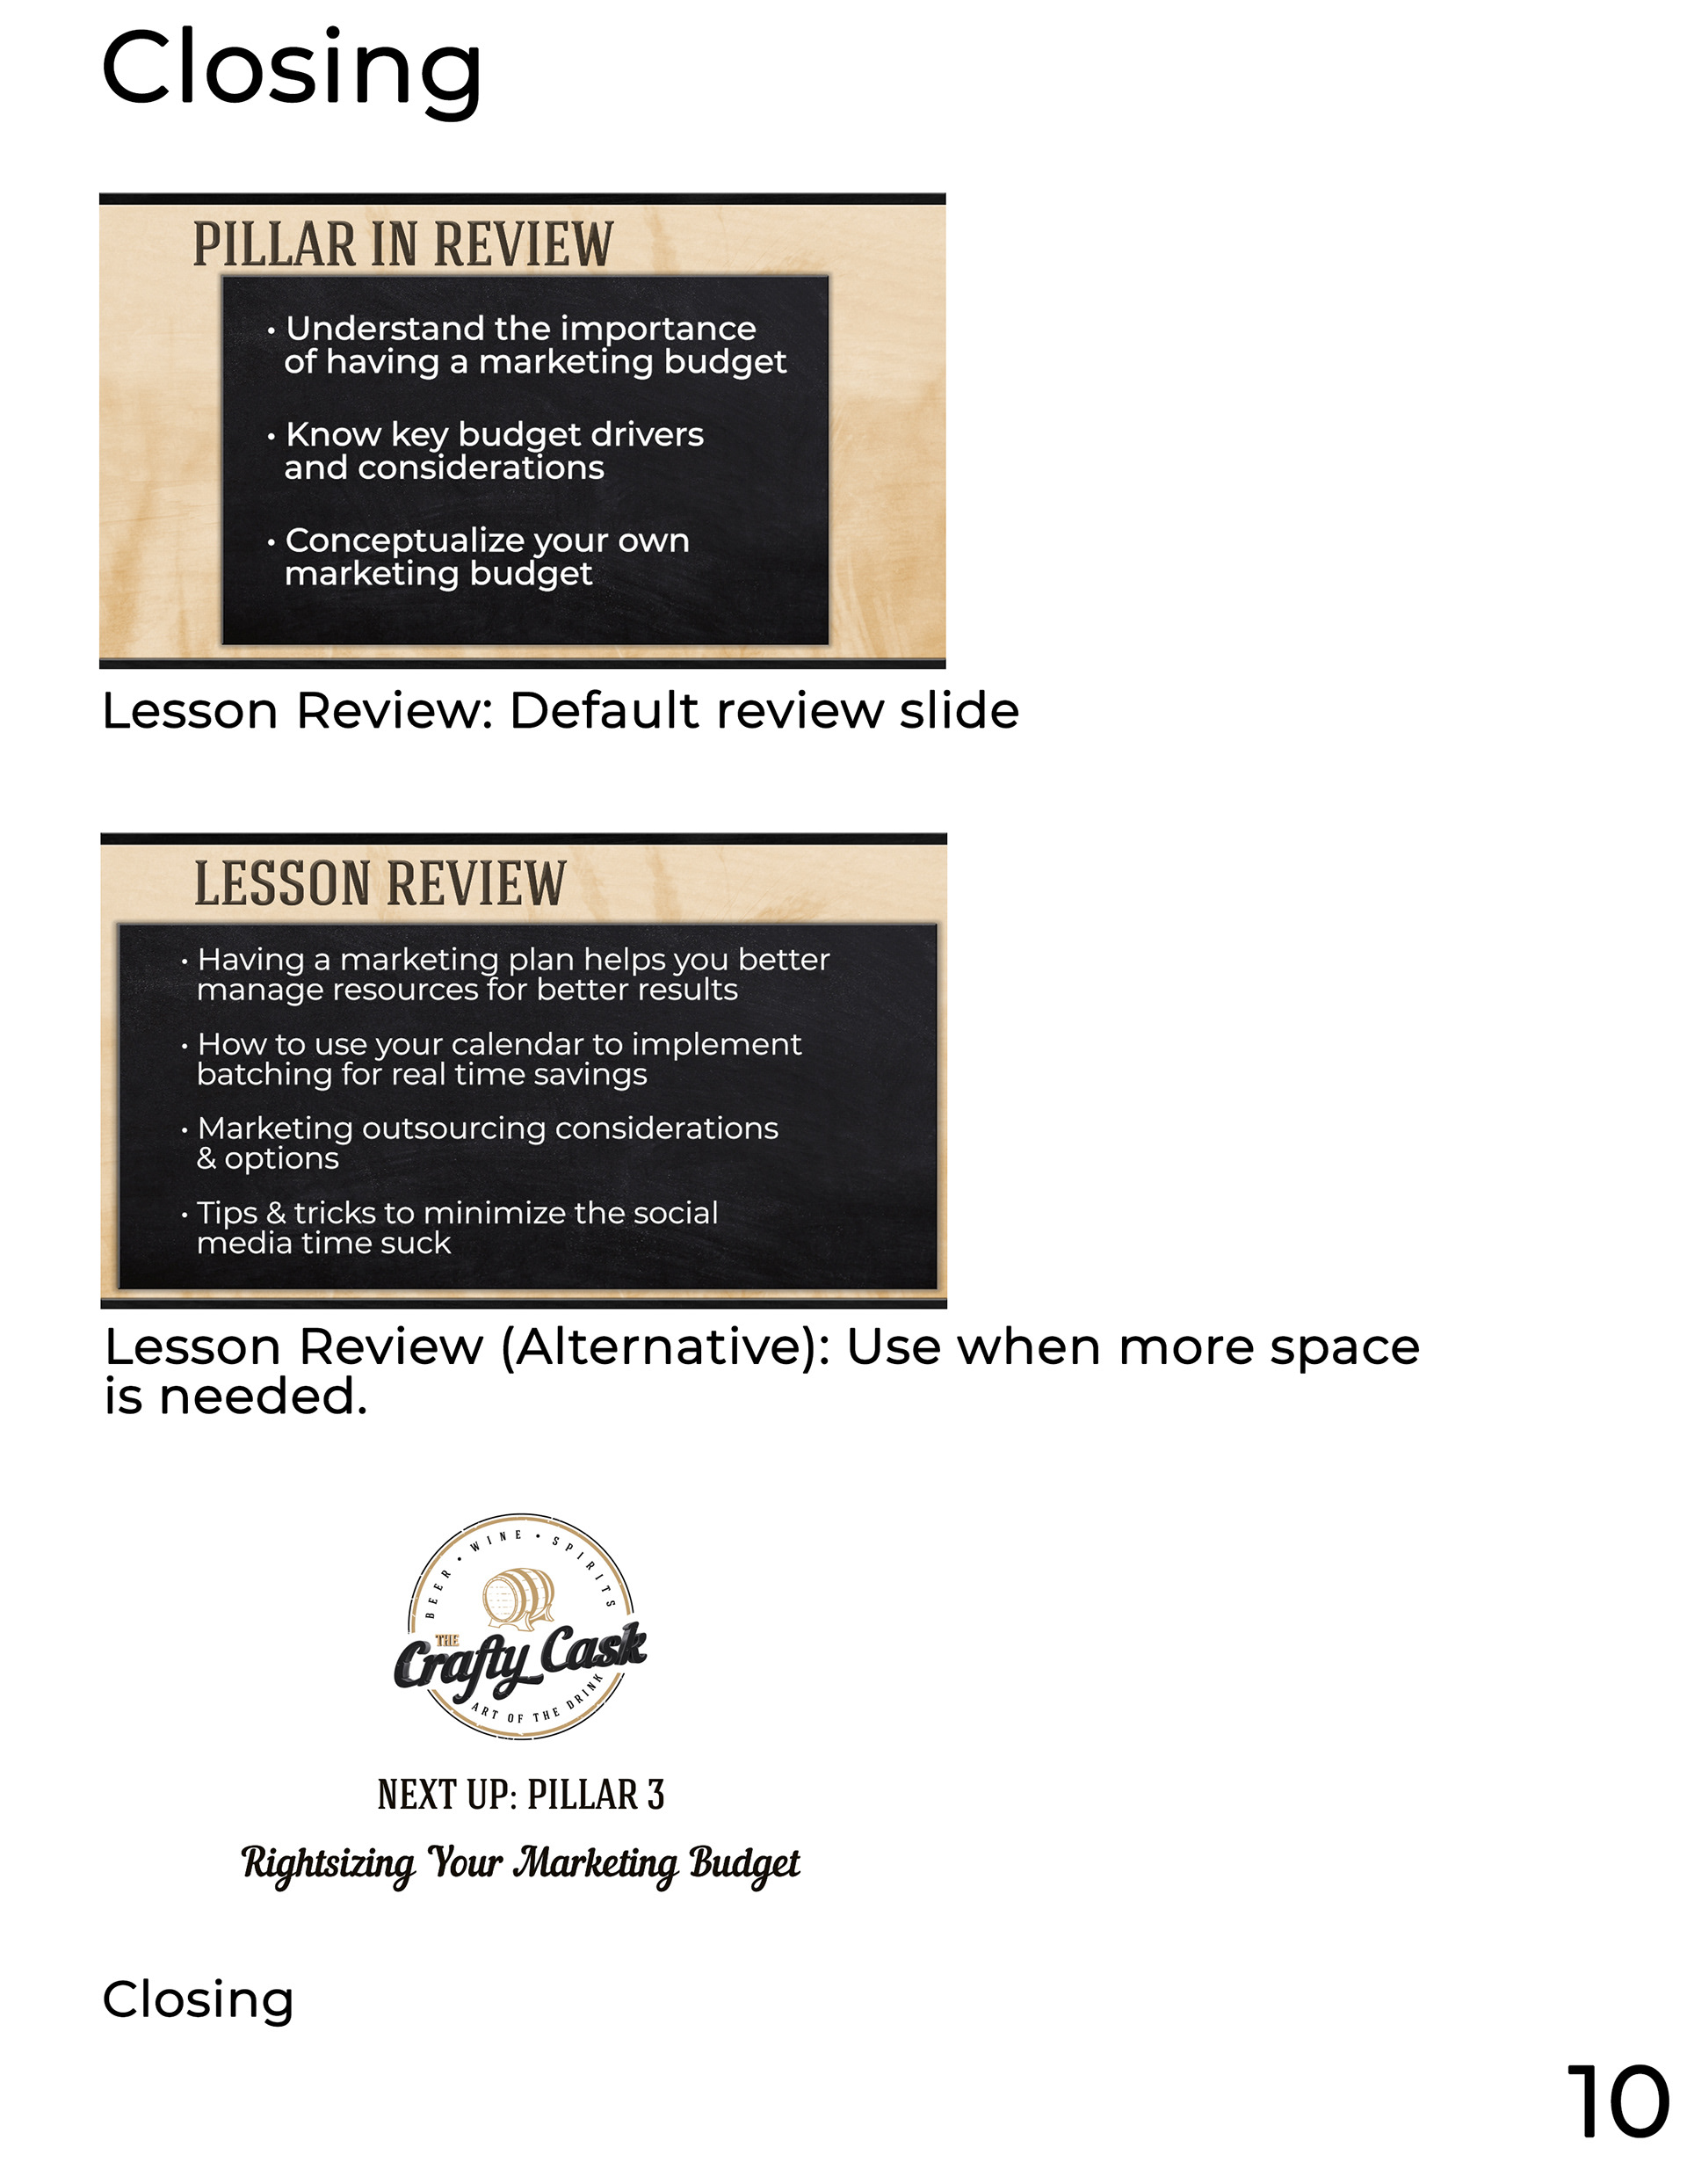
Shooting the video was performed remotely, so we developed a system to shoot while maintaining consistency. Several test shoots were performed with various backgrounds, foregrounds, and lighting arrangements. A green screen set was selected, and a set of color keys and related effects were created to pull clean mattes.
The storyboarding process was a key part of the development. While a script was written by Subject Matter Experts at The Crafty Cask, it quickly became apparent that editing the videos straight-ahead would not be efficient nor effective. The script was broken down and categorized into distinct sections: Talent, Stock Imagery/Video, Animation, and Text. With these designations, I was able to collaborate with key stakeholders to identify what content should go where and source stock imagery.
Production
The production was approached by tackling 1 module at a time (of 10). The videos were edited at the same time in different batched stages. The first pass was to apply all keying and color correction, cut and lay out the video, and then drop markers as guides for each cut.
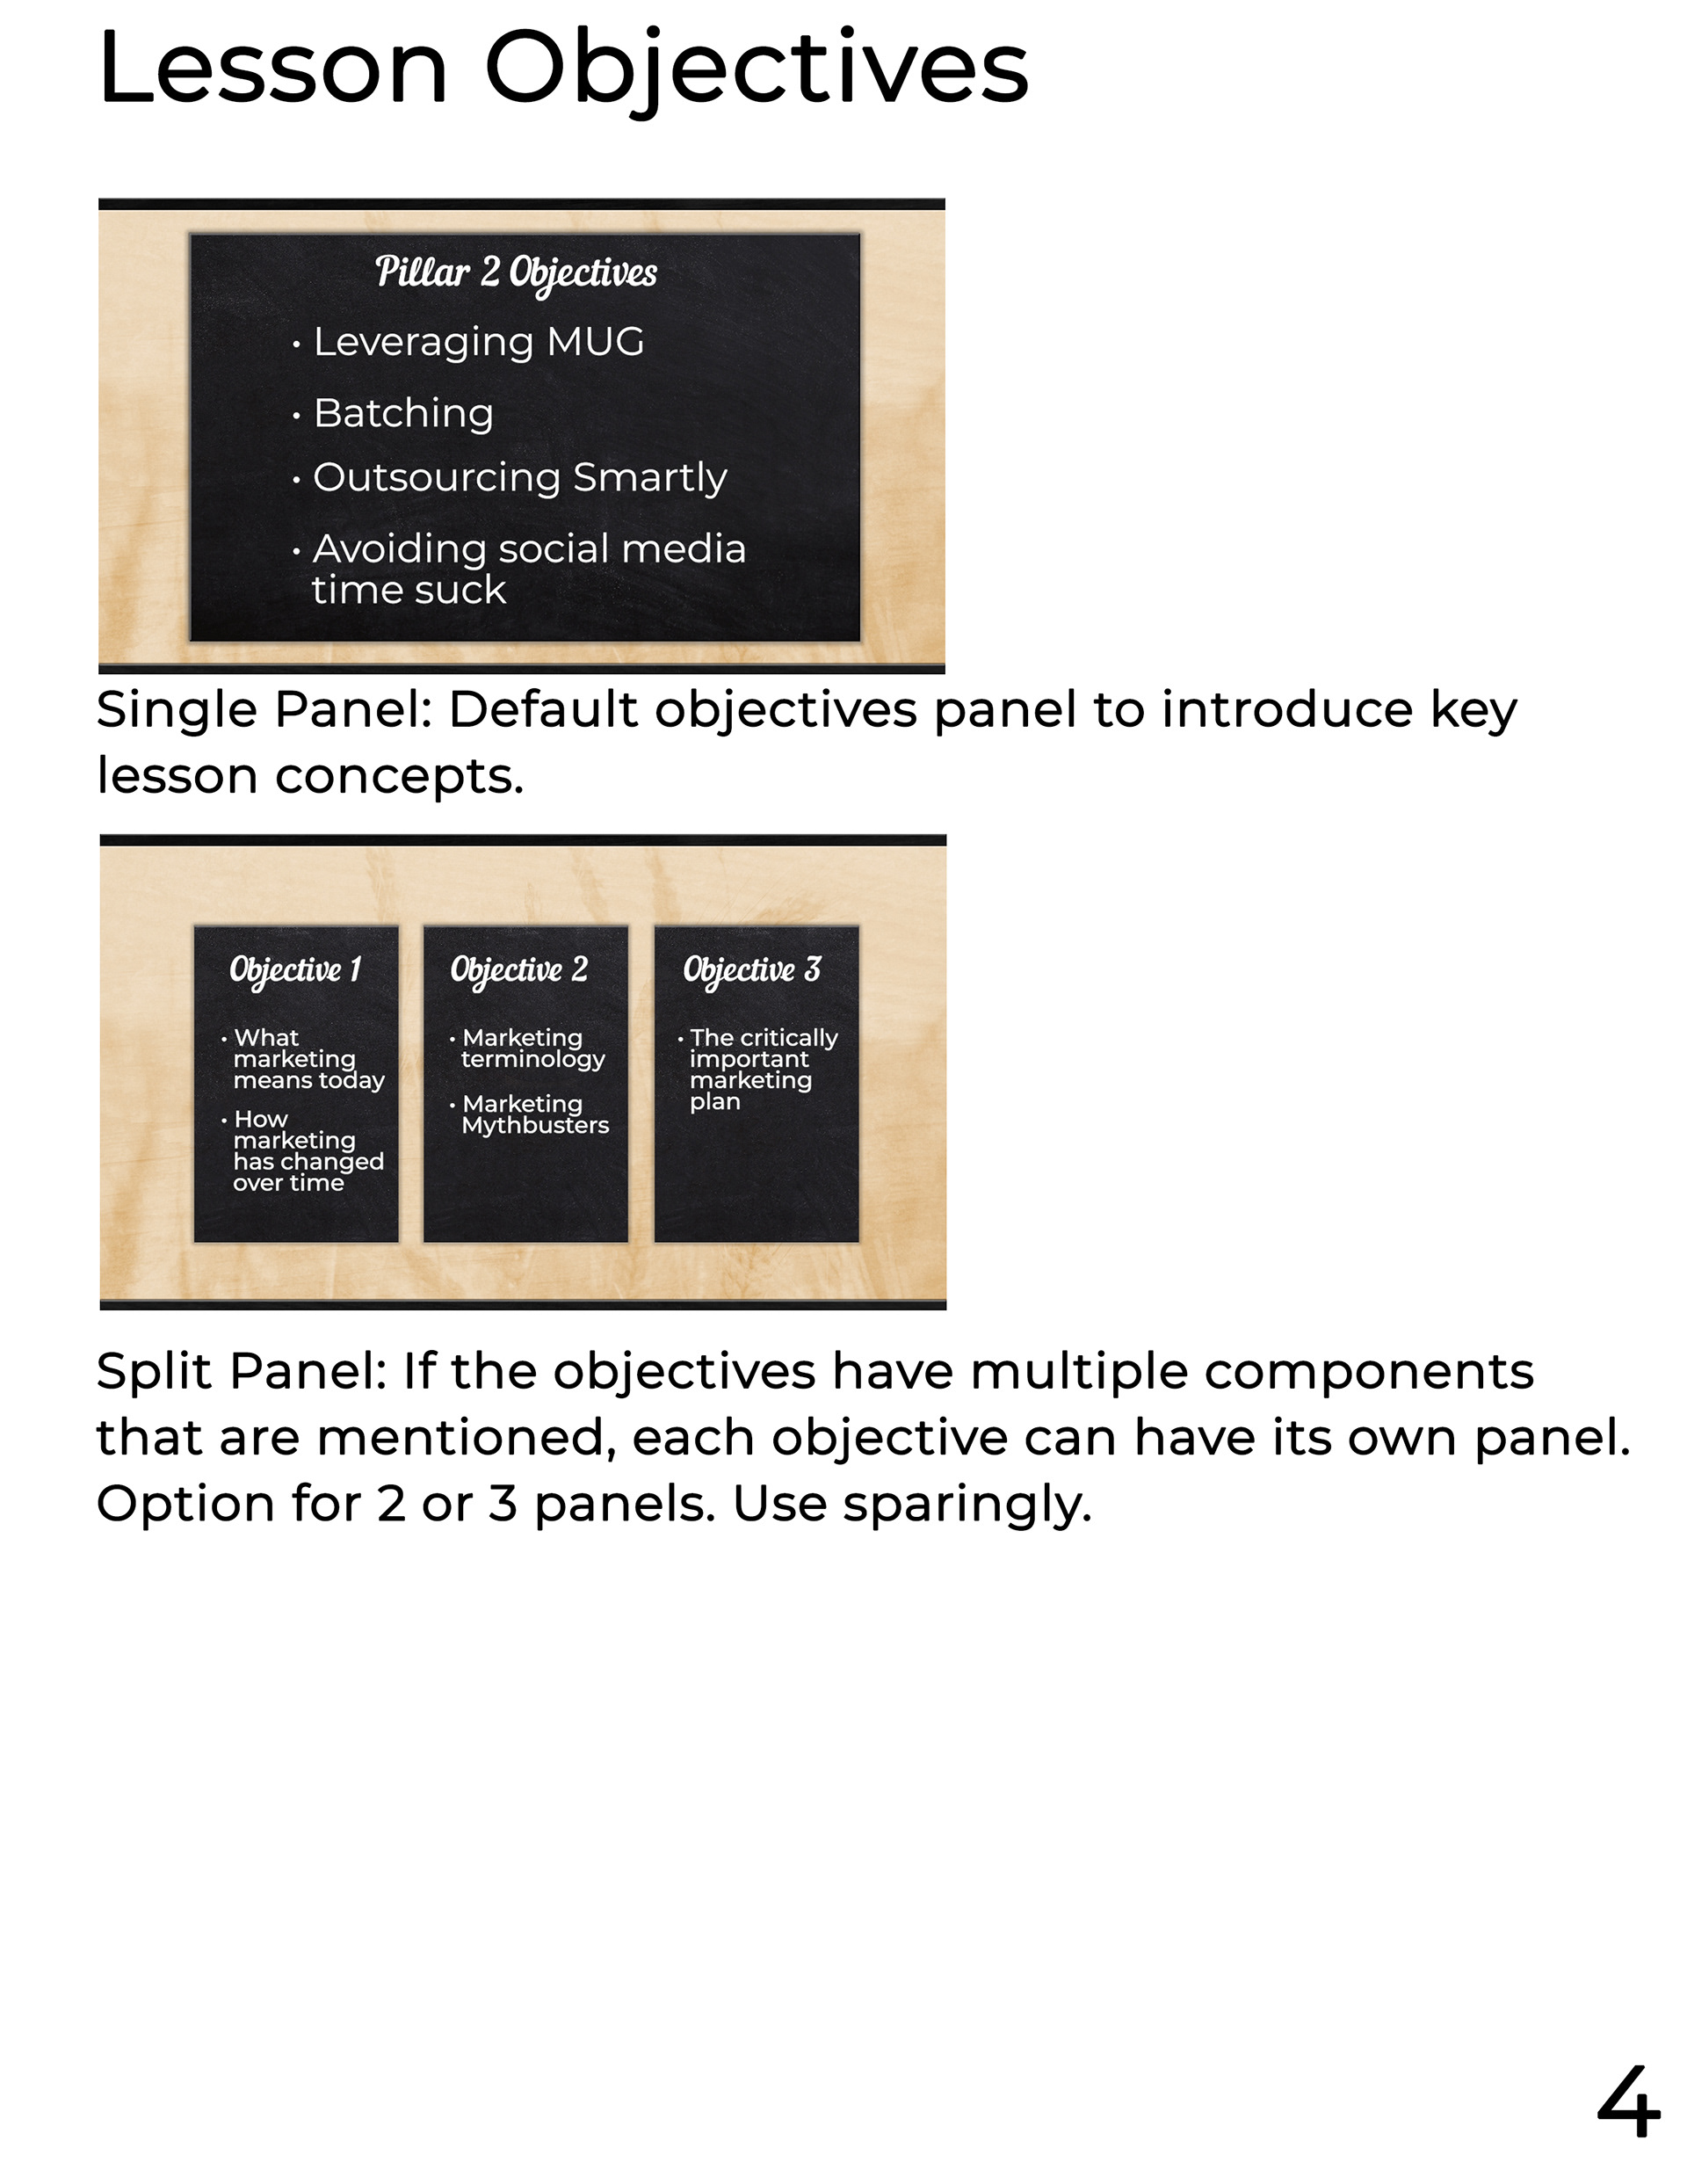
I then went back and inserted and animated all text using the templates that I had created.
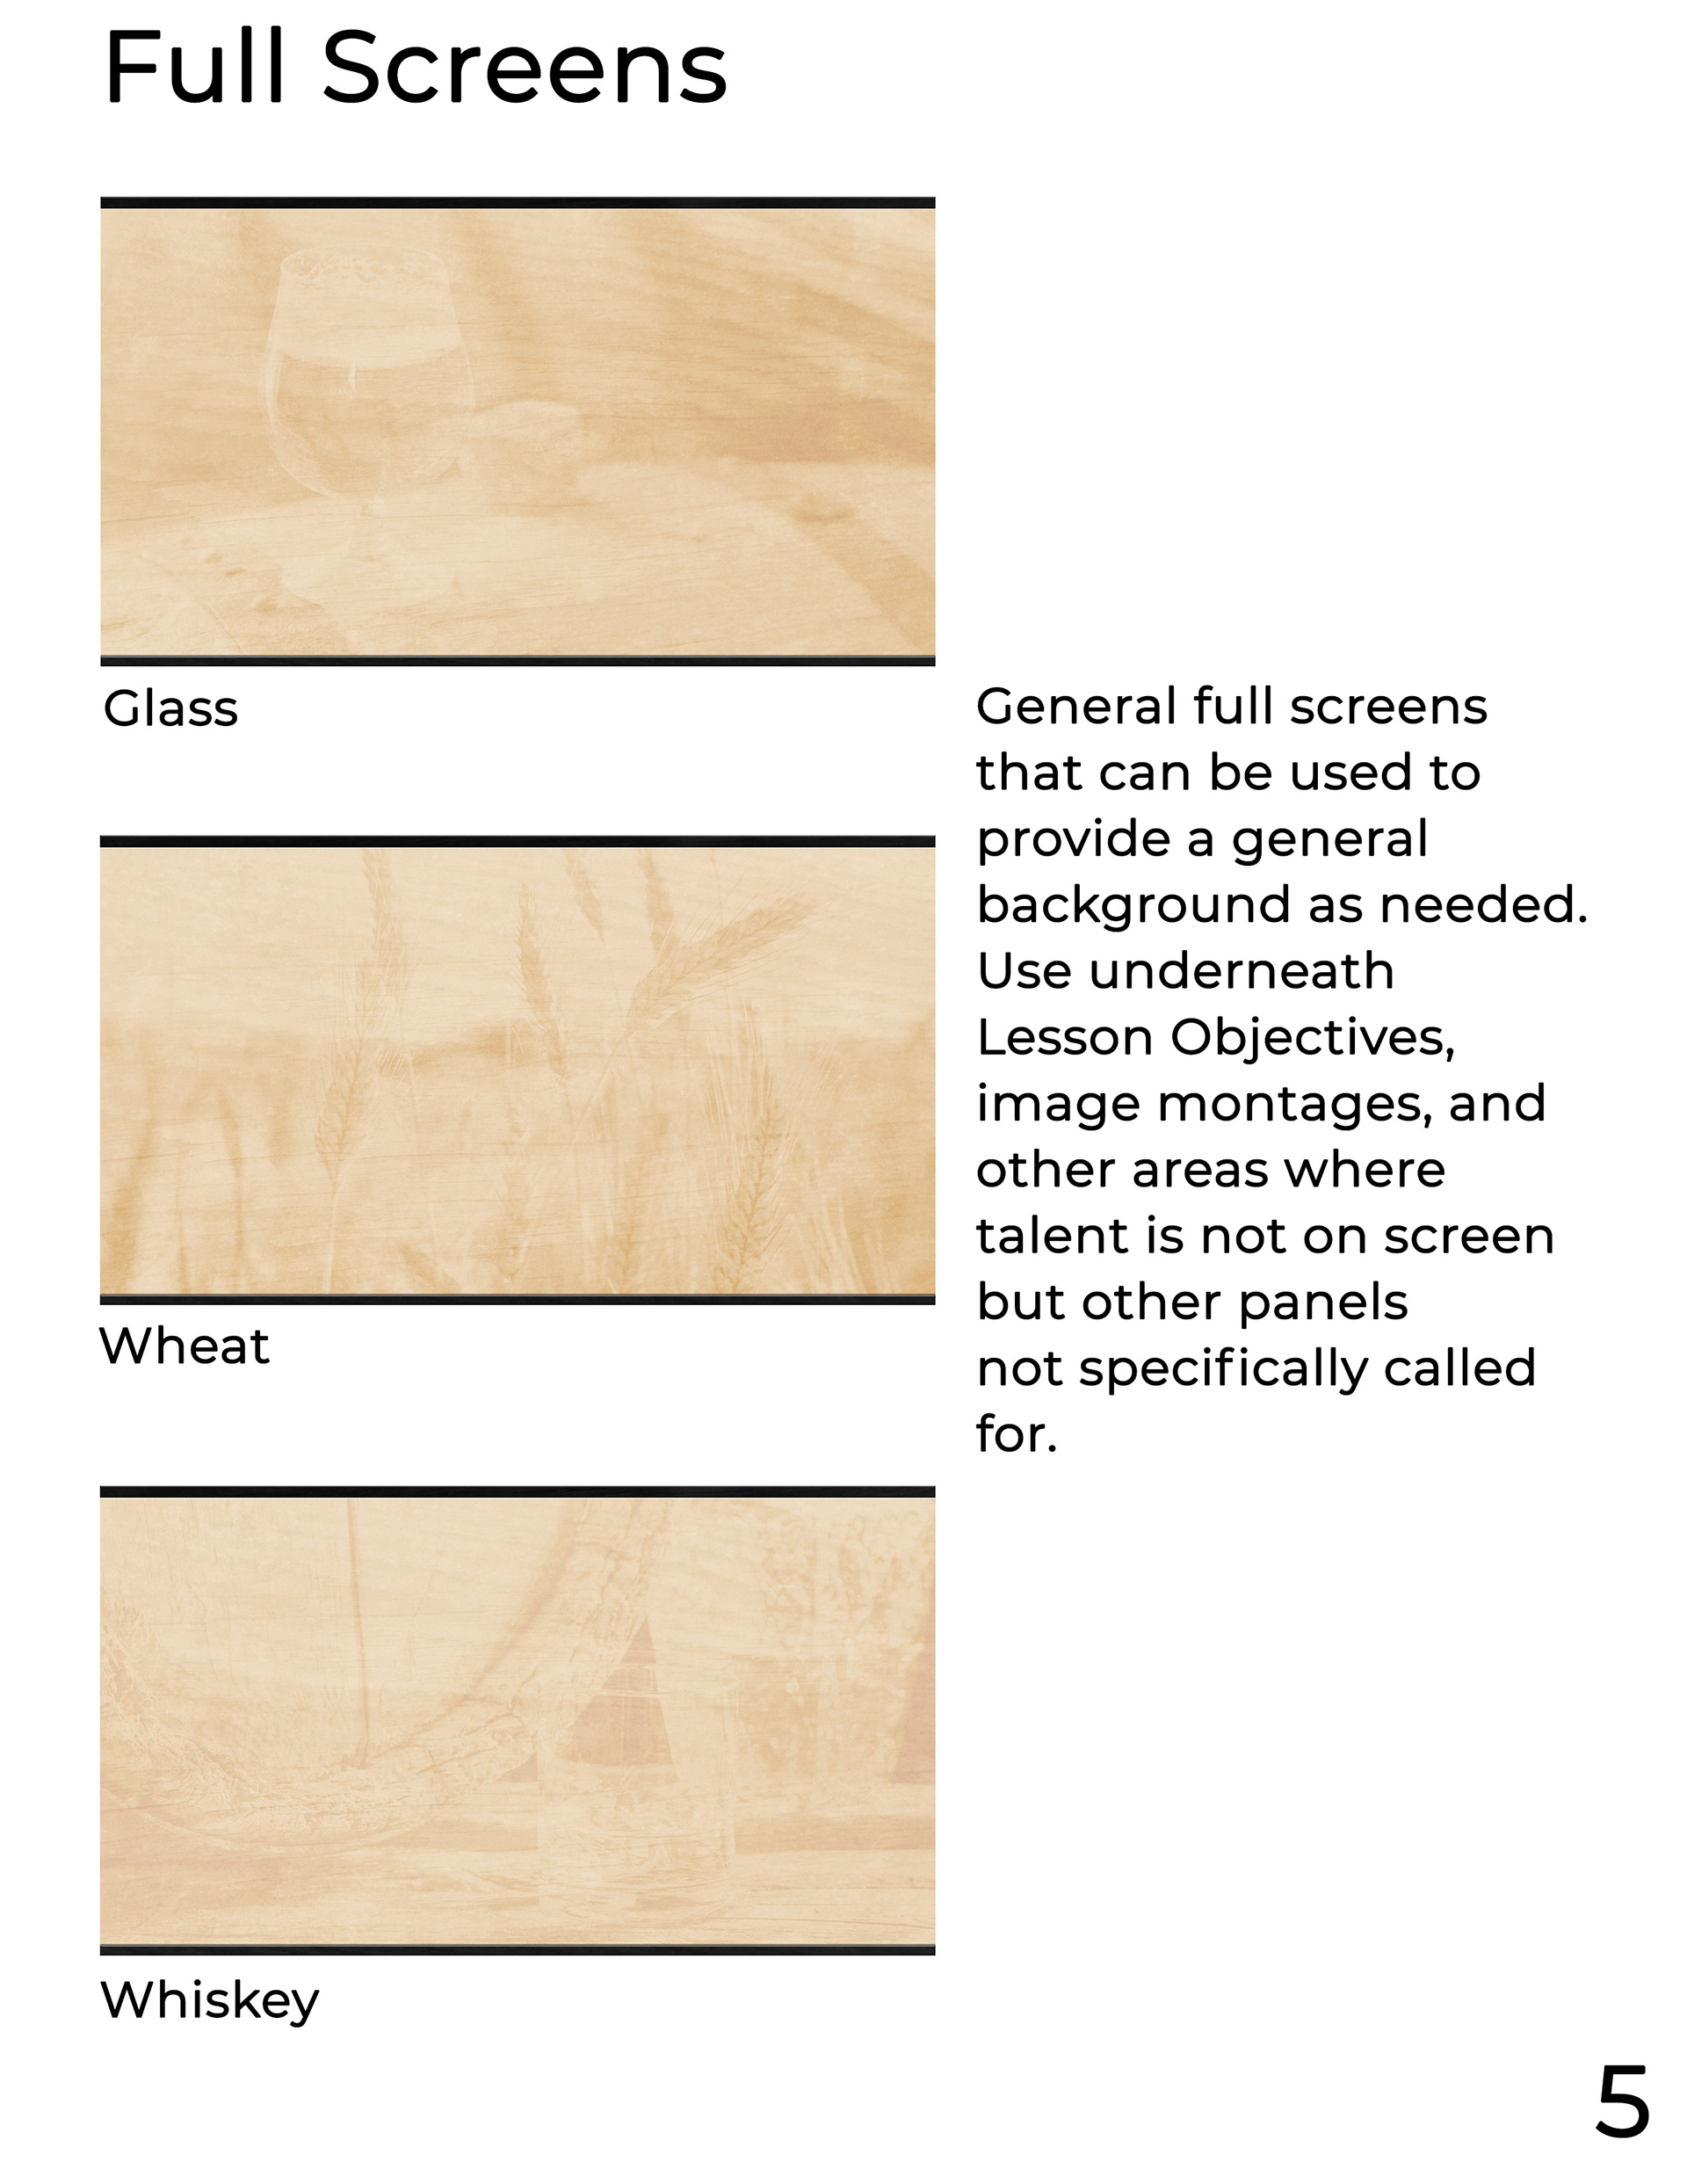
The third pass was to drop in all stock images and videos. The images were subtly animated utilizing a Ken Burns effect with color correction applied on occasion.
The fourth pass was animation, which was also the most time-consuming. I extracted the audio and then used it to time my animations in After Effects. The animations were kept to a simple line art style, that was designed to look like a chalkboard. The animation was then rendered out and dropped back into the Premiere timeline.
The final pass was a cleanup pass, ensuring that there were no errors in the compiled video. The video was rendered out and then passed to stakeholders for review. After review, there would be a round or two of revisions before final delivery.
Final Thoughts
The sheer size and scope of this project really reinforced the importance of strong project organization, asset management, and pipeline production methods. It illuminated areas of weakness within my production flow that I've already begun to address for future projects.
The storyboarding process was manageable through the use of Google Sheets, however, the actual project management needed strengthening, as tracking multiple iterations of dozens of videos quickly became a daunting task. I've since moved to using a dedicated task manager - Asana - for that purpose and have found it very effective.
I used MOGRTs for various animation tools across the videos to great effect, but they became too constricting at times. I've since updated my process to allow for less restricted tools (i.e. not having time limits on lower 3rds). I also used templatized Premiere sequences and nests but ultimately found these to be too restrictive. I've since adjusted my workflow to utilize more MOGRTs or After Effects sequences using the Essential Graphics features. This process requires a bit more work on the front end but has allowed for more nimble editing, and easier edits and customization.
I am still looking for an appropriate Digital Asset Manager to better facilitate the use of stock imagery. This was a pain point I faced, in terms of gathering, storing, and reusing. While there are options, I have not yet found one that makes sense for my needs.
In terms of the video shoot, I will push to have more control of the process. I faced various technical difficulties due to the filming choices that were made outside of my control. This is not a problem when shooting on location, but because this was shot remotely, I lacked the ability to make adjustments on the fly.