Objective: I had two key objectives with this project. The first of which, was to create a complex object utilizing ZBrush. The second objective is to create an organic model.
I had been meaning to dive into ZBrush for a while, and my previous attempts showed that I had a lot to learn. But the other projects had a lot more going on, and trying to add learning ZBrush into the mix was just distracting from my other objectives. So now, the whole focus of this project was ZBrush.
Look Dev: To begin the project, I first delved into pictures of bonsai trees. I searched through dozens of images and picked trees that appealed to me, but also all offered something for me to reference down the line.
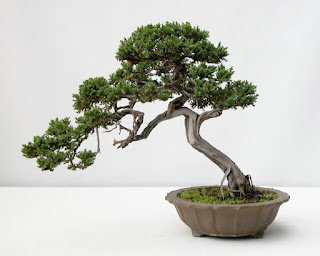
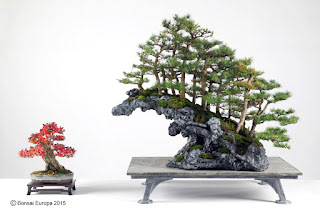
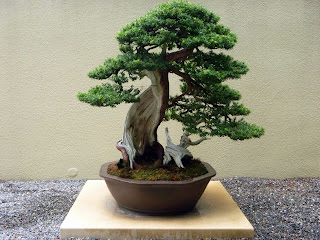
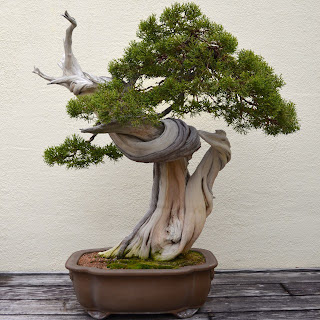
I researched the art of bonsai, which is not surprisingly, quite complicated. I found that the most popular tree species are Fig and Juniper. While almost any tree can be made into a bonsai, there are certain species that are chosen more often for their ease of growth and manipulation.
Various coniferous trees are particularly popular due to their evergreen nature and hardiness. Broadleaf, deciduous trees are also popular. Thinking ahead, I decided to pursue a coniferous tree of some sort, most likely attempting to use a Fur Shader to create the needles later on.
The trunk and bark surface are important in the style, whether the trunk is twisted or straight, contains dead branches or living. As well, trunk orientation is an important consideration, taking into account where the apex of the tree is in relation to its base. There are multiple variations here including upright, informal upright, cascade, and semi-cascade.
I must also take into account the Root Status. While most roots are planted directly into soil, other variations also will plant the roots atop stones, or sometimes inside of old trunks of other trees. As well, grass or moss may be planted alongside the tree.
Yet another important variant to consider is the number of trunks the tree will have. Some trees will be a single trunk, and very much resemble a miniature tree, while other trees are sometimes created with numerous trunks to invoke a forested feel.
After searching through various tree species, I decided upon a Juniper tree. The bark pattern looked like it would be fun to sculpt, as well it would offer me a fair challenge, rather than a smooth-barked tree. I really liked the look of Cypress and Cedar, but Juniper ultimately won out.
I have also found that I like the look and style of the informal upright with twisting bark. I intended to add some dead branches as well to give some variation to my design. I also really liked the look of the tree growing on top of stones. So if I’m correct in my research, my bonsai will be a: Nebikan Deshojo Deadwood Juniper.
Before I began modeling, I started out by sketching what I wanted my tree to look like. The key focus here was to get a pleasing silhouette and form that I could later turn into a sculpt. This also allowed me to explore various shapes before I became too invested in the model.
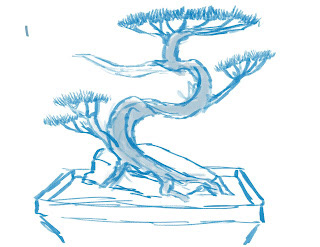
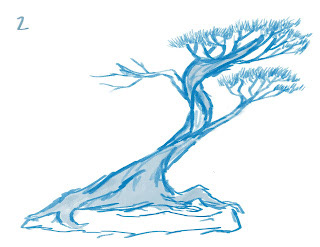
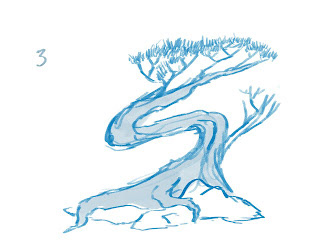
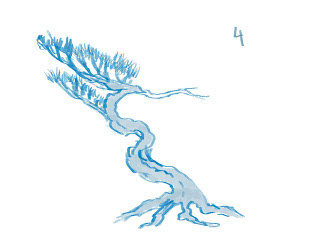
Modeling / Sculpting: Once I selected the design I wanted to go with, I started off by creating a very basic model in Maya. The model was mostly worthless, but it provided me with the basic geometry that I would use to bring into ZBrush to begin sculpting. It covered the basic shape and slight twist. I then took my object and exported it as a .obj. I then took the .obj and imported the object into ZBrush.
Once inside ZBrush, I Dynameshed the .obj model I brought in from Maya. This produced a large number of polygons for me to work with and begin sculpting. I used the “build-up clay” brush and began to create the twisting bark texture that I desired.
I eventually got to a point where I could not get the detail I wanted with the number of polygons that I had, so I divided the Dynamesh to get further refinement. I went through this process a total of 2 times until I achieved the desired result.
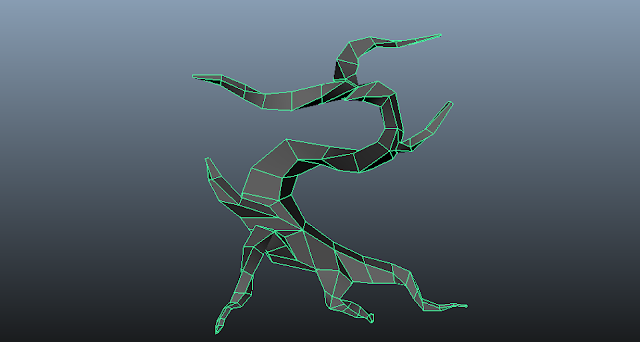
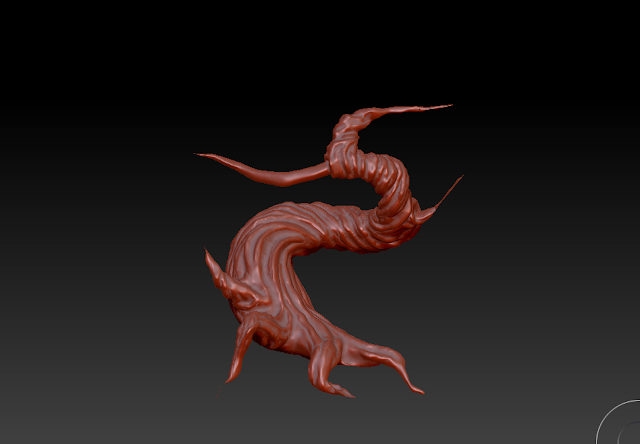
Once I had the mesh where I wanted it, I then created a sublayer. On this sublayer, I then decimated the mesh and brought the polygon count from ~2 million to 200,000 polygons. This way, Maya would be able to read the file without crashing or chugging. I then exported the sculpt as a .obj and brought it back into Maya.
With the model now in Maya, I had the sculpt, but the mesh was an utter mess and completely unusable. So I created a new texture that I then animated the transparency on a scale from 0 to 1. This way, I could adjust the transparency of my sculpted object by using the time slider. I then created a new object, to generate geometry. I selected the sculpt and selected the “make live” button, and then selected the quad draw tool on my new object.
From there I began to manually draw the polygons for the object. I was pretty thorough on this step, as I intended to create a very high-resolution model. What I did not anticipate was how long this step would take. Nonetheless, I eventually finished the retopology with a pretty decent edge flow and minimal triangles. The triangles would disappear anyways once I added subdiv layers.
After retopping, I brought the model back into ZBrush to create the displacement map. I discovered that I did something wrong when I created the sublayers. As such, I would not be able to create the displacement map. But no worries, I could create that with little trouble manually in Photoshop.
I utilized a box modeling method to create the stone and the terra cotta pot. As well, I created small pebble-like stones to populate the pot.
For the branches and the leaves, I took a different approach. While initially, I intended to create the leaves with a fur shader, I quickly realized I really didn’t know where to begin with that, considering the leaves were different than I had originally thought.
While I’ve certainly seen the varieties before, I had for some reason always assumed that there were only two types of leaves: broadleaf and needle. It turns out, there is a third (probably even more, but I digress), scale-like. Juniper leaves happen to have scale-like leaves.
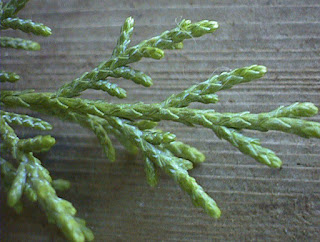
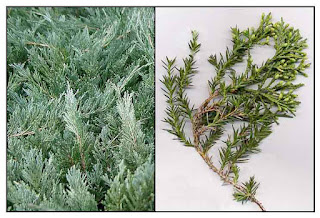
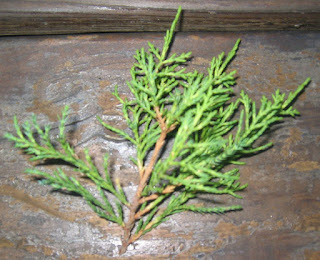
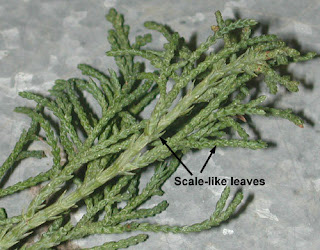
So because of the leaf type, I instead hand modeled the leaves and then used lattice deformers to give them further individuality. I duplicated the leaves and populated them on the branches, which I created by extruding cylinders along CV curves. This method created a huge poly-count though and severely slowed my computer.
Texturing: The majority of my texturing for the bonsai was already done with the sculpt. But as I mentioned above, something went wrong at the back-end of the export, so I had to rely on my own displacement map in Photoshop. This turned out quite well, and I was pretty pleased with the final result.
Creating the UVs was a challenge though. Because of the complexity of the sculpt, there was no real clear way to begin the process. I started by just pulling large chunks that seemed to flow together, flattened them, and smoothed out the UVs. Once I had all the pieces flattened, I then stitched them back together to try to get one big cohesive piece so I could avoid seams. This was not possible, unfortunately, but I did manage to get it into two primary pieces, and then a few smaller pieces for the branches.
The leaves were shaded using a subsurface skin shader, very similar to what I used in my Raspberry project previously. I think it resulted in a nice color and translucency.
Rendering: When It came time to render, I had originally set up a very basic scene to render, but due to the high poly count, and the numerous displacement maps I had running, it was causing my render to not work very. So I deleted everything but the essentials model and set a Physical Sun and Sky to render. Once I had my initial renders, I then brought them into Photoshop to make a few color corrections.
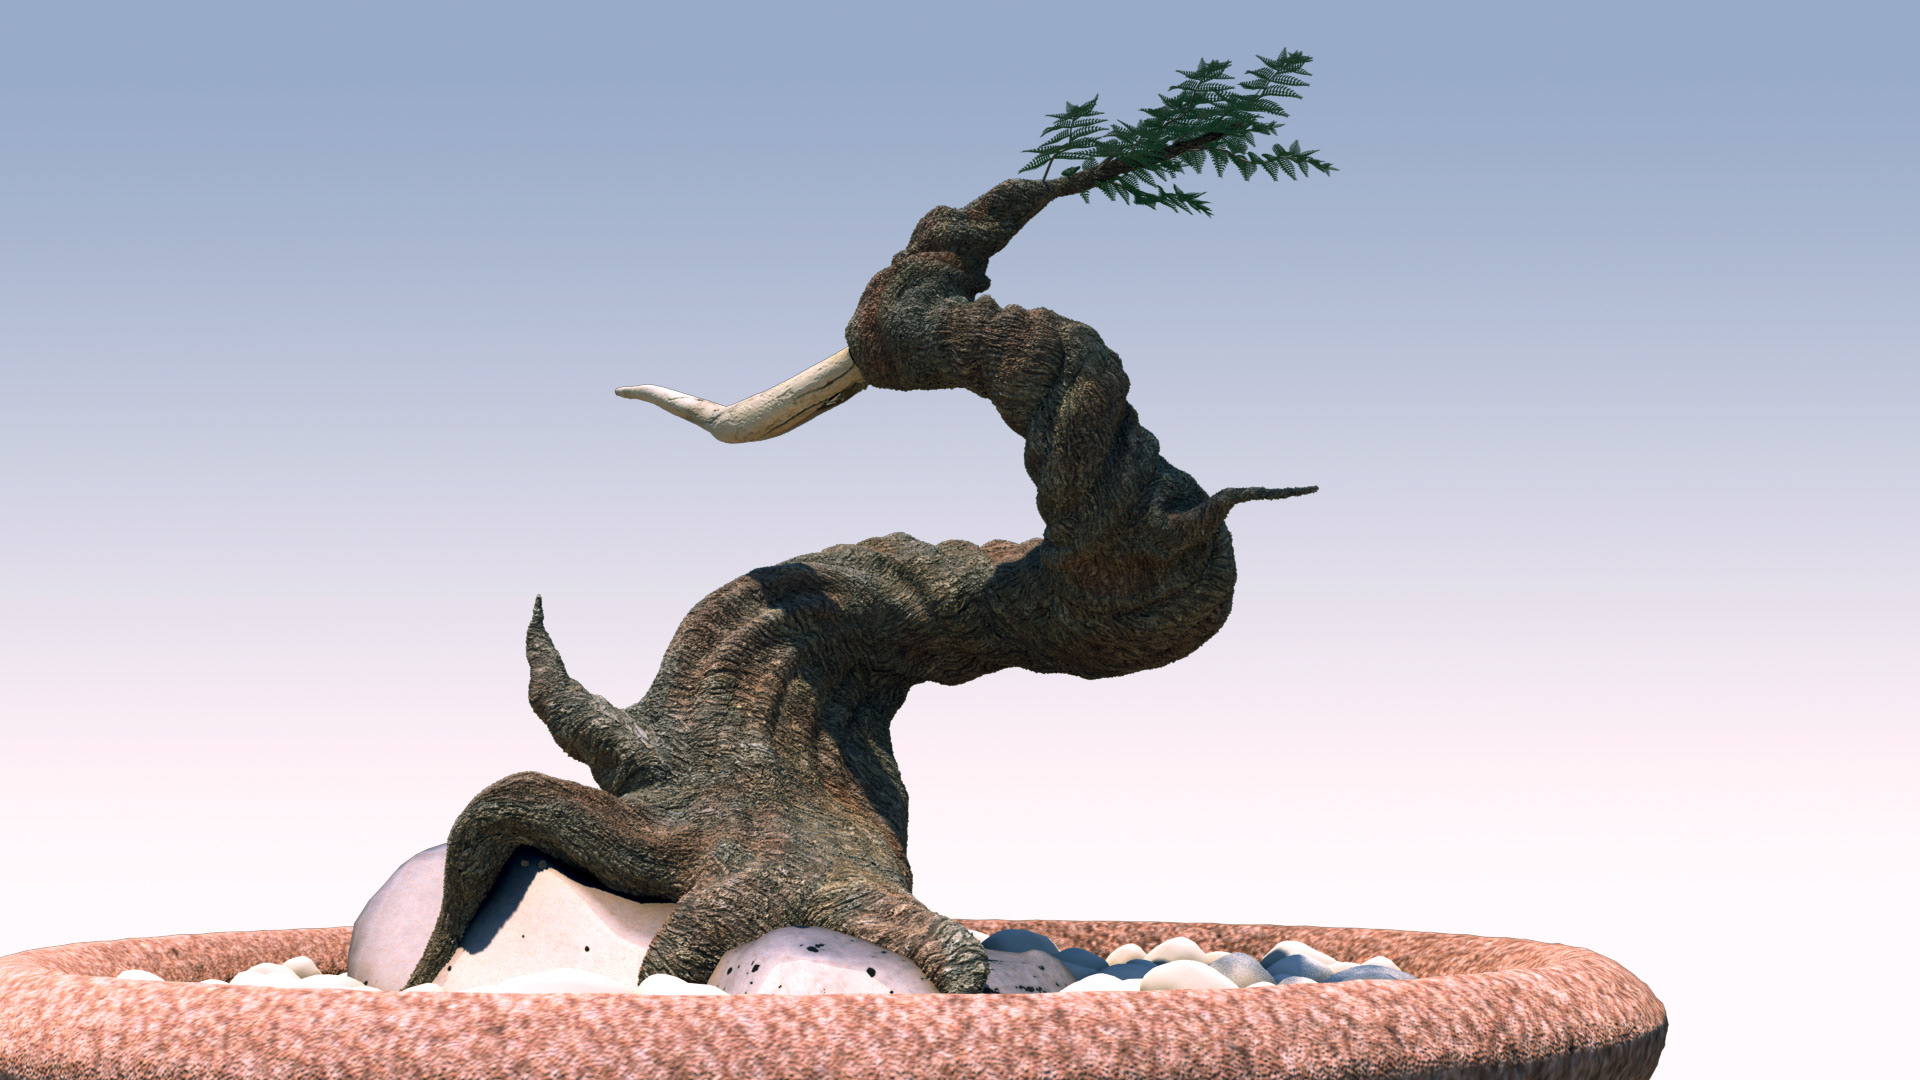
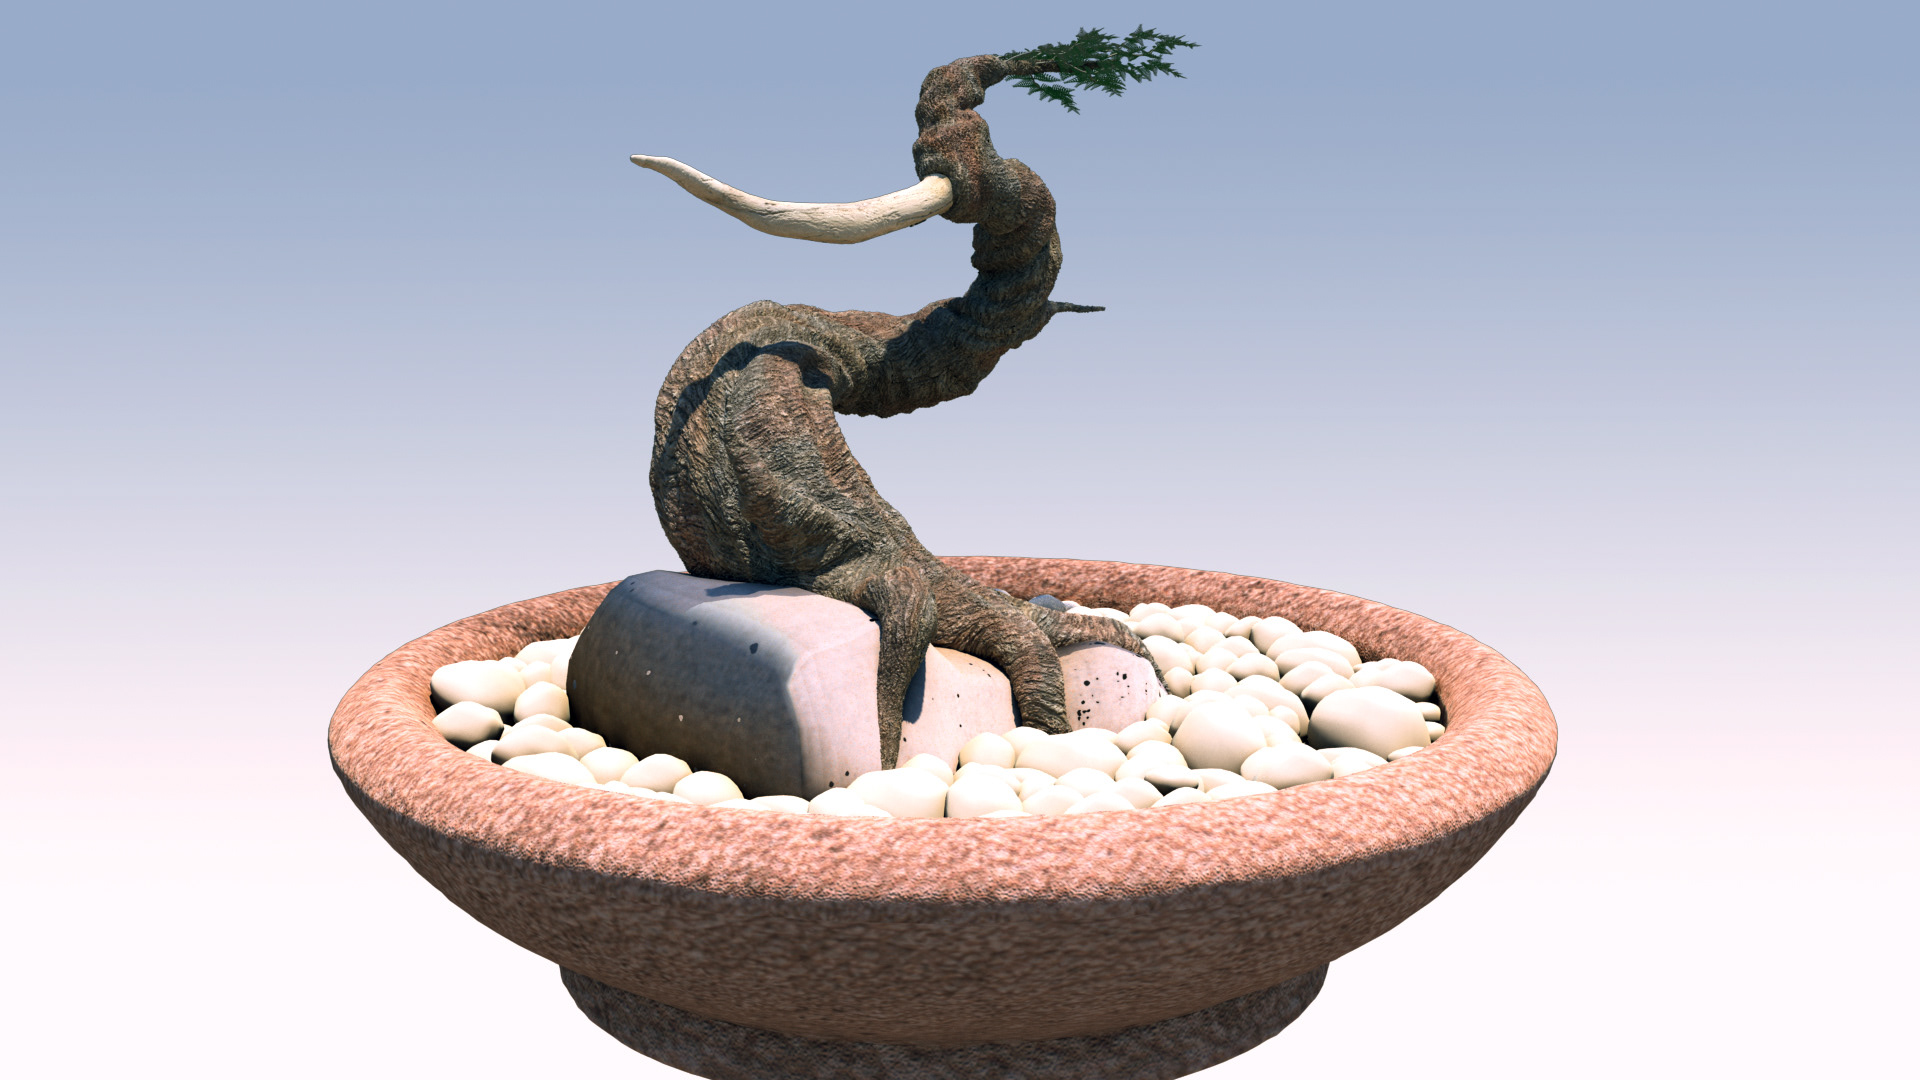
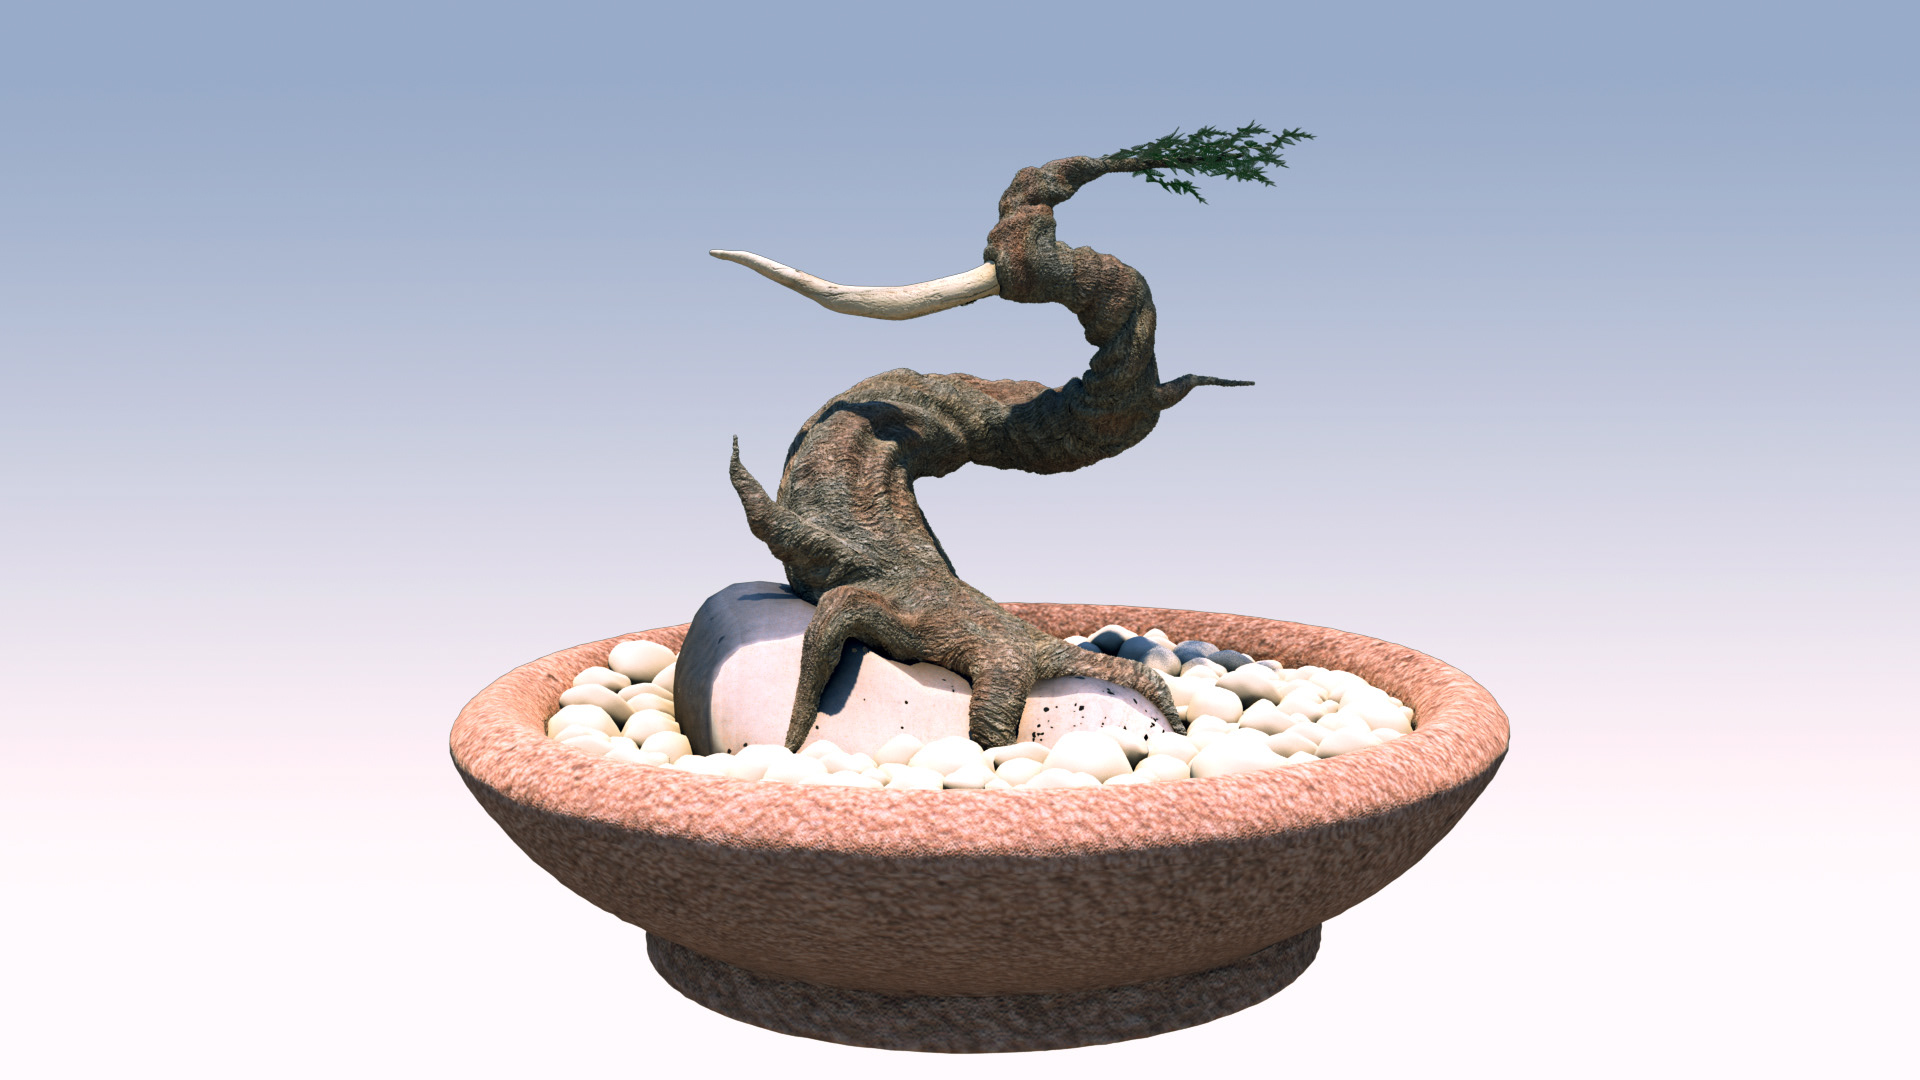
Conclusion: All and all, I am quite pleased with how the project turned out. I think I accomplished my goal of creating an acceptable sculpt in ZBrush, and I now feel comfortable with the software to begin exploring its wide variety of uses. I would like to figure out what went wrong when I attempted to create the displacement map, but I at least know where to look when I approach that on my next sculpt.
I am not very happy with how my leaves turned out, but I will have to look at better methods of producing leaves. I will perhaps look into instances in the future, or really exploring the fur and hair shaders, as well as any foliage-type brushes that may be available. But, the leaves were not the primary focus of my project.